
Taking screenshots is common for those of us who live on our phones and laptops. Sometimes we want to share glimpses of funny conversations with friends, other times, in the office for example, we take screenshots to quickly share unexpected results on our screens.
Screenshots are so common that nowadays the majority of our devices offer a specific key combination to either take a screenshots of the entire desktop or allow the selection of a portion of it: The device captures the screen right away and usually save a photo for later use.
If this is not enough, there are also plenty of third-party apps and websites offering the same functions. The great CloudApp allows for screen recordings to make animated gifs as well as taking regular screenshots.
Thinking about my job at Filestack, I often press Shift-Command-4 on the Mac to take screenshots of the apps views that I want to add in the articles. Moreover, a screenshot is a fast way to show some unexpected logs to coworkers with a simple copy-and-paste in Slack.
So, taking screenshots is a manual operation and more or less all the third-party solutions require the user to actively click on buttons or select a portion of the screen.
Filestack’s Image Processing API goes beyond that to gives you the chance to programmatically take URL screenshots and set a few options to customize the API behavior.
Let’s see it in action with React!
React Screenshot App
The app I built is very easy, it’s just a React app with a single view where users can input the website URL and see it.
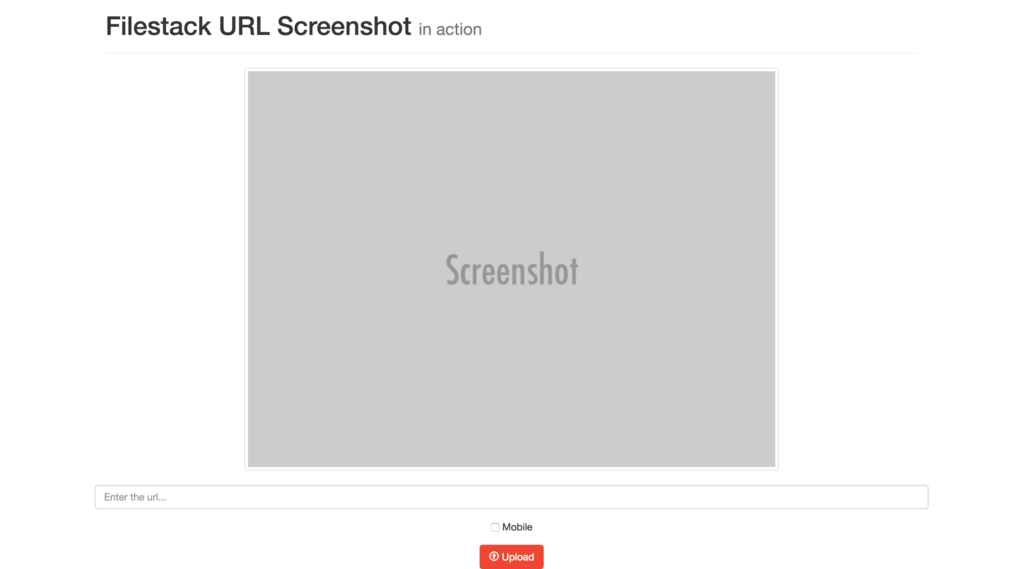
In addition users can also choose between the desktop and mobile version. As always you can find the sample code on my github.
So, before digging into the code we should be aware of the process API url construction. The URL screenshot documentation defines a single way to achieve this:
https://process.filestackapi.com//urlscreenshot=[options]/URL_to_be_captured
As said before, the format accepts a few options to customize its behavior:
urlscreenshot=agent:desktop or mobile: Determines whether URL Screenshot captures the desktop or mobile version of the specified website.urlscreenshot=mode:all or window: Specify the portion of the website you wish to capture.mode:windowwill capture only the part of the site visible in the window.mode:allwill capture the entire page.urlscreenshot=width:1 to 1920: Designate the width of the browser window. The width is 1024 by default, but can be set to anywhere between 1 to 1920.urlscreenshot=height:1 to 1080: Designate the height of the browser window. The height is 768 by default, but can be set to anywhere between 1 to 1080.urlscreenshot=delay=3000 (time in milliseconds): Tell URL Screenshot to wait x milliseconds before capturing the webpage.
Take a look of the task format to take a screenshot of the mobile version of google Taiwan:
https://process.filestackapi.com/API_KEY/urlscreenshot=agent:mobile/https://www.google.com.tw/
When the user clicks on the upload button the form is submitted and the process API url set in the app state. Take a look at handleSubmit:
const API_KEY = 'YOUR_API_KEY';
const processAPI = 'https://process.filestackapi.com';
...
handleSubmit = (e) => {
  e.preventDefault();
  const url = `${processAPI}/${API_KEY}/urlscreenshot=agent:${this.agent.checked ? 'mobile' : 'desktop'}/${this.url.value}`;
  this.setState({ url });
}
And that’s all!
More Image Transformations
Here is a complete list of image transformations supported by Filestack.
- Compress
- Facial Detection
- Crop
- Rotate
- Border and Effects
- Filters
- Collage
- Image Enhancements
- URL Screenshot
- Image to ASCII
- File type conversions
- Security
Filestack is a dynamic team dedicated to revolutionizing file uploads and management for web and mobile applications. Our user-friendly API seamlessly integrates with major cloud services, offering developers a reliable and efficient file handling experience.
Read More →