
Pictures are a fundamental media to transmit an idea or message on the web.
This is not new, if you have read our previous article How to Make Images Responsive you now know visual content help marketers to boost up their business so pictures should fit the widest range of screens to reach every potential client.
But it’s not just that…
With the advent of social media sharing pictures has become a common way to show friends and family captures of our best memories. The numbers are huge:
For instance, Facebook revealed that users have uploaded more than 250 billion photos and 350 million new photos are uploaded daily.
Unfortunately, not all of us are professional graphic designers so when it comes to enhance our captures things may get complicated. Luckily there are now tons of apps to help users to add filters and enhance their pictures before sharing them, but how can we do it programmatically?
Filestack API provides several transformation engines to enhance and filter pictures, add nice borders, create collages but also resize and crop.
In the following tutorial we’re going to explore how easily resize and crop can be programmatically achieved without the use of professional softwares like Photoshop or Sketch.
React App in Action
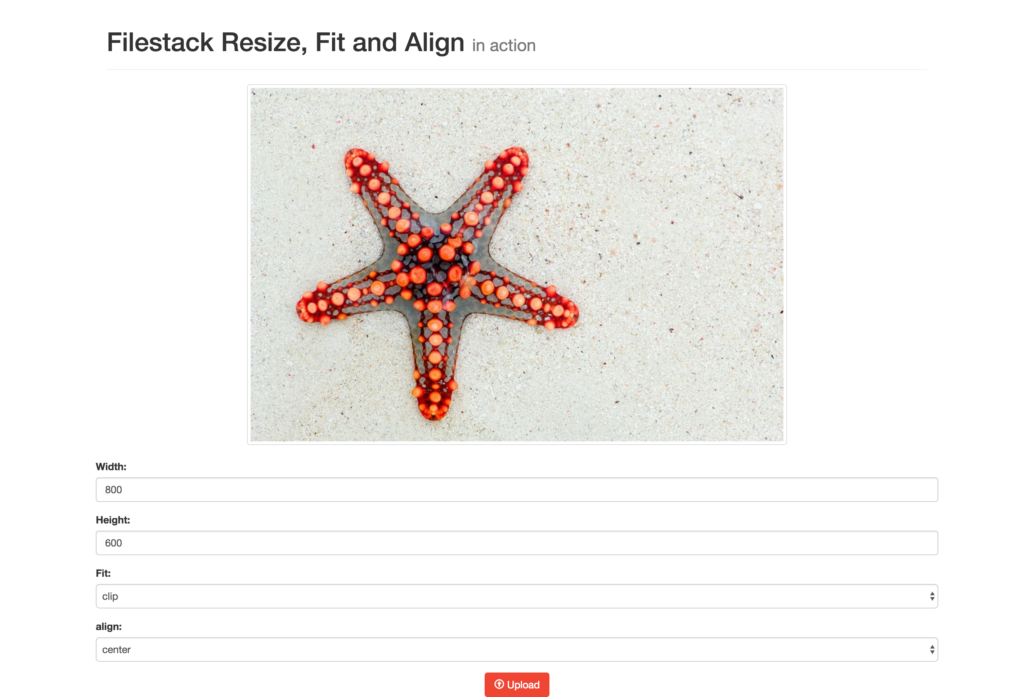
To demonstrate resize, fit and align we are using React and you can clone/fork the repository directly from github.
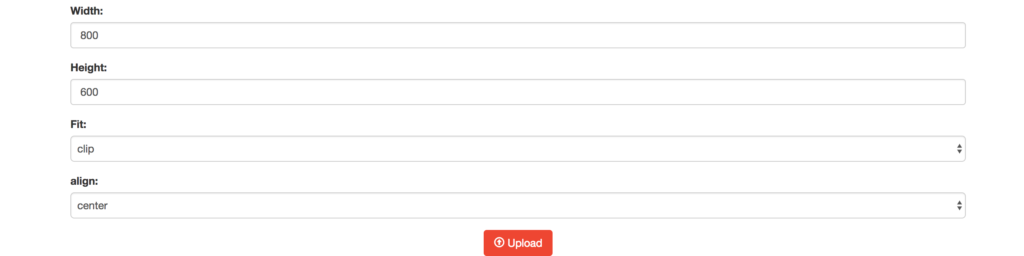
The single page app allows users to upload a single picture and provide a form where the parameters width, height, align and fit can be fully customized:
localhost:8080
Upload a Picture with Filestack Pick
The first step is the file uploader their own pictures and Filestack provides a great function pick to achieve this.
This requires to install filestack-js in the app:
npm install filestack-js
pick is every developer’s dream when it comes to handle file uploading as it provides a handy options parameter to full customize its behavior.
For example, if we want to set a series of constraints on the accepted file extensions and file size we just need to provide the correct option parameters to pick:
{
  accept: 'image/*',
  maxSize: 1024 * 1024 * 5,
}
The example above tells the function to limit the upload to images whose size is up to 5MBs.
Writing our own uploader can be non-trivial as it requires efforts in both client and server side. To achieve the same result shown above developers typically need to programmatically check the MIME type and size of the file which is not a trivial task. In addition to this we also need to keep in mind the security aspects of uploading a file in order to prevent the upload of malicious code.
In few words, it takes time to come up with a robust uploader while Filestack pick is fast to integrate and very reliable.
If you are curious about a deeper comparison between a traditional file uploader and Filestack solution don’t miss our previous post: Comparing Node & JQuery File Upload vs Filestack.
Going back to our app, we want to run pick whenever users click on the upload button and the best solution is to wrap it in a click handler:
const processAPI = 'https://process.filestackapi.com';

filestack = () => {
  return client.pick(
    {
      accept: 'image/*',
      maxSize: 1024 * 1024 * 5,
    }
  );
};

async handleUpload () {
  try {
    const { filesUploaded } = await this.filestack();
    this.setState({
      handle: filesUploaded[0].handle,
      url: `${processAPI}/${this.setTransformation()}`,
    });
  } catch (e) {
    console.log(e);
  }
}
The user’s click triggers handleUpload that
- runs
this.filestackwhich is nothing butpickand open the elegant UI - takes the the returned file handle and set it into the state.
- creates the final url by running
setTransformationto use the resize transformation from Filestack process API.
Notice that pick returns a promise so handleUpload was implemented as async/await function because we want to use modern JavaScript like the cool kids!
Resize, Fit and Align
The resizing feature comprises two main functions, manipulating the width and height of an image and changing the fit and alignment of the image.
The function setTransformation is in charge to gather all the values set in the form and produce the final url of the picture.
Before digging into the code let’s take a look at the Filestack process API syntax.
According to the official documentation the syntax url is the following:
https://process.filestackapi.com/resize=[options]/ + filestack_handle
or
https://process.filestackapi.com/<API_KEY>/resize=[options]/ + filestack_handle
Let’s take a look a the options
resize=width:100: The width in pixels to resize the image to. The value must be an integer from 1 to 10000.resize=height:100: The height in pixels to resize the image to. The value must be an integer from 1 to 10000.resize=fit:clip, crop, scale, or max: The default value for the fit parameter isfit:clipwhich resizes the image to fit within the specified parameters without distorting, cropping, or changing the aspect.fit:maxis similar tofit:clipbut it will not scale the image if the image is smaller than the output size.fit:cropresizes the image to fit the specified parameters exactly by removing any parts of the image that don’t fit within the boundaries. Finally,fit:scaleresizes the image to fit the specified parameters exactly by scaling the image to the desired size. The aspect ratio of the image is not respected and the image can be distorted.resize=align:center, top, bottom, left, right, or faces: using align, you can choose the area of the image to focus on.align:centeris the default value.
The app form let users play with the 4 options to combine them in the best solution.
Example
Let’s consider this picture:

The statue is clearly not centered so let’s see how to fix this with the new transformation.
First, we can resize the picture to a square where width and height have the same value of 800px. This also requires a distortion as we don’t want to keep the same aspect ratio so we must use fit:crop:
https://process.filestackapi.com/resize=w:800,h:800,fit:crop/MtQ51RY7QDmBbvit1NGV
And this is the current result:
The picture is now a nice square but our David is not centered at all!
As stated in the documentation the option align default value is center so the transformation engine starts to crop the image from the center of the original picture. Since the statue is actually portrayed on the left we need to change the align to left.
https://process.filestackapi.com/resize=w:800,h:800,fit:crop,align:left/MtQ51RY7QDmBbvit1NGV
Awesome, the statue is perfectly centered and the resulting picture could become a nice avatar for a history geek!
The code
Now that we have a clear idea on how to use the resize transformation let’s take a look at setTransformation:
setTransformation = () => {
  return `resize=w:${this.width.value}` +
    `,h:${this.height.value}` +
    `,fit:${this.fit.value}` +
    `,align:${this.align.value}`;
}
The input element are uncontrolled components from React so it’s easy to retrieve their values as they become properties of this.
Finally, the function returns a string that gets concatenated with the process API url in handleUpload and set into the state.
Easy as pie.

AND THAT’S ALL!
More Image Transformations
Here is a complete list of image transformations supported by Filestack.
Compress
Facial Detection
Crop
Rotate
Border and Effects
Filters
Image Enhancements
URL Screenshot
Image to ASCII
File type conversions
Security
Filestack is a dynamic team dedicated to revolutionizing file uploads and management for web and mobile applications. Our user-friendly API seamlessly integrates with major cloud services, offering developers a reliable and efficient file handling experience.
Read More →