Today, I will demonstrate how to create an Instagram clone – in which you can upload files, apply image filters, and share your photos with the world. I will use React, Node.js, and Redux, as well as Filestack to power the app’s file uploading and image processing functionality.
To create an Instagram clone, you need to:
- Implement a file uploader with a pick function.
- Concatenate image URLs with your desired transformations: sharpen, blur, filter, sepia, monochrome, etc.
- Ensure security by generating promises and signatures.
Alright, let’s get started building our app!
The Instagram Clone Code Source
Let’s first look at the model I build out – Instastack. For this app, I wrote the server API with Node.js while I handle the front-end with React and Redux. As usual you can fork/clone my project from github.
Like Instagram, the UI shows a list of filtered images on each user’s profile. Let’s spy on Han Solo’s profile:

All of these images have been filtered with Filestack’s API! When you click on any image, you are redirected to another page to see the full size image:

The view gives us a better understanding on how the picture has been altered.
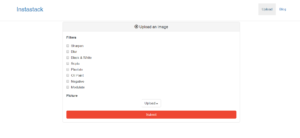
On the upload page, we can choose the filter and see the transformation in real-time:

Filter Images in our Instagram Clone
In our Instagram clone, we need to programmatically filter photos. Filestack offers a number of ways to filter images in our app.
In my demo app, I provide all of the following image filters:
- Sharpen
- Blur
- Black & White
- Sepia
- Pixelate
- Oil Paint
- Negative
- Modulate
Many of these are quite popular in Instagram or in other platforms so Filestack is really great to easily allow you to use them.
We have a uniform way of applying these image filters to images:
https://process.filestackapi.com/ + filter=[options]/ + handle
In this case, filter is simply the name of the filter to apply, and handle is the filelink to your picture. Filelinks are returned along with the CDN url whenever you upload a file with Filestack.
Let’s see an example.
My favorite filter is Oil Paint, which turns any image into an impressionist painting.
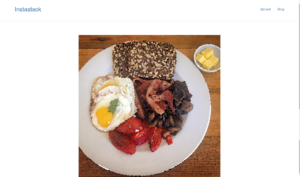
Let us turn this breakfast picture into an oil painting:
The Filestack handle, after uploading the picture, is urjTyRrAQA6sUzK2qIsd, so we can turn it into an oil painting by calling
https://process.filestackapi.com/oil_paint/urjTyRrAQA6sUzK2qIsd
which will look like this:
Easy as pie! To apply other filters you just have to change the filter name.
But that’s not all… These filters come with a few options, though not mandatory.
For example, we can choose the amount of Oil Paint to apply through the amount option which accepts integers from 1 to 10.
Let’s check it out the syntax for Oil Paint with amount equal to 7:
https://process.filestackapi.com/oil_paint=amount:7/urjTyRrAQA6sUzK2qIsd
Or we can also use its abbreviated form:
https://process.filestackapi.com/oil_paint=a:7/urjTyRrAQA6sUzK2qIsd
NB: In the app I did not take advantage of the filters’ options.
Concatenating filters is easy too:
https://process.filestackapi.com/ + filter1/ + filter2/ + ... + filterN/ + handle
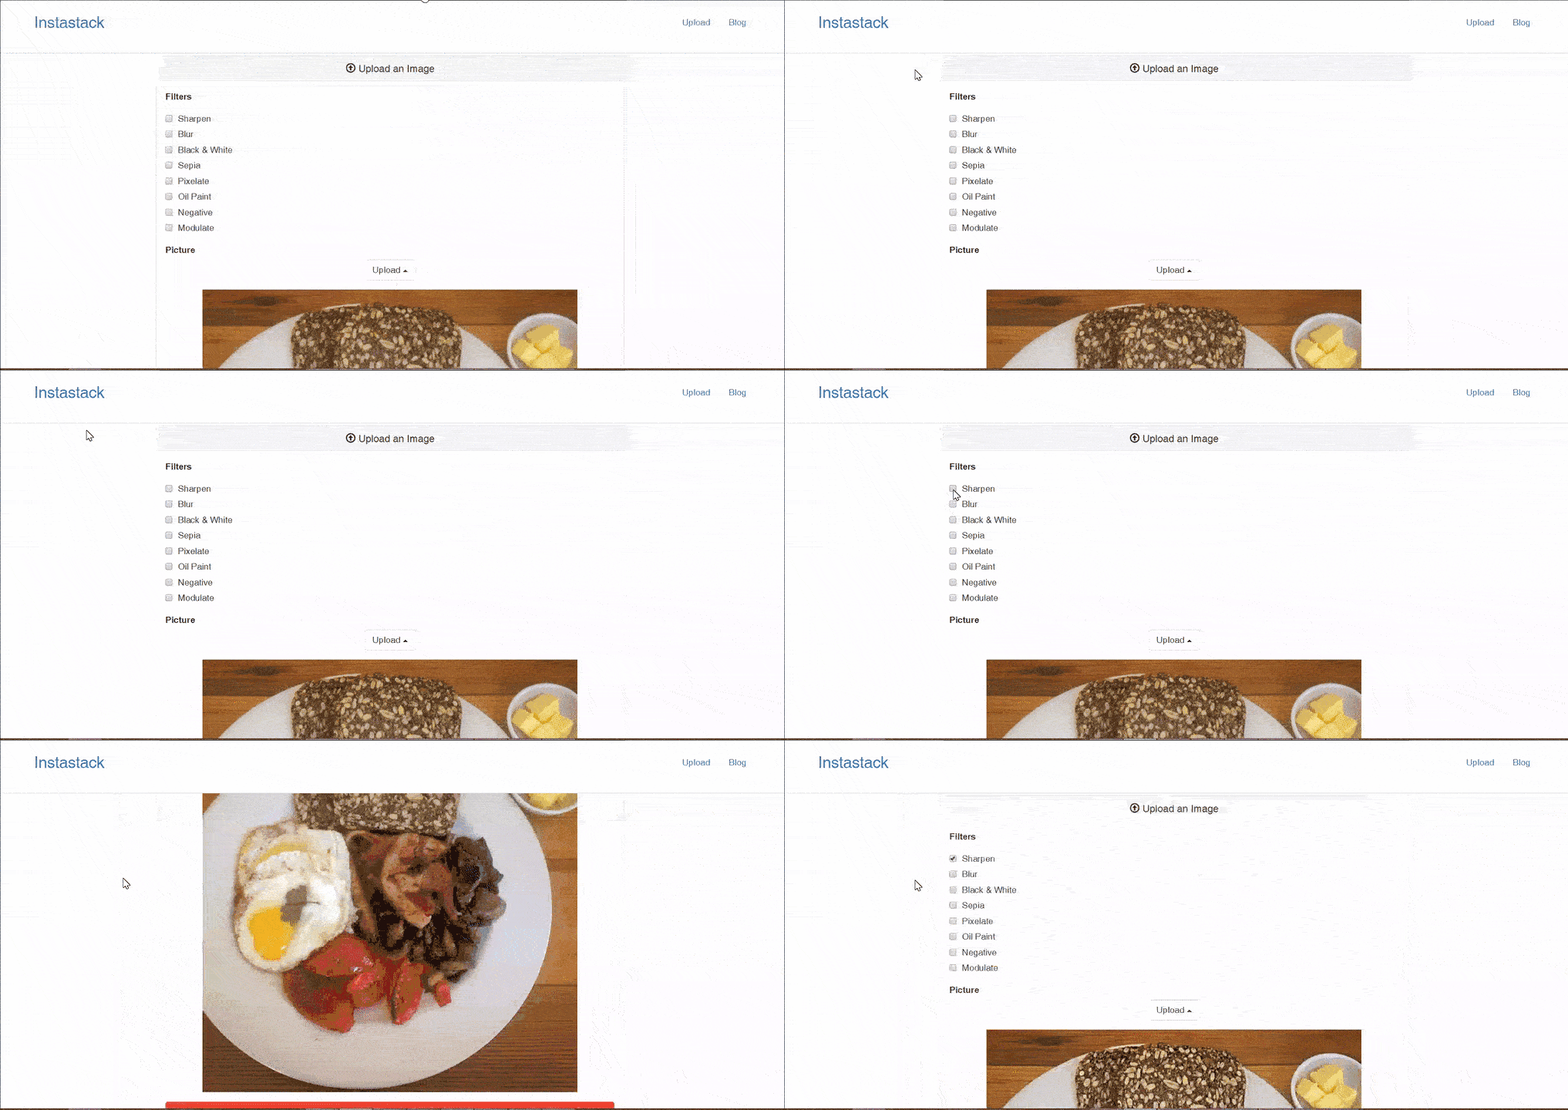
Finally, let me show you the upload page behavior when users click on the filters:
As mentioned before, the preview is updated in real-time
Upload a File to our Instagram Clone
As usual, to upload the file I used the function pick from Filestack API, however this time I had to deal with Redux Saga which handles all the asynchronous operations of the app. If you are familiar with it, you must know it works pretty well with promises so, to handle the pick function I return a promise that will resolve when the end of the onSuccess function, or rejected it in case of errors.
Let’s take a look at the code:
const pick = () => {
   return new Promise(function (resolve, reject) {
    filepicker.pick(
      {
        mimetype: 'image/*',
        container: 'modal',
        services: ['COMPUTER', 'FACEBOOK', 'INSTAGRAM', 'URL', 'IMGUR', 'PICASA'],
        openTo: 'COMPUTER'
      },
      function(Blob){
        console.log(JSON.stringify(Blob));
        const handler = Blob.url.substring(Blob.url.lastIndexOf('/') + 1);
        resolve(handler);
      },
      function(FPError){
        console.log(FPError.toString());
        reject(FPError.toString());
      }
    )
  })
}
Once the promise is resolved the redux-saga in charge for it will update the app state with the new picture url which will be later sent to the server.
What about the pick function’s options?
- The mimetype only allows pictures to be uploaded.
- Container defines the UI of Filestack, in the app case the upload window is a modal.
- Services defines the allowed sources devices/services to upload pictures from.
- OpenTo defines the first suggested source when the modal opens.
These parameters are super common aren’t they?! I have already used them in my other apps!
Conclusions
In this article, we have explored how to easily add filters to our image thanks to Filestack’s API. Given the consistent syntax, we just have to concatenate them before the file link handle and add options to setup the filter (…or skip the options if you are satisfied with the default result).
Moreover, I showed you how to return a promise from the pick function which can be used to handle the asynchronous behavior of your app.
Congratulations!
Filestack is a dynamic team dedicated to revolutionizing file uploads and management for web and mobile applications. Our user-friendly API seamlessly integrates with major cloud services, offering developers a reliable and efficient file handling experience.
Read More →


