Have you ever wondered how businesses quickly handle thousands of receipts and invoices? The secret is document detection technology. In this blog, we will explain why document detection is important and how you can add it to your app using the Filestack API.
Document detection helps apps find and process information from documents automatically. This reduces the need for manual data entry and cuts down on errors. It’s a crucial tool for businesses that want to save time and work more efficiently.
We will start by discussing why your app needs a document detection feature. Then, we’ll talk about the best ways to achieve this. Our main focus will be the Filestack API. Next, we’ll show you how to test the API using Postman.
After that, we will guide you through building a sample app to see document detection in action. Finally, we’ll also look at the results you can expect from Filestack’s API. Read on to learn how Filestack can help you manage receipts and invoices easily in your apps!
What is document detection?
Document detection helps apps find and read information from documents automatically. It looks for important details like text, numbers, and data in receipts, invoices, contracts, and forms. This technology uses smart algorithms and machine learning to understand the content of documents.
For example, think about a business that gets hundreds of invoices each month. Manually typing in data from each invoice is slow and can lead to mistakes.
👉With document detection, this process becomes automatic. The technology:
- Scans each invoice
- Finds details like the invoice number, date, amount, and vendor name
- Saves this information directly into the system.
Another example is handling expense receipts. Employees submit receipts for reimbursement.
- Document detection can scan these receipts.
- Pull out details like the date, store, and amount
- Fill in expense reports automatically.
This saves time and makes sure the information is correct.
Why do we need a document detection feature in our apps?
We need a document detection feature in our apps to save time and reduce errors. For example, a business gets many invoices. Document detection can automatically find and save details like invoice numbers, dates, and amounts. This avoids slow and mistake-prone manual data entry.
Employees can scan expense receipts. Document detection pulls out the date, store, and amount and automatically fills in expense reports. As a result, making the process faster and more accurate.
In healthcare, it can quickly update patient records from forms. Furthermore. it makes everything more efficient and precise. You can deal with patient records on time. As a result, promoting a better experience for people.
Some examples of document detection apps are CamScanner, Adobe Scan, Microsoft Office Lens, Scanbot, and Evernote Scannable. They all help you scan documents easily and save them on your phone or computer.
What is the best way to achieve document detection?
You will find multiple methods to create a document detection feature in your app. However, developers must know how APIs are ruling the world these days. Funny? Not at all. Let’s show you how APIs can help you do it within minutes.
Filestack
Document Detection is a smart service offered by the Filestack platform. It allows you to:
- Identify a document within an image
- Adjust it to fit the image perfectly
- Preprocess it by removing noise and reducing distortion.
This improves the accuracy of the OCR engine when extracting text. The Document Detection API only works with images up to 2000×2000 pixels. You can use the Resize task to adjust your image size to be compatible with Document Detection.
Document Detection is available as a synchronous task in the Processing API with the following task:
doc_detection=coords:<coords>,preprocess:<preprocess>Providing `coords` and `preprocess` is optional. If you omit these parameters and use the signature `/doc_detection/`, the defaults are `coords:false` and `preprocess:true`.
To use this task in the Processing API, you need a security policy and signature.
`coords` (boolean, default: false)
Indicates if the task should return the coordinates of the detected document in the image.
`preprocess` (boolean, default: true)
Indicates if the task should return the preprocessed image or the corrected one.
Examples
👉Get the coordinates of the detected document in the image (works the same with both values of preprocess):
https://cdn.filestackcontent.com/security=p:<POLICY>,s:<SIGNATURE>/doc_detection=coords:true,preprocess:true/<HANDLE> 👉Get the preprocessed and corrected document from your original image:
https://cdn.filestackcontent.com/security=p:<POLICY>,s:<SIGNATURE>/doc_detection=coords:false,preprocess:true/<HANDLE> 👉Get the corrected document from your original image:
https://cdn.filestackcontent.com/security=p:<POLICY>,s:<SIGNATURE>/doc_detection=coords:false,preprocess:false/<HANDLE>👉Use doc_detection in combination with other tasks like resize:
https://cdn.filestackcontent.com/security=p:<POLICY>,s:<SIGNATURE>/resize=h:<HEIGHT>/doc_detection=coords:false,preprocess:true/<HANDLE>👉Use doc_detection with an external URL:
https://cdn.filestackcontent.com/<FILESTACK_API_KEY>/security=p:<POLICY>,s:<SIGNATURE>/doc_detection=coords:<COORDS>,preprocess:<PREPROCESS>/<EXTERNAL_URL> 👉Use doc_detection with Storage Aliases:
https://cdn.filestackcontent.com/<FILESTACK_API_KEY>/security=p:<POLICY>,s:<SIGNATURE>/doc_detection=coords:<COORDS>,preprocess:<PREPROCESS>/src://<STORAGE_ALIAS>/<PATH_TO_FILE> Let’s test the APIs first using the Postman testing tool.
Testing with Postman
First, create an account at Filestack and get your API key.
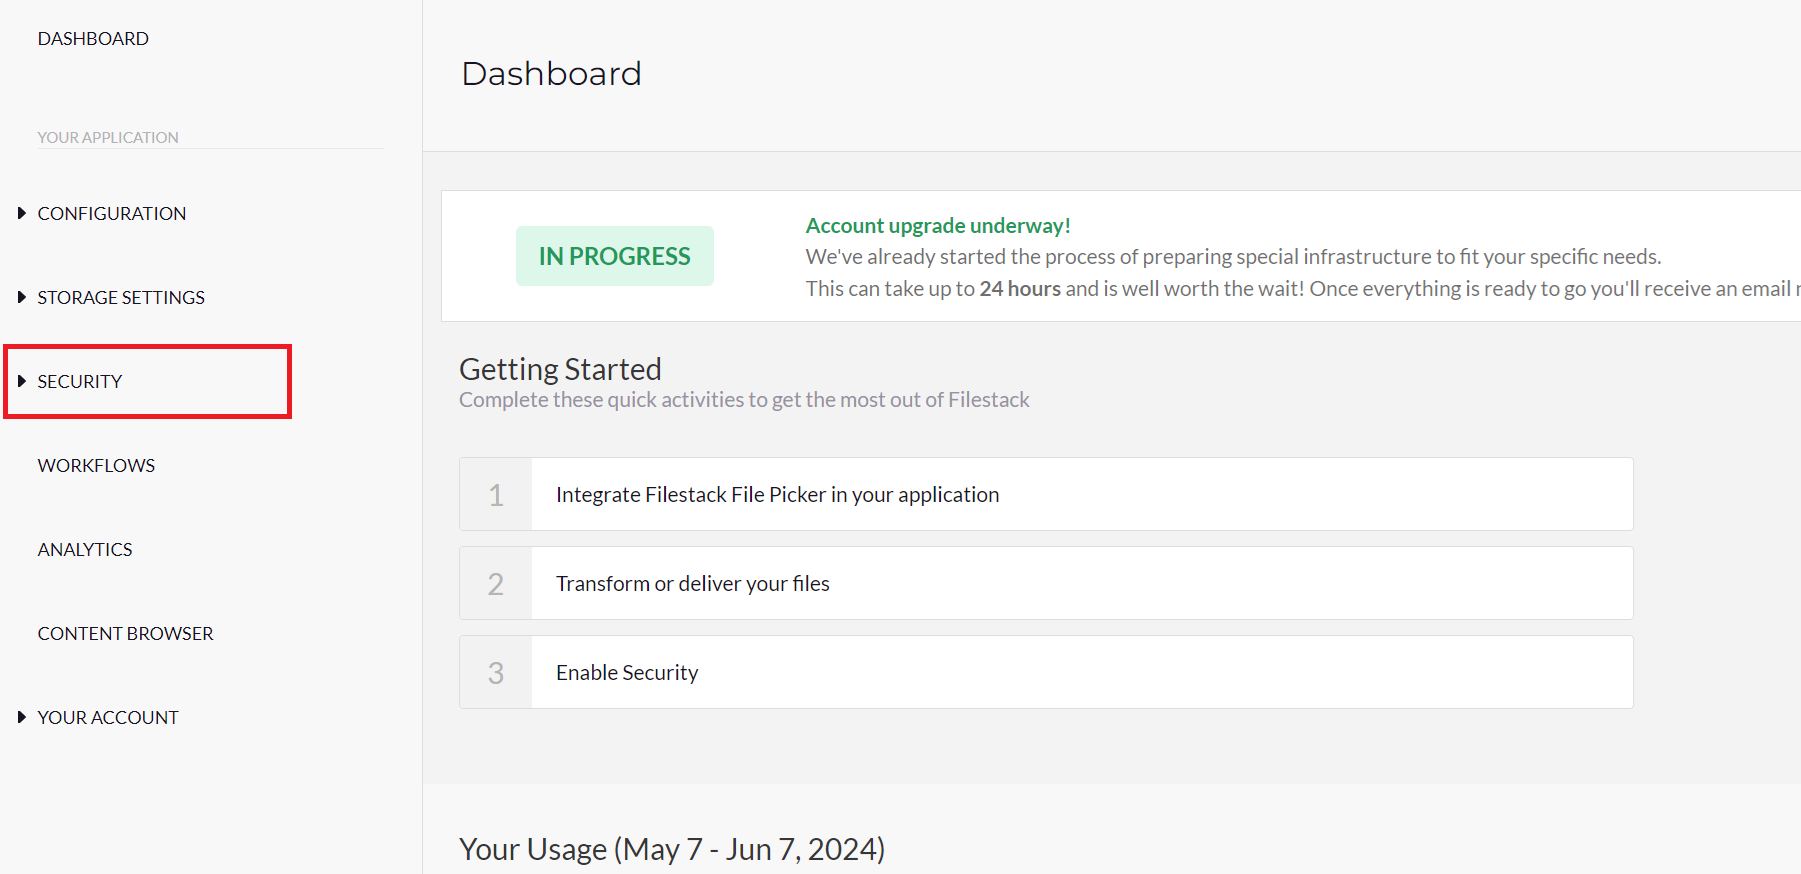
Next, navigate to the security tab given in the left column and get your policy and signature.
Check all the below boxes and set an expiry date:
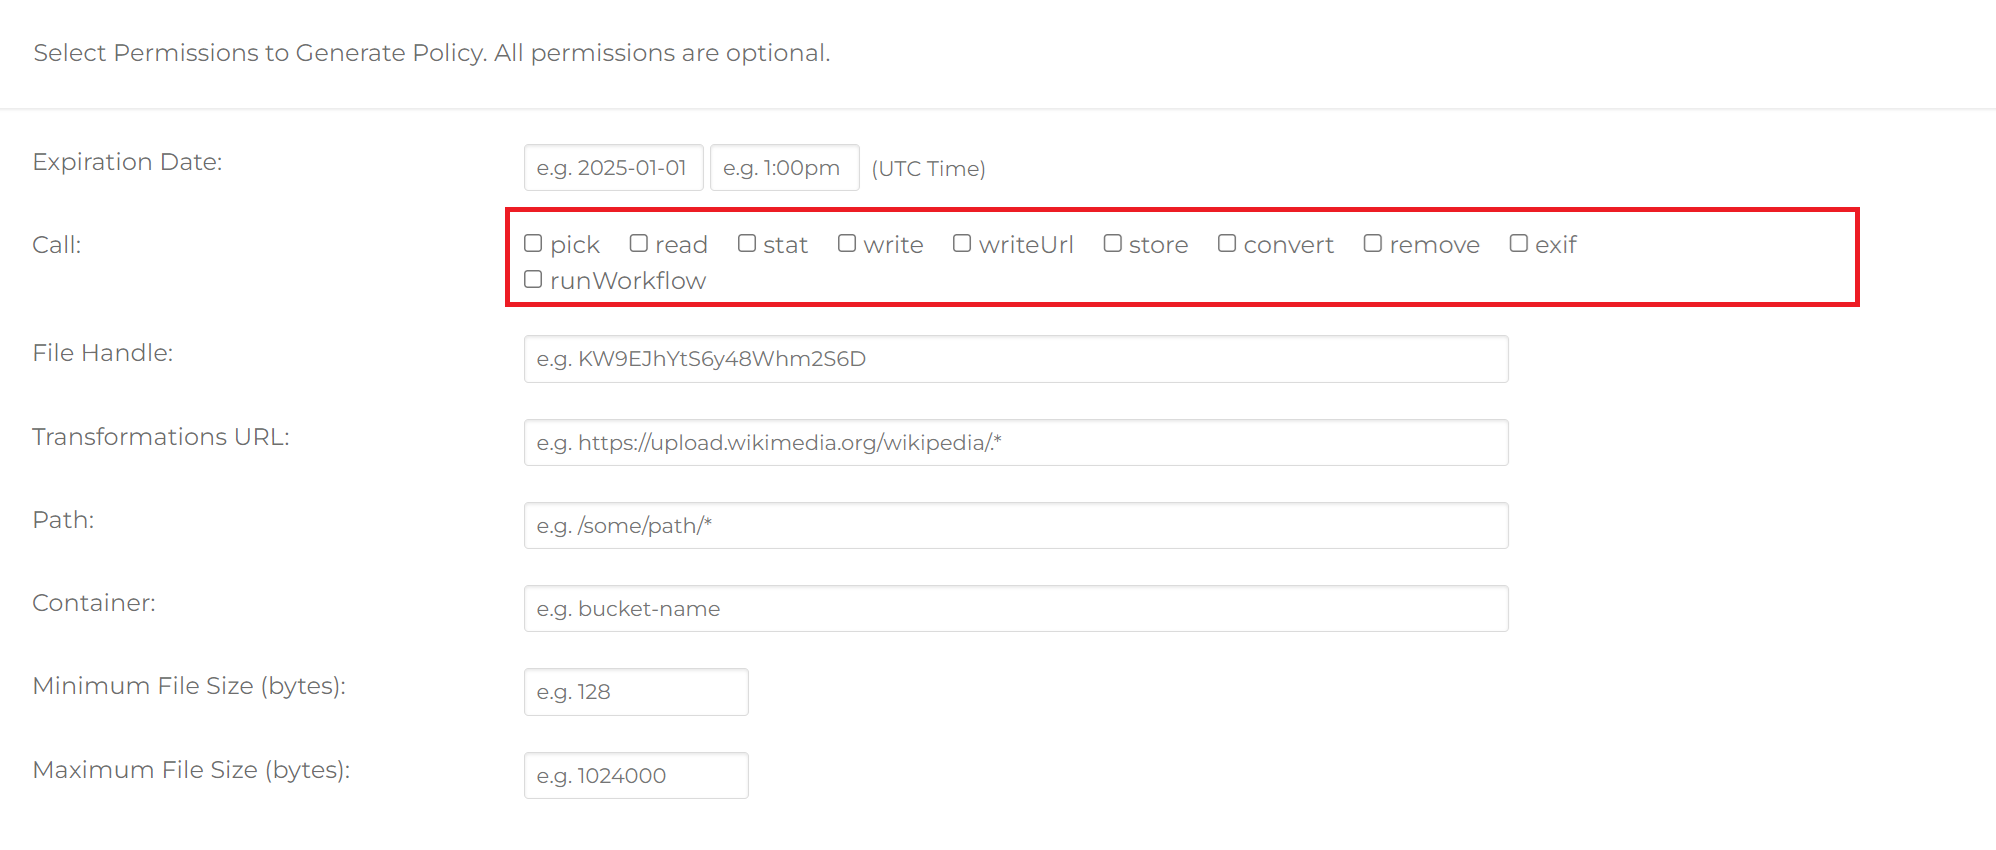
Then, scroll down to copy the security and policy. That’s all.
Next, move to the Postman and create a new GET request. Add the below URL to the request bar with all the parameters required:
https://cdn.filestackcontent.com/<FILESTACK_API_KEY>/security=p:<POLICY>,s:<SIGNATURE>/doc_detection=coords:<COORDS>,preprocess:<PREPROCESS>/<EXTERNAL_URL>
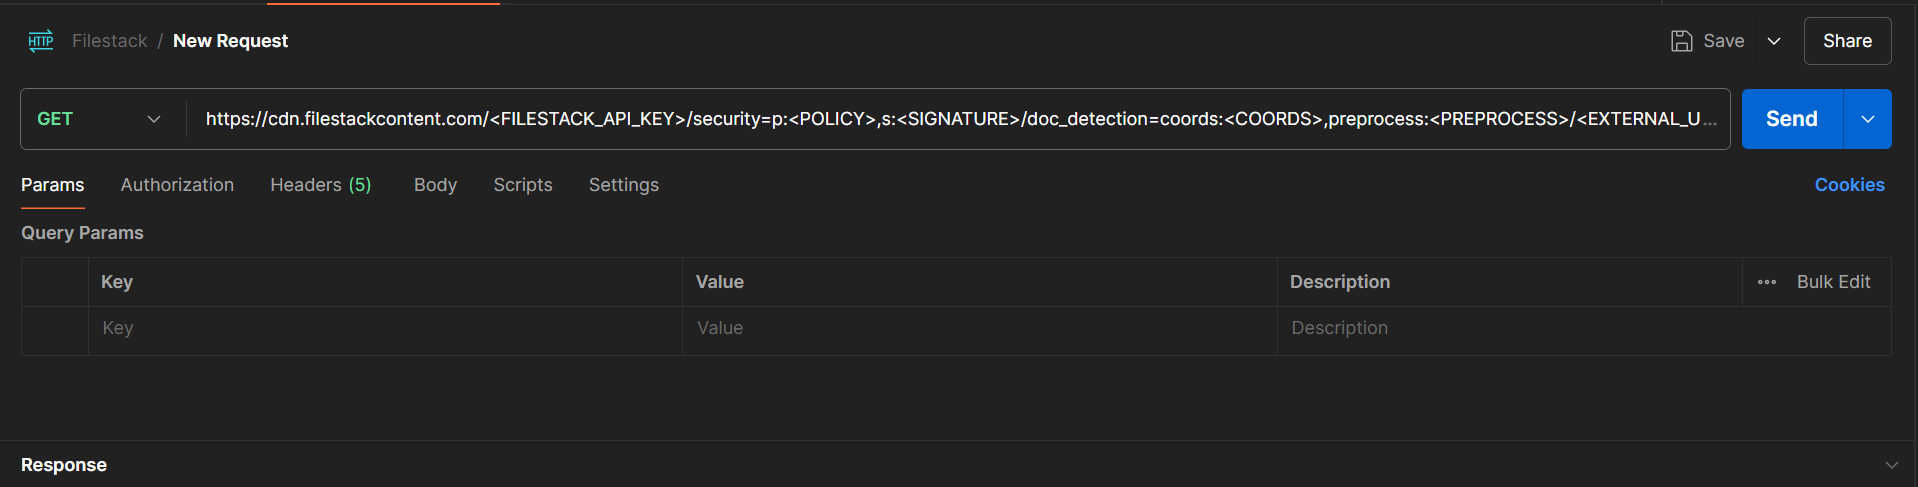
Click on the Send button after adding the API key, policy, and signature. You will get the response if the API key is working fine.
Make sure you also add the link to the image URL when testing the API request. You can also test the other endpoints in the same way. Let’s move to building our application now.
Building a sample app
Create a directory inside the command prompt.
mkdir docdetectionOpen the directory inside the Visual Studio Code.
cd docdetection

code .
Create an index.html file inside the Visual Studio Code and start writing your code.
Step 1: Set up the HTML structure
<!DOCTYPE html>

<html lang="en">

<head>

    <meta charset="UTF-8">

    <title>Document Detection</title>

    <!-CSS styles -->

</head>

<body>

    <div class="container">

        <h1>Document Detection by Filestack</h1>

        <button id="uploadButton">Upload Document</button>

        <button id="detectButton" style="display:none;" onclick="detectDocument()">Detect Document</button>

        <div id="output"></div>

    </div>

    <!-JavaScript code -->

</body>

</html>- `<!DOCTYPE html>` declares the document type and version of HTML.
- `<html lang=”en”>` defines the document as HTML and specifies the language as English.
- `<head>` contains meta-information about the document, such as the character set and the page title.
- `<meta charset=”UTF-8″>’ sets the character encoding to UTF-8, which supports a wide range of characters.
- `<title>Document Detection</title>` sets the title of the document, which appears in the browser tab.
- `<body>` contains the visible content of the document.
- `<div class=”container”>` defines a container for the content with a maximum width of 600px, centered on the page.
- `<h1>Document Detection by Filestack</h1>` displays a heading for the document detection feature.
- `<button id=”uploadButton”>Upload Document</button>` creates a button with the id “uploadButton” for uploading a document.
- `<button id=”detectButton” style=”display:none;” onclick=”detectDocument()”>Detect Document</button>` creates a button with the id “detectButton” for detecting a document. It is initially hidden (`display:none;`) and is shown after a document is uploaded.
- `<div id=”output”></div>` creates a div with the id “output” for displaying the detection result.
Step 2: Add CSS styles
<style>

    body {

        font-family: Arial, sans-serif;

        margin: 0;

        padding: 20px;

        text-align: center;

        background-color: orangered; /* Light gray background */

    }

    .container {

        max-width: 600px;

        margin: 0 auto;

        background-color: #fff; /* White container background */

        padding: 20px;

        border-radius: 8px; /* Rounded corners for container */

        box-shadow: 0 2px 4px rgba(0,0,0,0.1); /* Shadow for container */

    }

    /* Other styles */

</style>- `body` sets the font family, margin, padding, text alignment, and background color for the entire document.
- `.container` styles the container with a maximum width, margin for centering, background color, padding, border radius for rounded corners, and box shadow for a 3D effect.
You can find complete styles in the complete code given at GitHub.
Step 3: Add the Filestack JavaScript SDK
<script src="https://static.filestackapi.com/filestack-js/3.x.x/filestack.min.js"></script>Step 4: Add JavaScript code
<script>

    const apiKey = 'YOUR_API_KEY'; // Replace 'YOUR_API_KEY' with your actual Filestack API key

    const client = filestack.init(apiKey);

    let fileHandle = '';


    document.getElementById('uploadButton').addEventListener('click', () => {

        client.picker({

            onUploadDone: (result) => {

                fileHandle = result.filesUploaded[0].handle;

                document.getElementById('detectButton').style.display = 'inline';

            }

        }).open();

    });


    function detectDocument() {

        const processingUrl = `https://cdn.filestackcontent.com/${apiKey}/security=p:eyJjYWxsIjpbInBpY2siLCJyZWFkIiwic3RhdCIsIndyaXRlIiwid3JpdGVVcmwiLCJzdG9yZSIsImNvbnZlcnQiLCJyZW1vdmUiLCJleGlmIiwicnVuV29ya2Zsb3ciXSwiZXhwaXJ5IjoxNzE2OTIyODAwfQ==,s:110b2a7e0ec002856207c9aee4153bc498ab00a8bdadffd15c0da130c1f0be88/doc_detection=coords:true/${fileHandle}`;


        window.open(processingUrl, '_blank');

    }

</script>
`const apiKey = ‘YOUR_API_KEY’;` replaces `’YOUR_API_KEY’` with your actual Filestack API key.
- `const client = filestack.init(apiKey);`: Initializes the Filestack client with your API key.
- `let fileHandle = ”;` initializes a variable to store the uploaded file handle.
- `document.getElementById(‘uploadButton’).addEventListener(‘click’, () => { … });` adds an event listener to the upload button. When clicked, it opens the Filestack file picker.
- `client.picker({ … }).open();` opens the Filestack file picker and waits for the user to upload a file.
- `onUploadDone: (result) => { … }` defines a callback function that runs when the upload is complete. It stores the file handle and displays the detect button.
- `function detectDocument() { … }` defines a function to detect the document. It constructs a URL with the file handle and opens a new window with the processed document.
Remember to replace `’YOUR_API_KEY’` with your actual Filestack API key before running the code.
Get the complete code at GitHub: https://github.com/devayesha23/Document_DetectionApp
Output
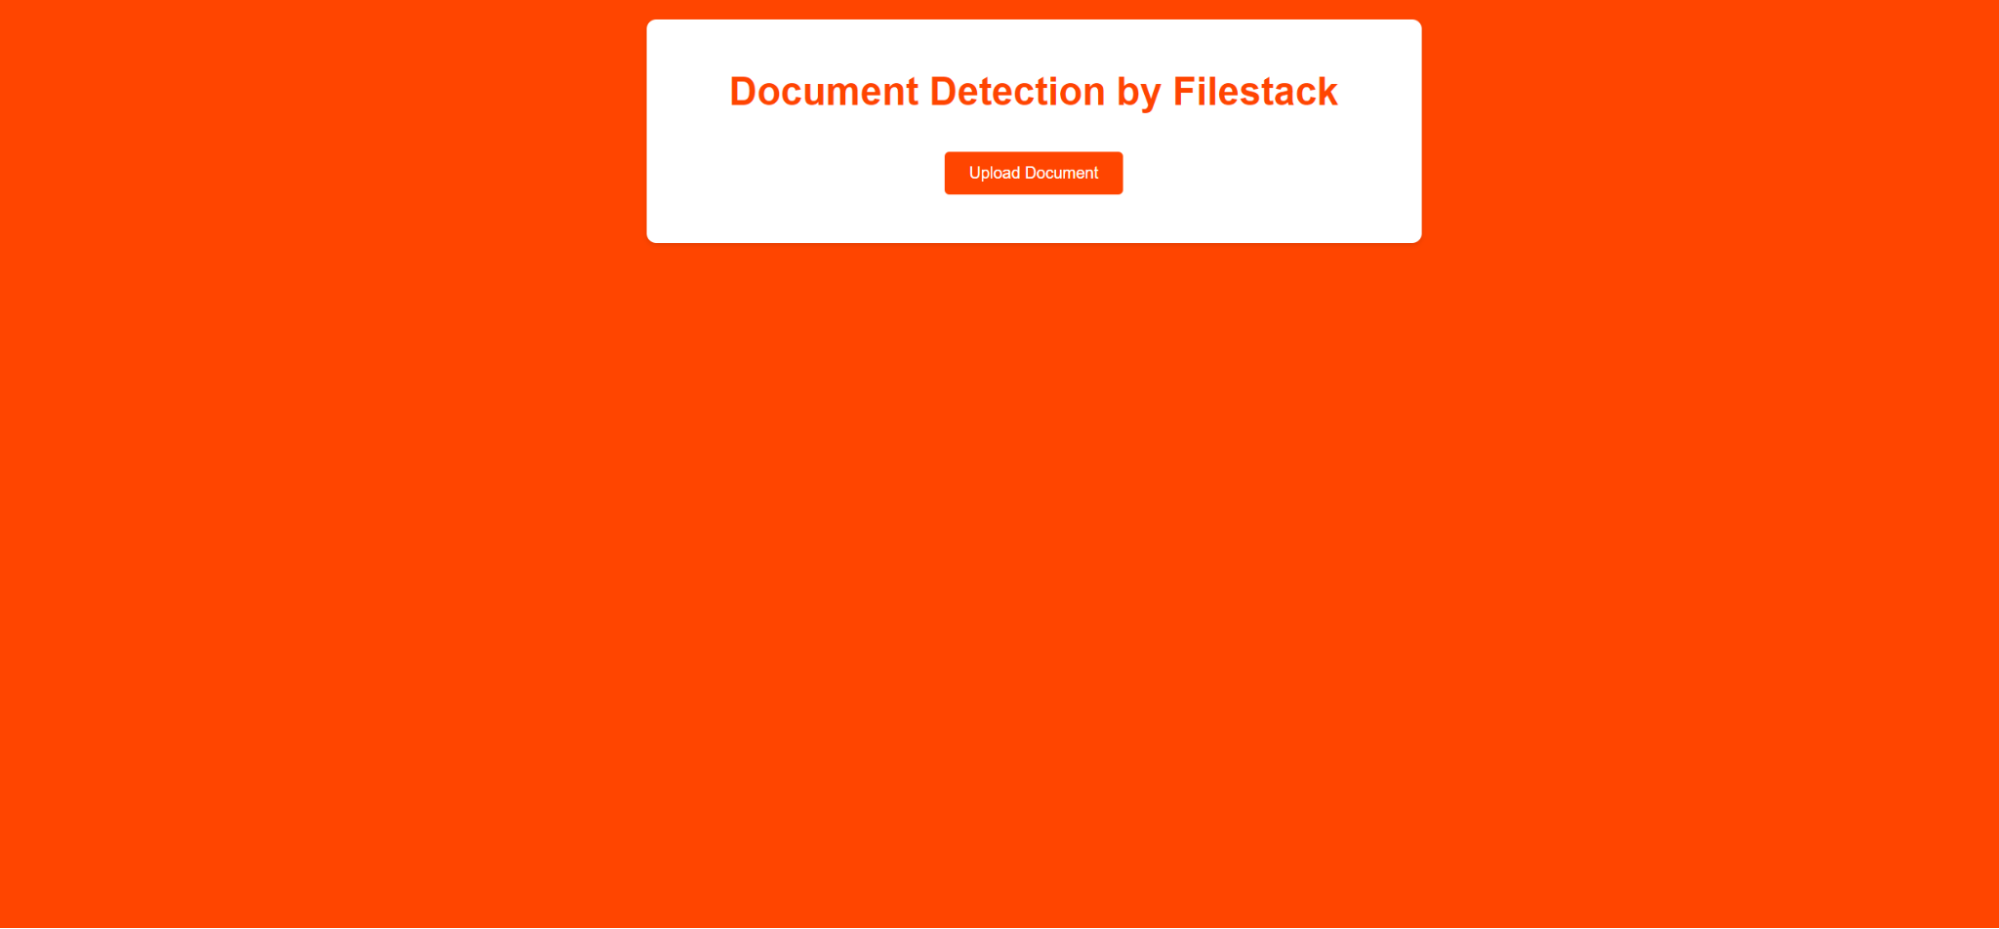
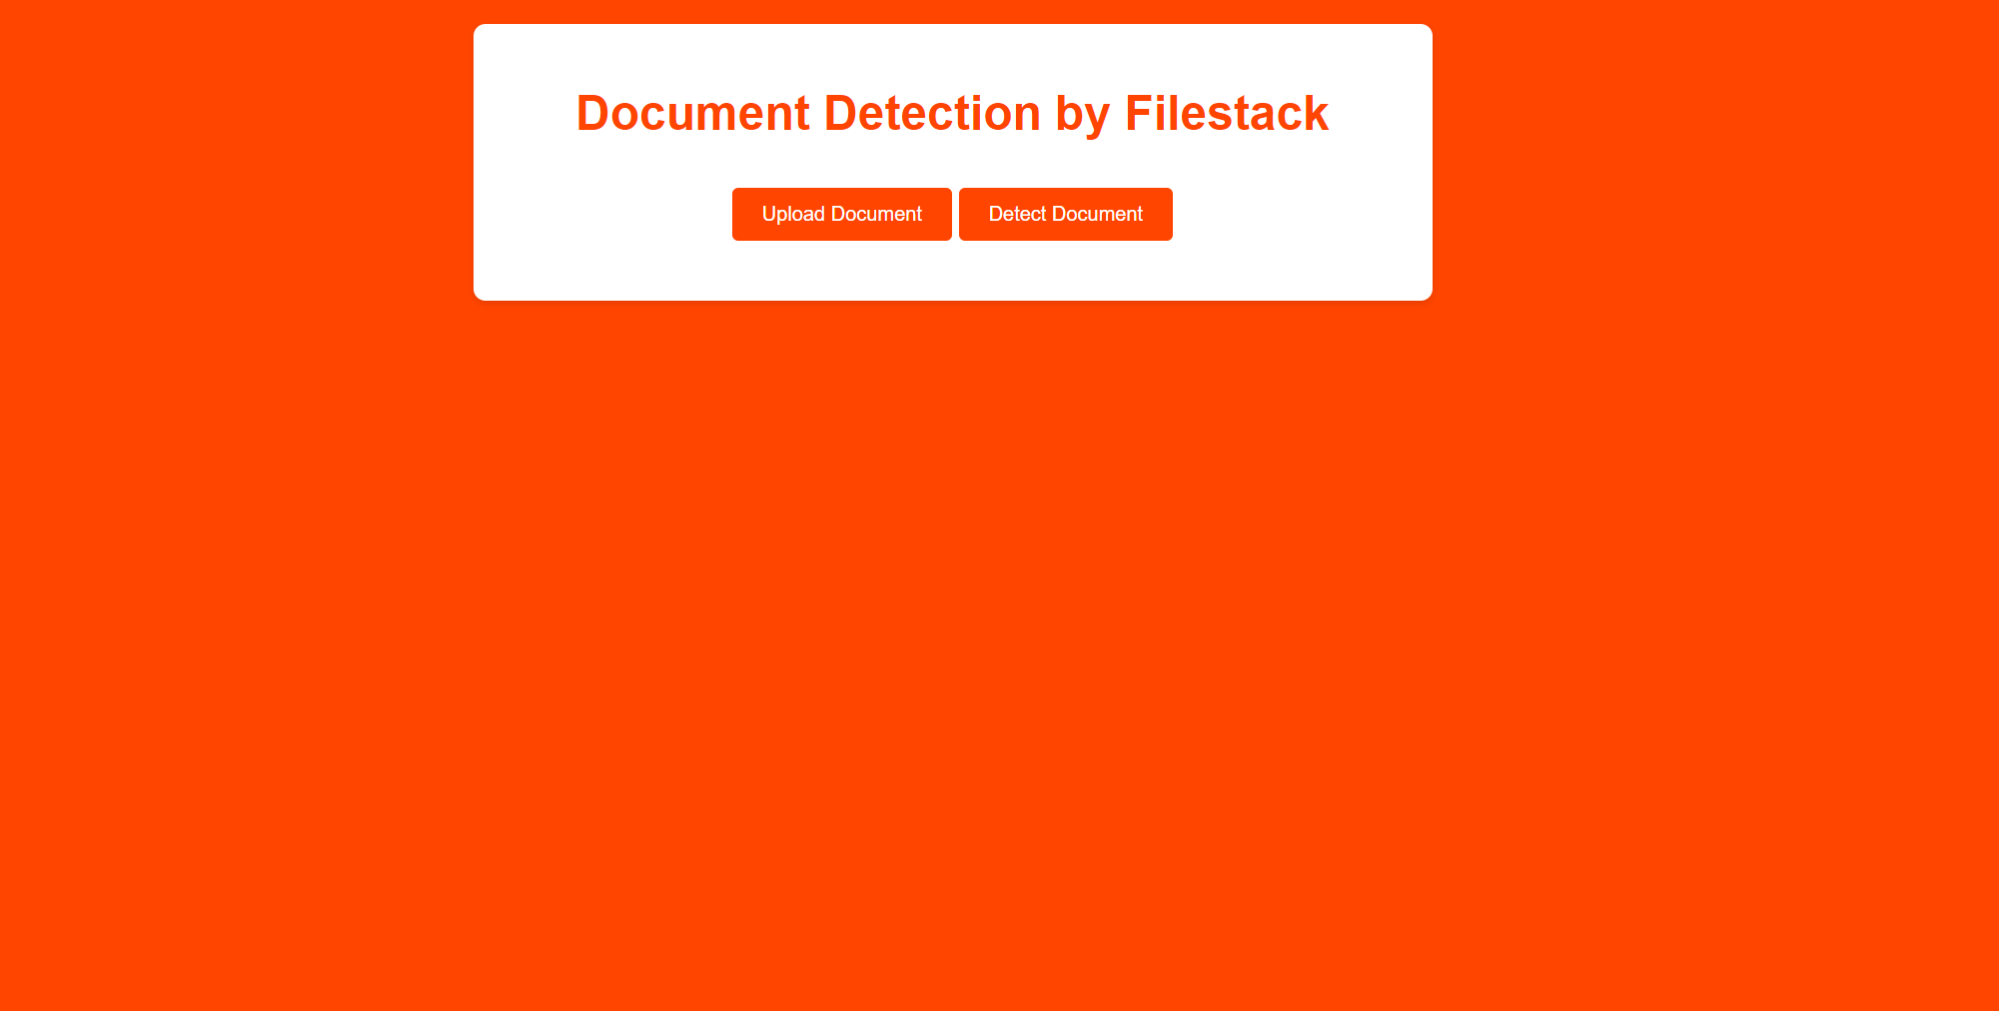
When you run the application, here is the main web page you get:
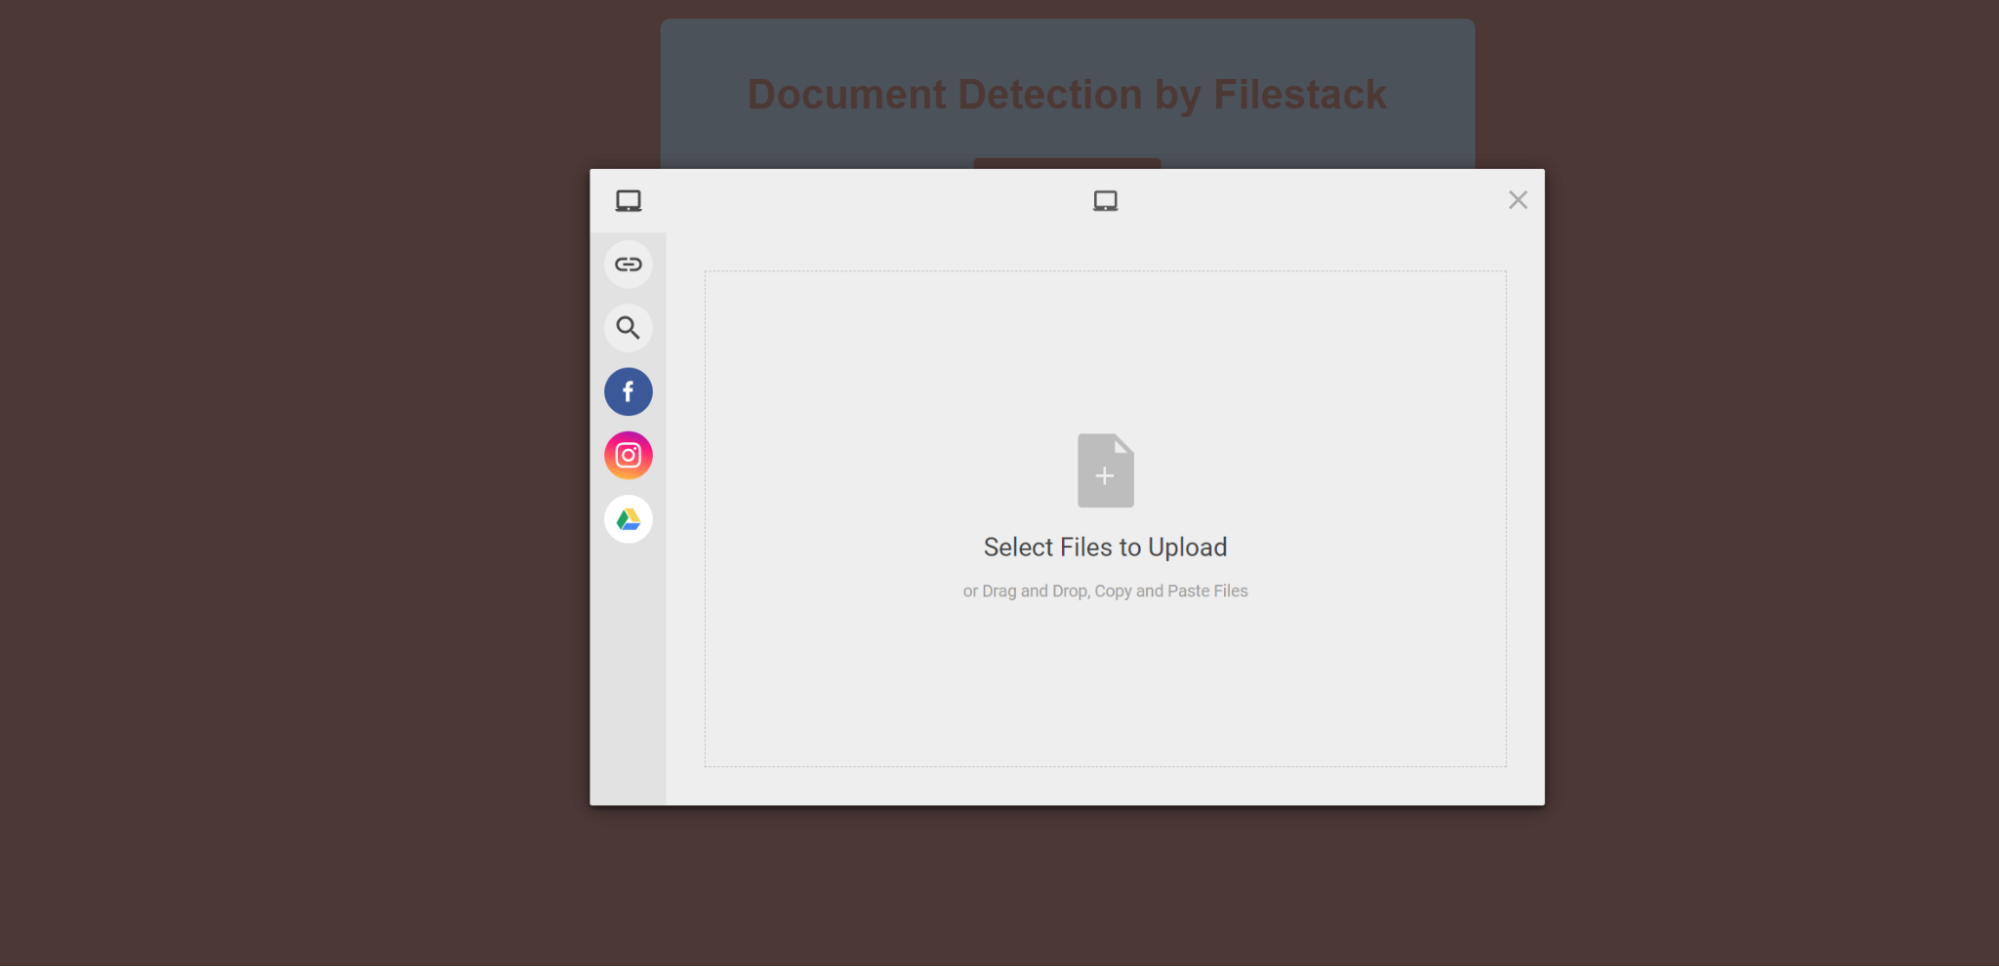
Click on the upload document, and it will open the Filestack document uploader:
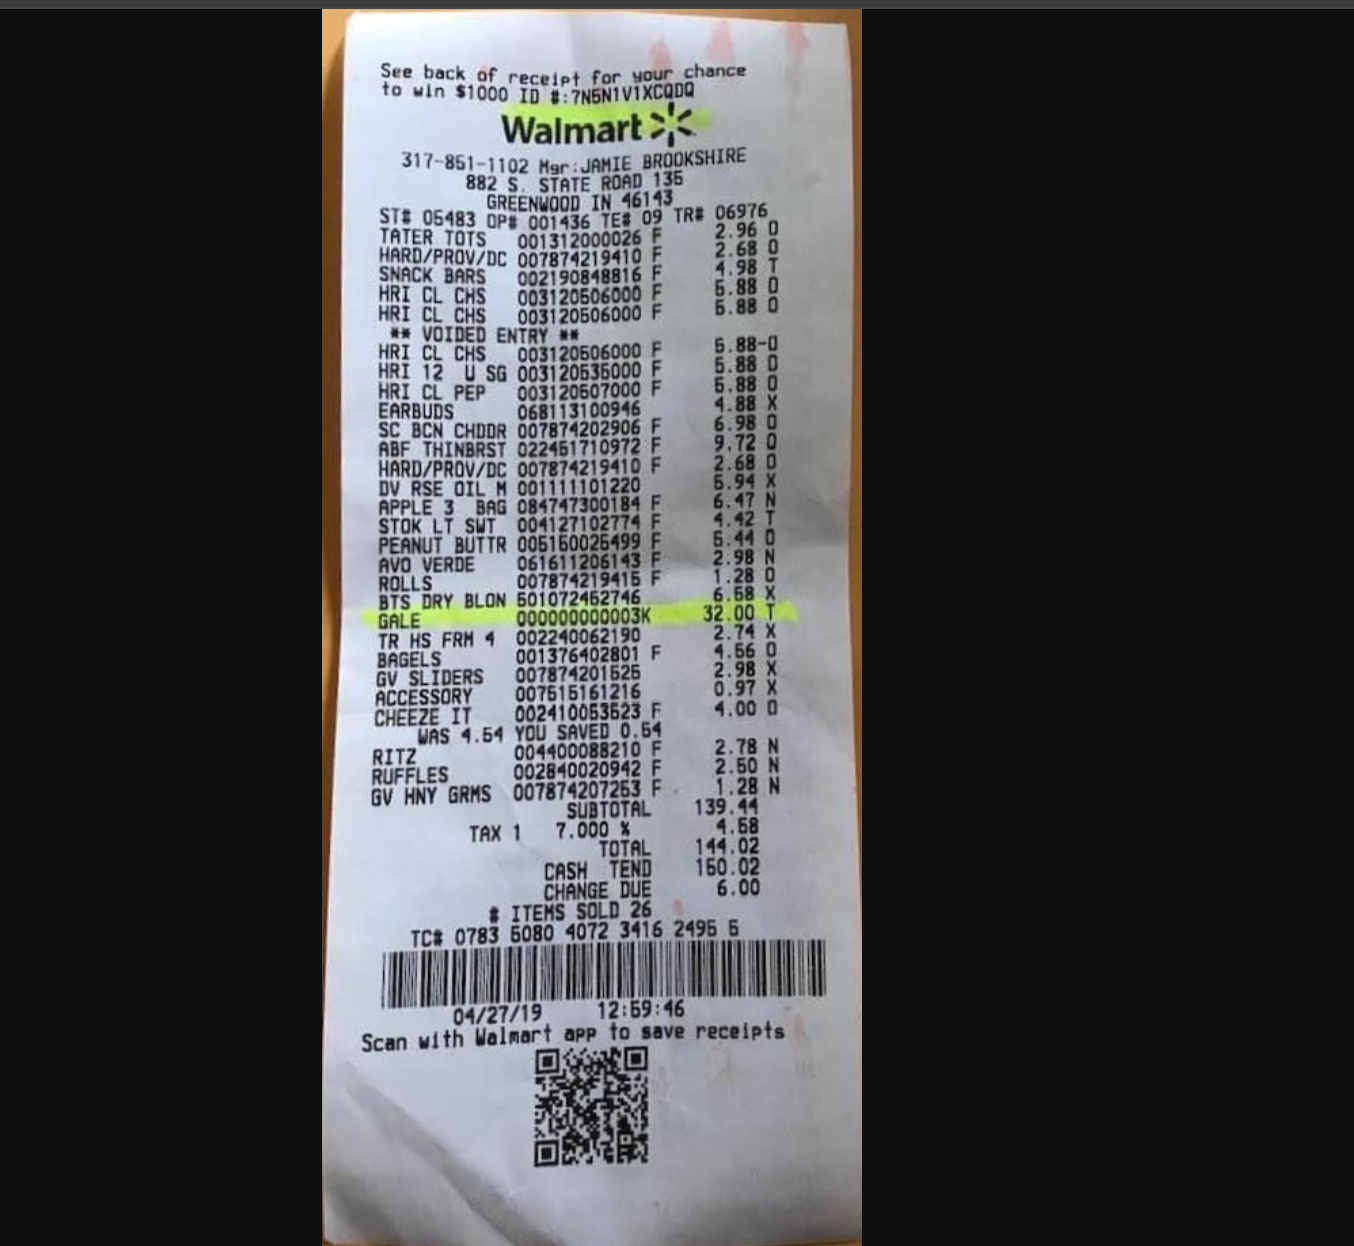
Select your invoices or receipts and click on upload as under:
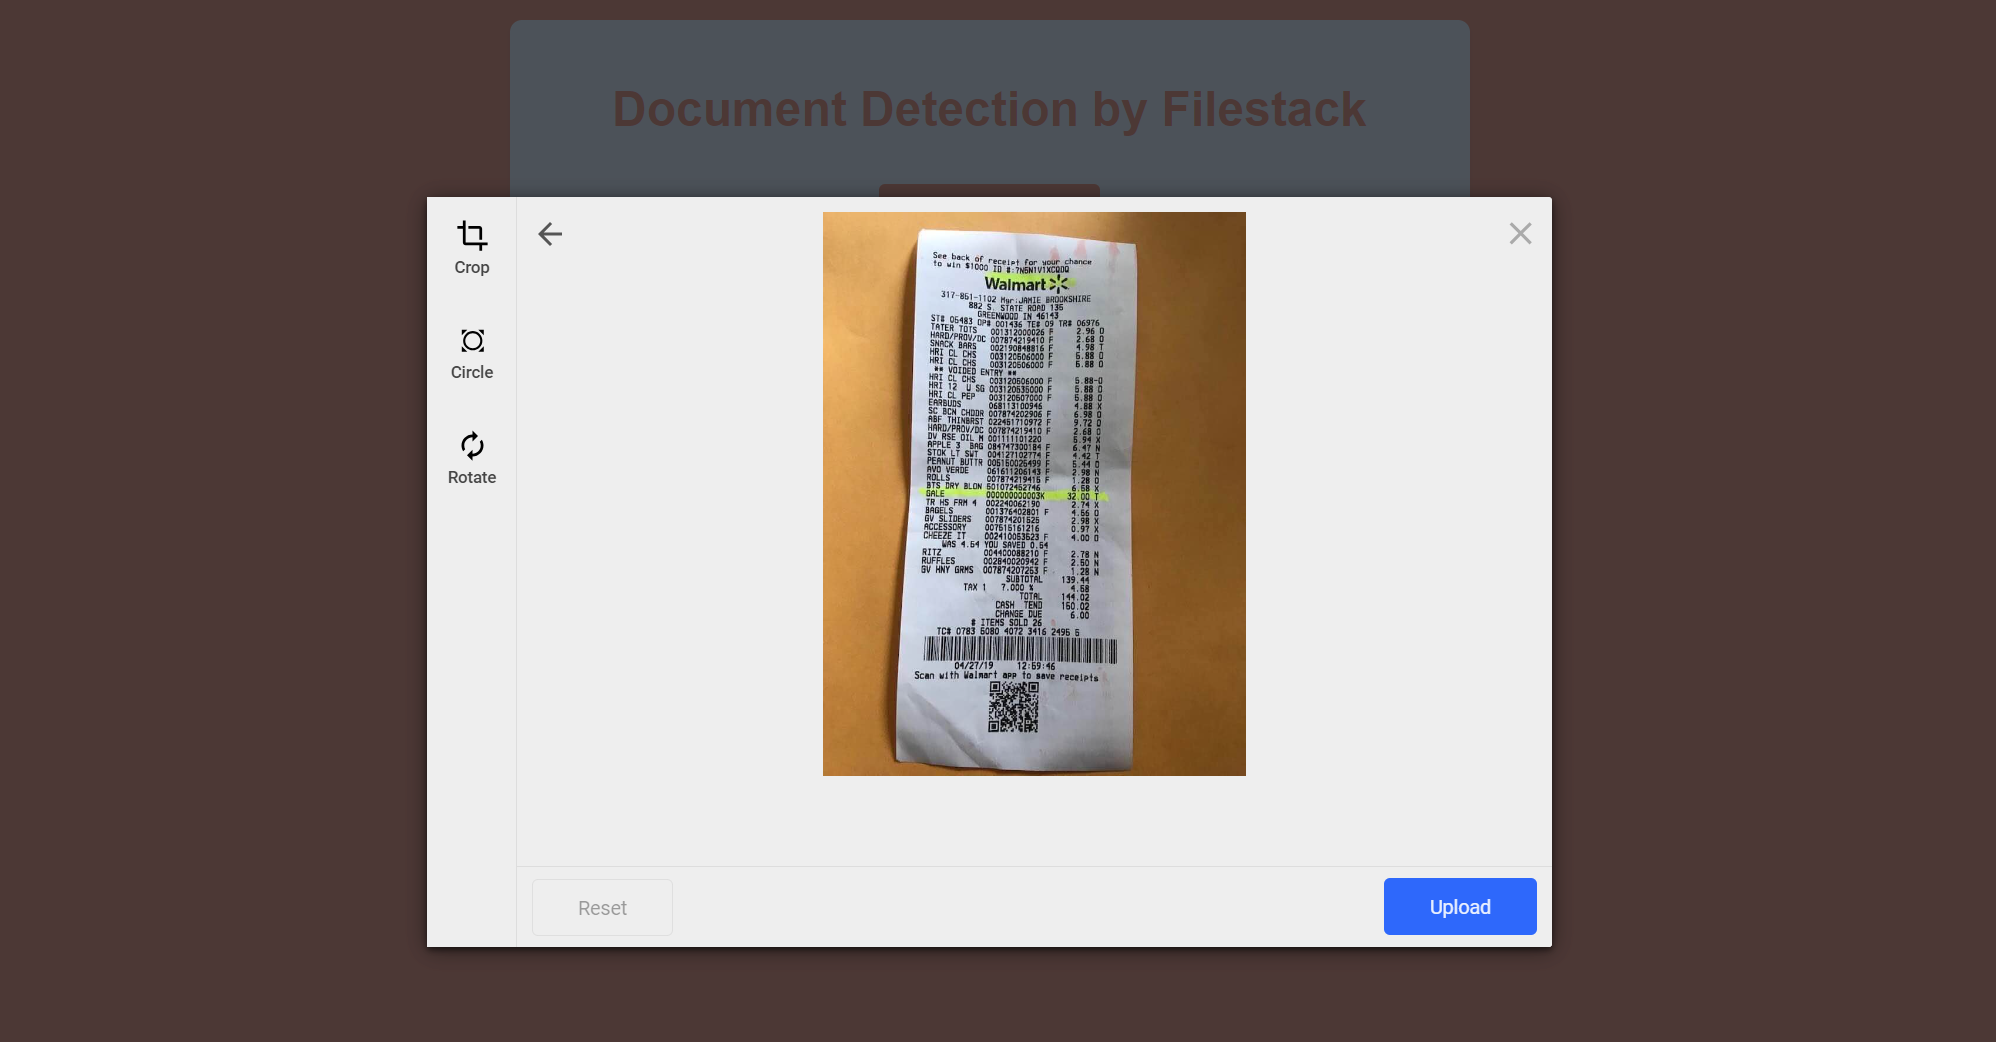
After uploading the document, you will get a button to detect the document:
Now, there is an important thing to understand. In our app, we will play with different parameters and show you their output.
First, we will set our app’s default values. These are coordinates set to false and preprocess set to true.
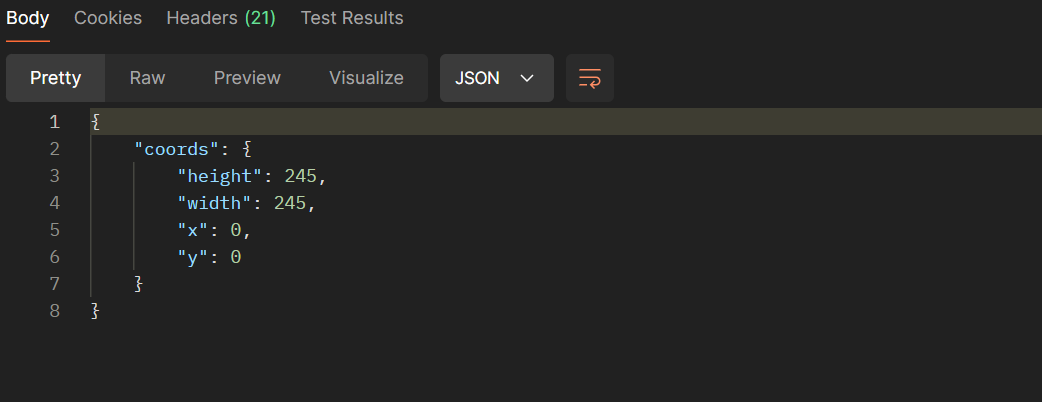
The above output comes when we use the default values in our app. For the same receipt, when we set coords to true, we get the details as follows:
{

  "coords": {

    "height": 495,

    "width": 398,

    "x": 145,

    "y": 26

  }

}
Finally, when we set coords:false,preprocess:false, we get the below output:
Conclusion
Document detection technology, like the one offered by Filestack API, helps businesses handle receipts and invoices more efficiently. It automatically finds and extracts information from these documents. Therefore saving time and reducing mistakes.
Filestack API makes it easy to add document detection to your apps. It can identify documents in images, adjust them for better processing, and improve the accuracy of extracting text. This simplifies the process of implementing document detection.
By using Filestack API, businesses can improve their document management. Integrating document detection technology into your apps using Filestack API can greatly improve your document management processes. Furthermore, it makes them more efficient and less prone to errors.
FAQs
Can we rely on Filestack to process sensitive document information?
You can trust Filestack to handle important document details safely. Filestack uses strong security measures like encryption to keep your information safe. It also follows rules and standards to make sure your documents are handled carefully and securely.
How much does Filestack document detection cost?
Filestack has different pricing plans. The basic plan starts at $69 per month.
What is the best API to detect documents?
Filestack’s Document Detection API is great for spotting documents in images and making them easier to read. It adjusts the documents to improve how they’re understood and makes sure the text is extracted accurately. Plus, it’s simple for developers to use in their apps.
Is it easy to integrate Filestack for document detection?
Integrating Filestack for document detection is straightforward. Filestack offers clear instructions and easy-to-use tools that developers can quickly understand. You can visit their documentation and check all the integration details with examples.
Sign Up for free to detect documents using the Filestack API.

Ayesha Zahra is a Geo Informatics Engineer with hands-on experience in web development (both frontend & backend). Also, she is a technical writer, a passionate programmer, and a video editor. She is always looking for opportunities to excel in her skills & build a strong career.
Read More →