
Modern web applications often need to handle dozens or even thousands of files at once. For products like document managers, cloud storage platforms, design tools, or CMSs, asking users to upload files one by one quickly becomes frustrating.
That’s where folder upload makes a real difference. Allowing users to upload entire folders (while preserving structure) saves time, reduces errors, and creates a far smoother experience, especially in production apps with real users.
This guide walks through:
- How folder upload works with native JavaScript
- Where the native approach starts to break down
- How a production-ready solution like Filestack simplifies folder uploads at scale
Why Folder Upload Matters
Before getting into the implementation, it’s important to understand why folder upload is so useful in modern web apps:
- Saves time for users: Users can upload an entire project, image set, or document collection in one action instead of selecting files individually.
- Keeps folder structure intact: When users upload a folder, the original folder and subfolder structure stay the same. This is very important for things like code projects, design files, or any system where file organisation matters.
- Makes the experience smoother: Folder upload feels familiar to users who are used to desktop apps or other platforms. This reduces confusion and makes it easier for new users to get started.
Once you understand the value of folder upload, the next question is how to implement it on the web.
The Native JavaScript Approach
Modern browsers allow folder uploads using the HTML5 File API. This is done with a special attribute called webkitdirectory.
Setting Up the HTML
<input
  type="file"
  id="folderInput"
  webkitdirectory
  directory
  multiple
/>
<div id="fileList"></div>
Here,
- The
webkitdirectoryattribute tells the browser to let users select a folder instead of individual files. - The
directoryattribute is added for better browser support. - The
multipleattribute allows all files inside the folder to be selected.
When a user clicks this input, the file picker opens and asks them to choose a folder. All files inside that folder (including subfolders) are then available in JavaScript.

Handling the Upload in JavaScript
Now, let’s write JavaScript code to detect when a user selects a folder, access all the files inside it, display their details, and trigger the upload process.
const folderInput = document.getElementById('folderInput');
const fileList = document.getElementById('fileList');
folderInput.addEventListener('change', function(event) {
const files = event.target.files;
// Convert FileList to array for easier manipulation
const fileArray = Array.from(files);
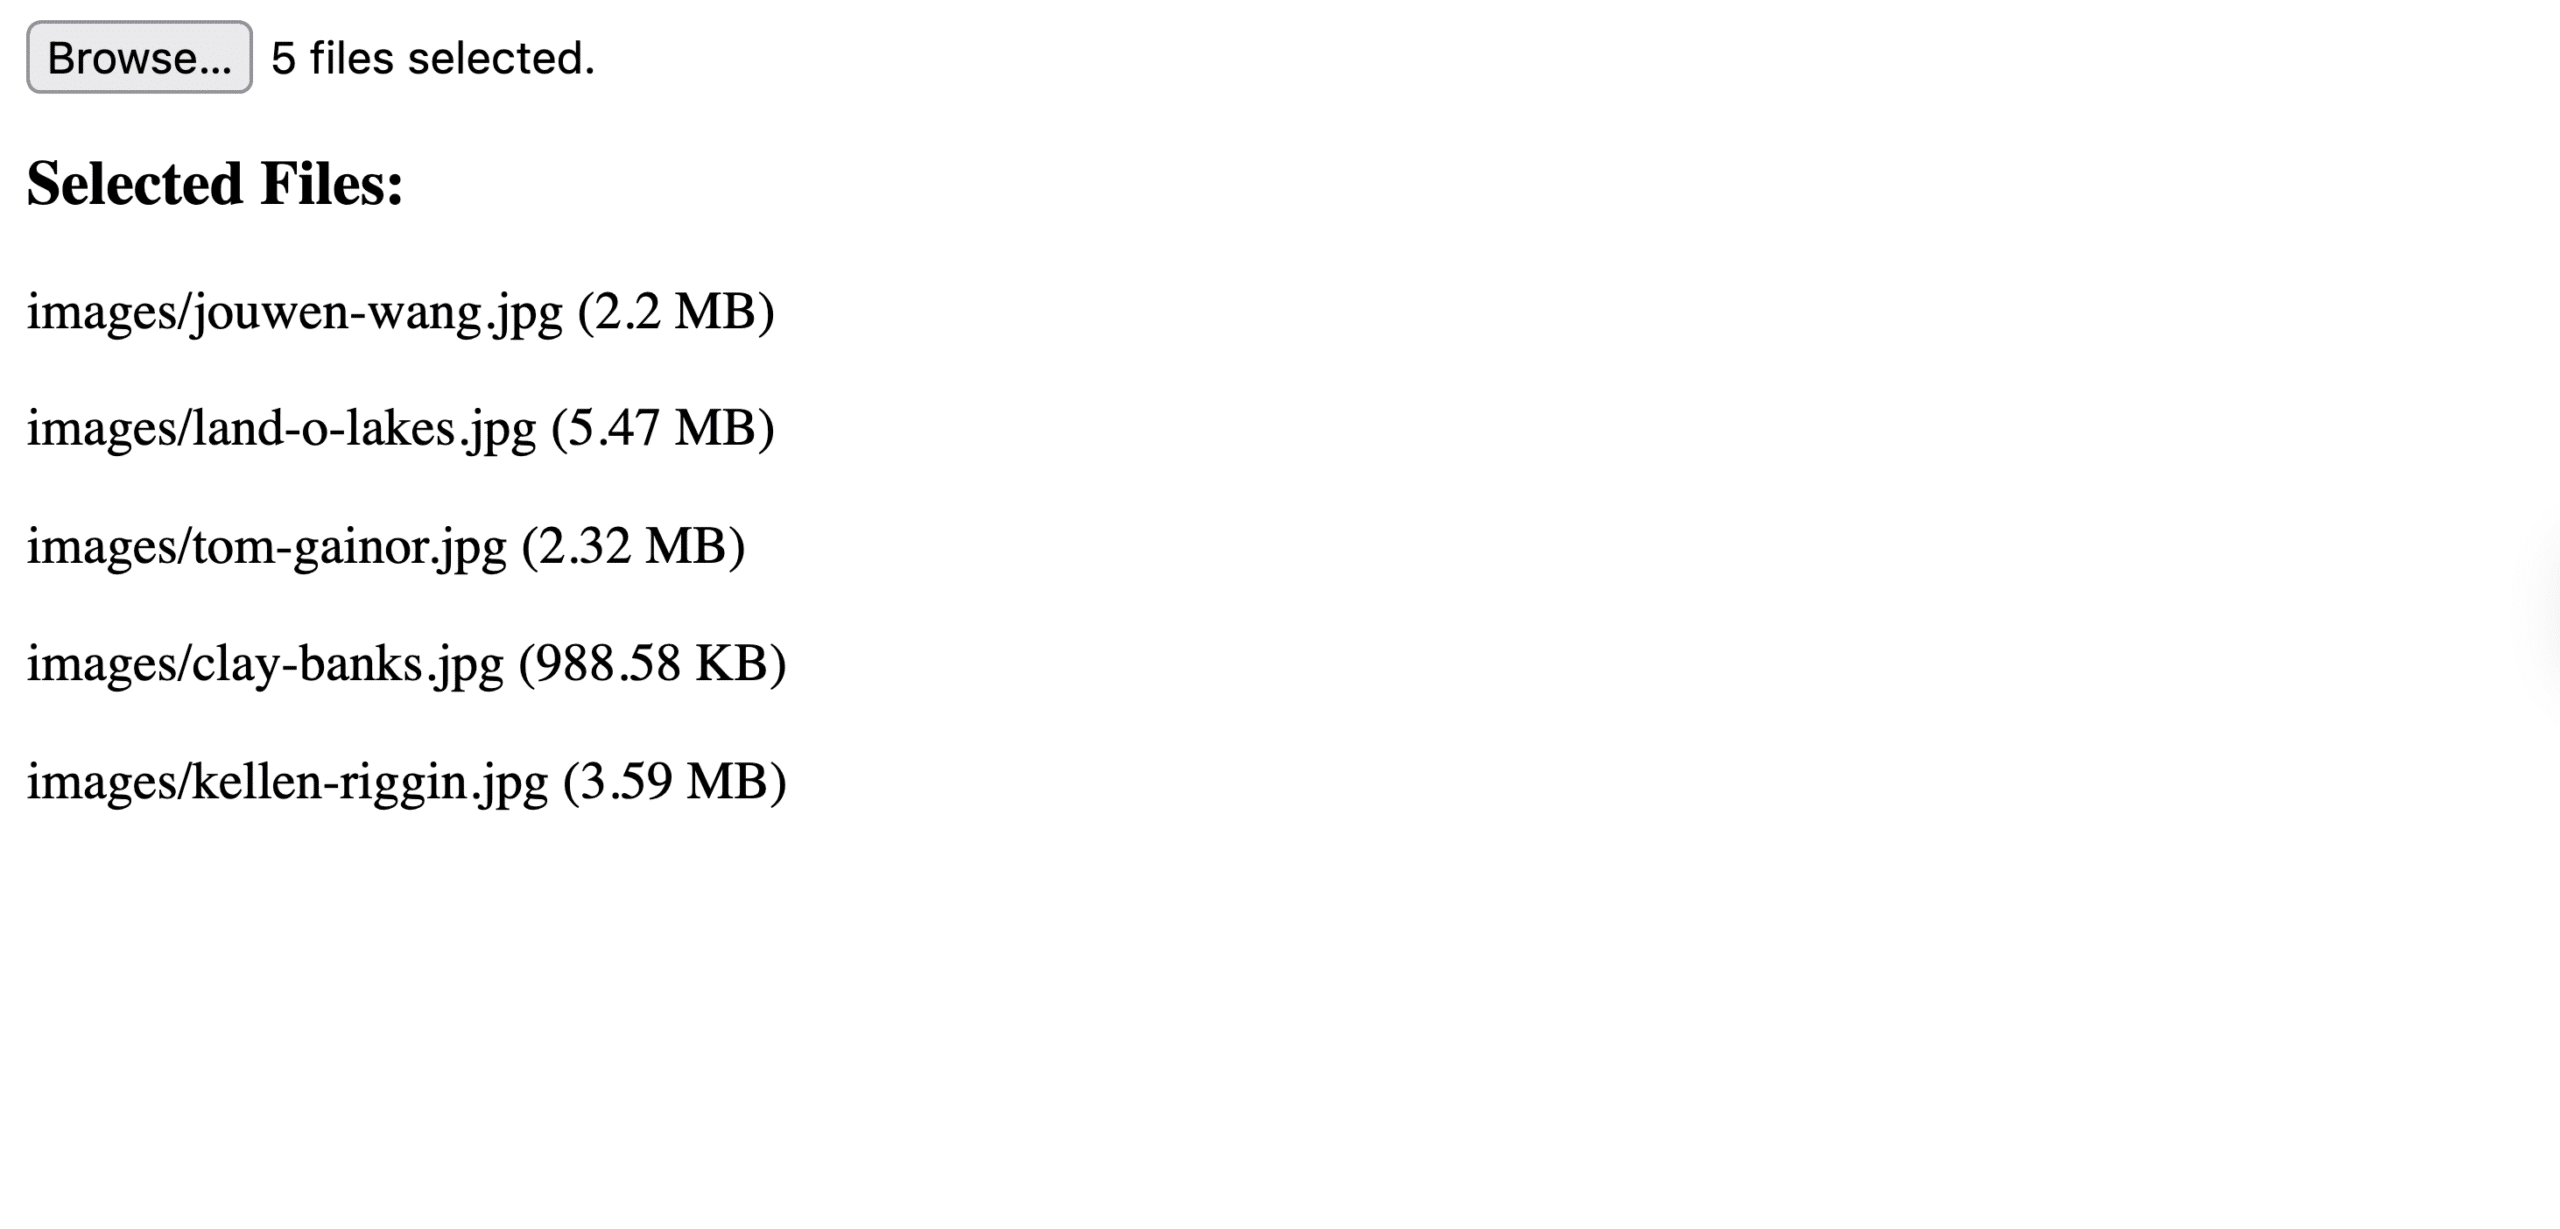
// Display selected files with their paths
fileList.innerHTML = '<h3>Selected Files:</h3>';
fileArray.forEach(file => {
const relativePath = file.webkitRelativePath || file.name;
fileList.innerHTML += `<p>${relativePath} (${formatFileSize(file.size)})</p>`;
});
// Upload files
uploadFolder(fileArray);
});
function formatFileSize(bytes) {
if (bytes === 0) return '0 Bytes';
const k = 1024;
const sizes = ['Bytes', 'KB', 'MB', 'GB'];
const i = Math.floor(Math.log(bytes) / Math.log(k));
return Math.round(bytes / Math.pow(k, i) * 100) / 100 + ' ' + sizes[i];
}
What this code does:
- Listens for when a user selects a folder.
- Converts the selected files into a normal array.
- Displays each file name along with its folder path.
- Shows file sizes in a readable format (KB, MB, etc.).
- Sends all selected files for upload.
Uploading Files to Your Server
Once the files are ready, you can send them to your server using FormData and the Fetch API.
async function uploadFolder(files) {
  const formData = new FormData();

  // Add each file to the FormData object
  files.forEach((file, index) => {
    // Preserve the folder structure in the form data
    formData.append('files[]', file, file.webkitRelativePath);
  });

  try {
    const response = await fetch('/api/upload', {
      method: 'POST',
      body: formData
    });

    if (response.ok) {
      const result = await response.json();
      console.log('Upload successful:', result);
    } else {
      console.error('Upload failed:', response.statusText);
    }
  } catch (error) {
    console.error('Upload error:', error);
  }
}
What this code does:
- Creates a
FormDataobject to send files. - Adds each file while keeping its folder structure.
- Sends files to the server using a POST request.
- Handles success and error responses properly.
This approach works well for basic folder uploads and is supported by most modern browsers.
Limitations of the Native Approach
While this native solution works, it can be difficult to manage in real-world production apps:
- Browser compatibility: The
webkitdirectoryattribute works in most modern browsers, but it’s not part of the official HTML standard. Because of this, support can vary depending on the browser and version. - No upload progress feedback: Using Fetch doesn’t provide upload progress, and implementing it with XMLHttpRequest requires extra manual work. For large uploads, users won’t know whether the upload is still running or stuck.
- Limited error handling: Issues like network errors, timeouts, or server failures need a lot of custom code to handle properly. When uploading many files, you also need retry logic and ways to deal with partial failures.
- Problems with large uploads: Uploading big folders can fail due to browser memory limits, server timeouts, or file size restrictions. To avoid this, you have to build chunked or batch uploads yourself.
- No built-in file validation: You need to manually check file types, file sizes, and other rules before uploading to prevent invalid or unsafe files.
- Security risks: Secure file uploads require extra care, such as proper server-side validation, CORS setup, and protection against CSRF attacks. Handling all of this correctly takes additional effort.
At this point, the challenge is no longer selecting files, but handling reliability, scale, and user experience without building everything from scratch.
A Production-Ready Solution with Filestack
In production environments, building all these features from scratch can take a lot of time and effort. Filestack offers a ready-made folder upload solution that takes care of these challenges for you, while also providing a clean user interface and a reliable, scalable infrastructure.
Setting Up Filestack
First, create a Filestack account to get your API key. After that, add the Filestack CDN to your project so you can start using its upload features.
<script src="<https://static.filestackapi.com/filestack-js/4.x.x/filestack.min.js>"></script>
Implementing Folder Upload with Filestack
Here’s how simple folder upload becomes with Filestack:
// Initialise the Filestack client
const client = filestack.init("YOUR_API_KEY");

// Configure the picker with folder upload enabled
const options = {
  accept: ["*/*"], // Accept all file types
  maxFiles: 1000, // Maximum files per upload
  uploadInBackground: false,
  onUploadDone: (result) => {
    console.log("Upload complete:", result);
    result.filesUploaded.forEach((file) => {
      console.log(`Uploaded: ${file.filename} - ${file.url}`);
    });
  },
};

// Open the picker
const picker = client.picker(options);
document.getElementById("uploadBtn").addEventListener("click", () => {
  picker.open();
});
What this does:
- Initialises Filestack using your API key.
- Configures upload settings like file types and limits.
- Automatically supports folder uploads through drag-and-drop or folder selection.
- Handles the entire upload process and returns uploaded file details.
- Removes the need for custom folder logic or browser-specific attributes.

With both approaches in mind, it’s easier to see how they compare in real development scenarios.
Comparing Approaches
Let’s look at the main differences between building a folder upload yourself and using Filestack:
- Development time: A native solution means writing code for file selection, validation, chunk uploads, progress tracking, error handling, retries, and cloud storage support. This can easily take weeks. With Filestack, you can set up a production-ready folder upload in less than an hour.
- Ongoing maintenance: Native uploads need regular updates for browser changes, security fixes, and performance improvements. Filestack manages all of this for you, so your team can focus on building product features instead.
- User experience: You can create a custom UI with native uploads, but matching the smooth experience of Filestack’s picker takes a lot of work. Filestack already supports drag-and-drop, copy-paste, multiple upload sources (local files, cloud storage, webcam, URLs), and works well on all devices.
- Scalability: As your app grows, a native solution can struggle with large numbers of uploads. Filestack is built to scale automatically and can handle millions of uploads with global delivery and optimised performance.
- Cost consideration: Filestack is a paid service, but it often saves money in the long run. You spend less engineering time on building and maintaining uploads, and your servers handle less traffic since files upload directly to cloud storage.
Best Practices for Folder Upload
No matter which method you use, these best practices will help create a better upload experience:
- Set clear expectations: Display file limits, size restrictions, and supported file types before users begin uploading. For large folders, showing an estimated upload time can also be helpful.
- Provide feedback: Always show upload progress and clearly confirm when the upload is finished. For very large uploads, allow users to leave the page and notify them once everything is done.
- Handle errors gracefully: Internet issues are common. Show clear error messages and automatically retry failed uploads when possible. Let users resume or restart uploads if something goes wrong.
- Preserve folder structure: Store files in a way that preserves the original folder and subfolder structure. This makes it easier to rebuild or display the folder layout later.
- Add strong security checks: Validate files on both the client and server. Use virus scanning for user uploads and apply rate limits to prevent misuse.
- Consider mobile experience: Folder uploads don’t work the same way on all mobile devices. Offer alternative upload options or clearly explain any limitations.
Choosing the right folder upload strategy ultimately depends on your application’s scale, users, and long-term maintenance needs.
Conclusion
Folder upload changes how users work with applications that handle lots of files. While JavaScript offers a native way to upload folders using the File API and the webkitdirectory attribute, real-world applications often need something more reliable.
The native approach is fine for basic use cases or learning, but it becomes hard to manage as your app grows. Tools like Filestack remove this complexity by handling uploads, security, and performance for you. This lets your team focus on building meaningful features instead of dealing with upload logic.
If file handling is a core part of your product, Filestack offers a strong set of features, reliable infrastructure, and an easy-to-use API. You can start with its free tier and scale as your application grows.
The future of web applications demands seamless file handling. With the right folder upload implementation, you give your users the tools they need to work efficiently while maintaining the security and reliability your application requires.
Shefali Jangid is a web developer, technical writer, and content creator with a love for building intuitive tools and resources for developers.
She writes about web development, shares practical coding tips on her blog shefali.dev, and creates projects that make developers’ lives easier.
Read More →