We are finally discussing one of the hottest features of our API – Security.
In the previous list of tutorials we have seen Filestack implemented for different use cases (image galleries, responsive images, facial detection and manipulation, and more), with all integrations having one commonality: They are done in the front-end, so any person with basic knowledge of the browser development tools could, for example, change the parameters for the pick function!
Imagine if you carefully setup your uploader to allow only files within 1MB… Anybody can change the Javascript code and upload bigger files without proper security configurations.
That’s why today I am going to show you how to protect files and secure your API key by writing a very easy Pop Art gallery app.
The App
The app is not too different from the ImageStack Image Gallery app we made before, however, the implementation is very different as we are going to secure our uploader. We will need to keep a secret string in the server side and use it to create credentials for our pictures and pick function.
To do so, we have to find a way to efficiently pass these parameters to the client so a template engine is the perfect candidate. Thus, we are using Jade (now Pug), a very cool and efficient template engine for Node.js.
Moreover, this time the server has a more important role compared to the previous apps so I am going to share more pieces of code in this post.
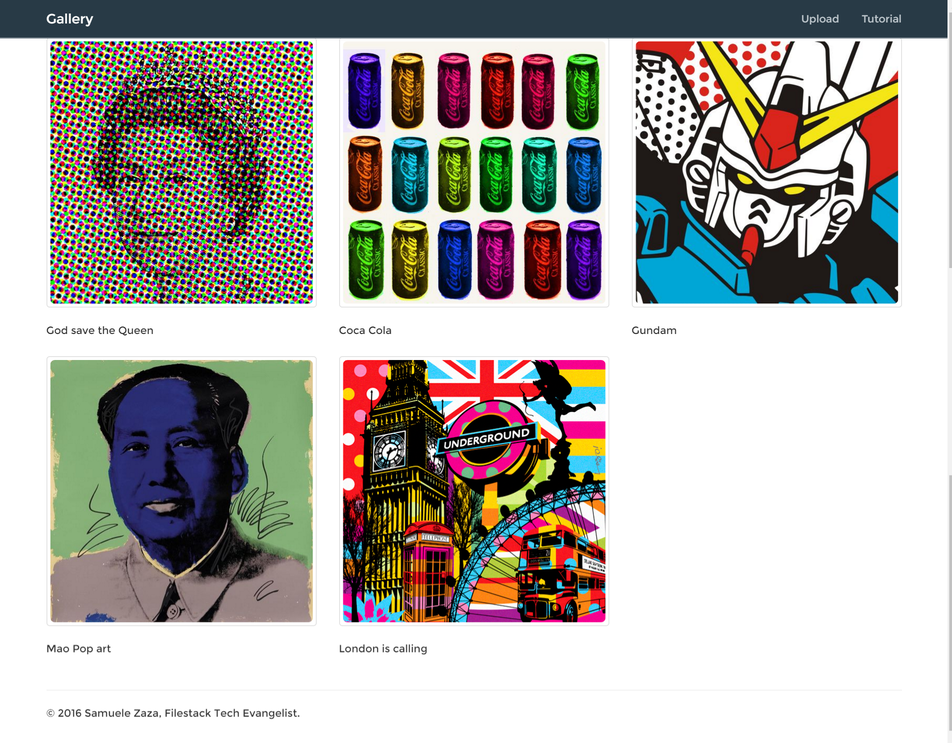
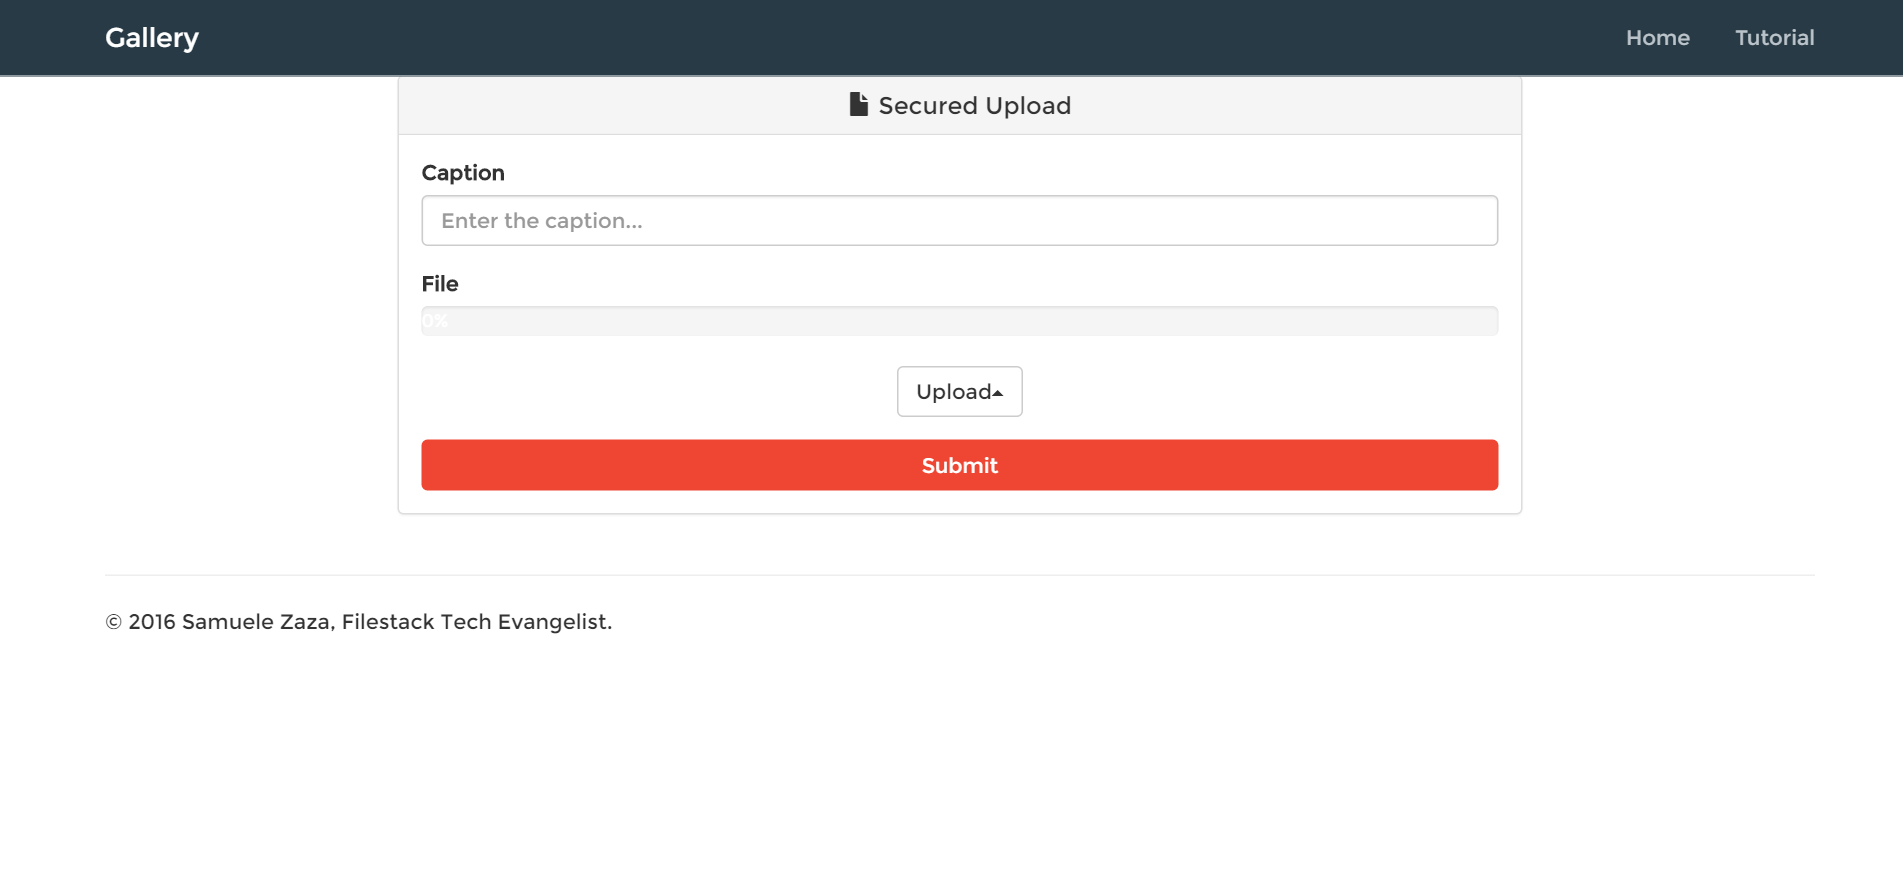
So, the app is composed by 2 views, one for uploading the a picture and one for showing the gallery:
localhost:8080

localhost:8080/upload
You can clone/fork the project from github.
Security
The documentation is very clear about security: we need to create a policy, which is a set of constraints on various aspects of your files management such as expiration day, the allowed actions, the maximum size and so on. On documentation you can find more information.
What about our app? Well, we want to secure the pick function and consequently we will need a set of policy-signature for each picture.
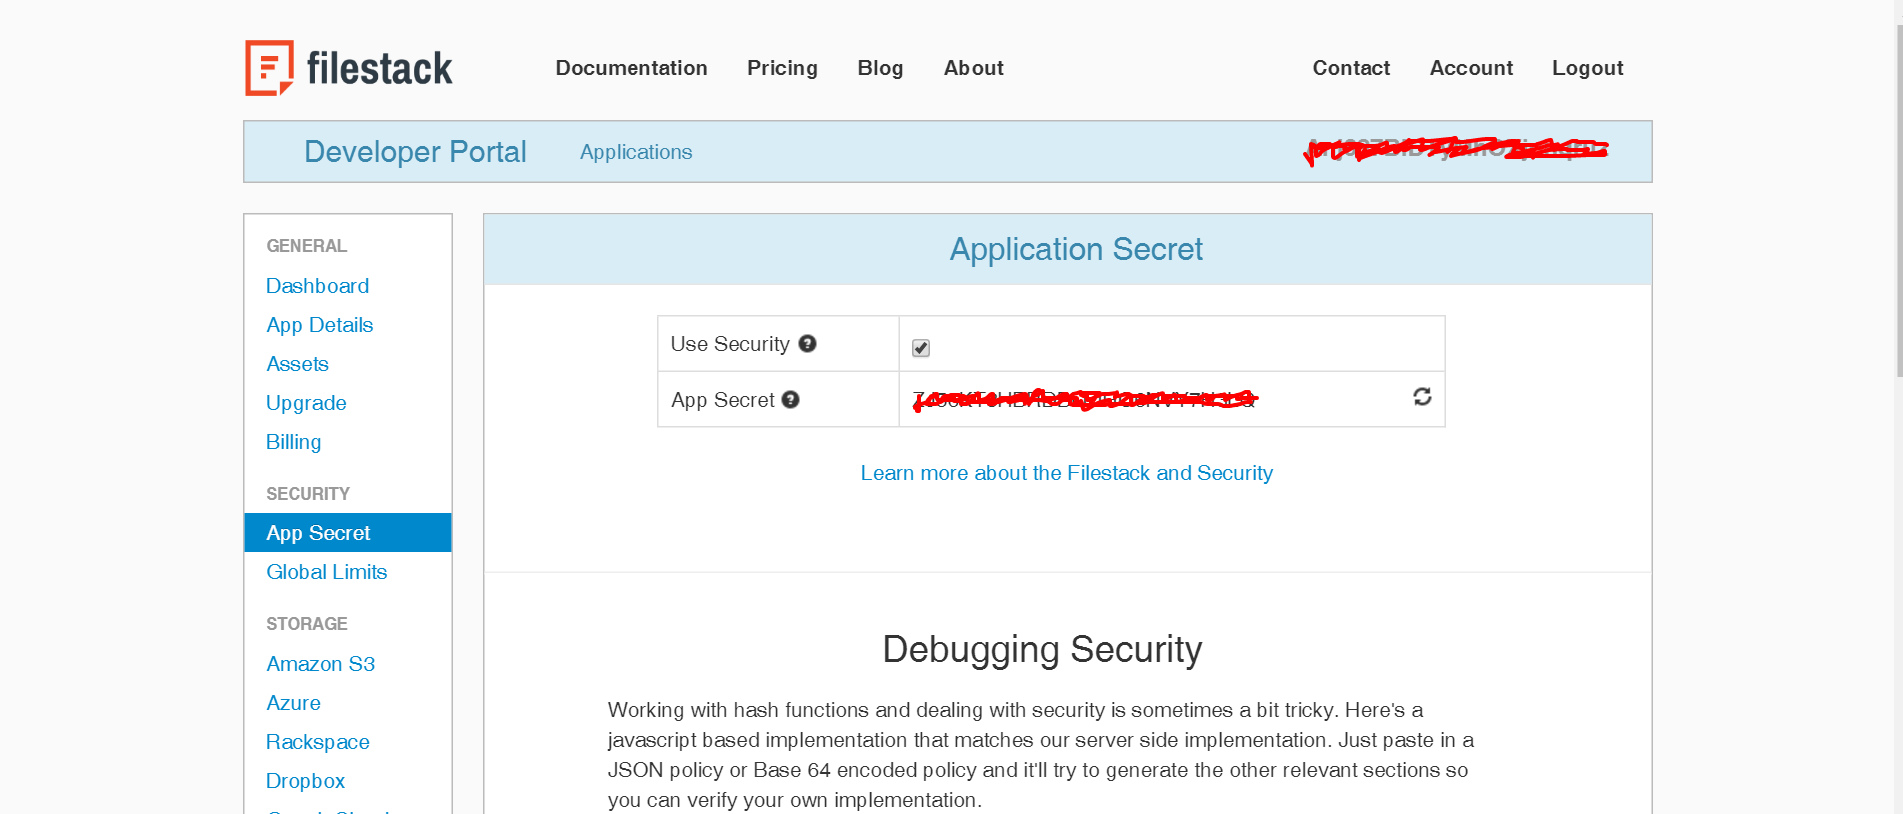
To do so, the first step doesn’t require any code but instead on the developer portal choose your API key and on the menu on the left click on the App secret function. Then, secure the key:
Copy the app Secret as we will need it in our back-end to create the signature:
config/config.js
const SECRET = 'YOUR_SECRET';
export default SECRET;
If you read the documentation the next step requires a few lines of code to encode the policy and create the signature. For this matter I created a function in /src/core.js which receives an optional parameter, the picture handler, and returns an object with policy and signature.
Why I said optional parameter? To secure the pick function the handler is not necessary while it is mandatory for securing the picture. Let’s check it out:
src/core.js
import URLSafeBase64 from 'urlsafe-base64';
import crypto from 'crypto';
import SECRET from '../config/config';

function getPadding(policy) {
  let padding = '';
  let count = 4 - policy.length % 4;
  if(count < 4) {
    for(let i=0; i<count; i++)
      padding += '=';
    }
    return padding;
}

export default function(handler = '') {

  let expiry = Math.floor(new Date().getTime() / 1000 + 60*60*24*100); // 100 days
  let policy = {expiry};
  if(handler) {
    policy.handle = handler;
  }
  policy = JSON.stringify(policy);
  //URL safe base64
  policy = URLSafeBase64.encode(new Buffer(policy));
  policy += getPadding(policy);
  //Hashed Signature
  let hmac = crypto.createHmac('SHA256', SECRET);
  hmac.setEncoding('hex')
      .write(policy)
  hmac.end();

  return {policy, signature: hmac.read()};
}
1. The expiry parameter is set to 100 days for both the uploader and the pictures, for the purpose of this tutorial we just define one but in a real world app one can implement different strategies.
2. As you can see on the following lines, if the handler parameter is defined, the function is adding it in the policy.
3. To make a safe URL base64 encoding I installed the urlsafe-base64 package which unfortunately removes the final ‘=’ trailings from the encoding so we are going to manually add them thanks to the function getPadding() at the end of the string
4. Finally, with crypto we hash the policy using our secret and return an object literal with policy and signature.
Easy as pie.
It’s time to use this function in the server! Here is a piece of the code regarding the routing part:
Upload route
server.js
...

//Index
app.route('/')
  .get((req, res) => res.render('index', {list}));

//Upload
app.route('/upload')
  .get((req, res) => res.render('upload', getPermissions()))
  .post((req,res) => {
    let {url, caption} = req.body;
    let handler = url.substring(url.lastIndexOf('/') + 1);
    let permissions = getPermissions(handler);
    list.push(Object.assign({handler, caption}, permissions));
    res.redirect('/upload');
});

...
Starting from the /upload route, when the user requests the upload page through a GET request, the server renders the upload view in /views/upload.pug:
In the render function we can pass an object to manipulate the HTML of the page as second parameter, that’s why we are calling getPermissions. To do so we are sending the policy and signature for the pick function!
NB: Have you noticed that getPermissions is called without parameter?
It’s worth show a piece of the upload.pug code where we attach the policy and signature:
views/upload.pug
button(type='button', class='btn btn-default', onclick='upload("' + policy +'","' + signature + '")') Upload
We are passing them as parameters for the upload function which consequently calls the pick function:
/src/api.js
var upload = function(policy, signature){
  var progressBar = document.getElementById('progress-bar');
  filepicker.pick(
  {
    mimetype: 'image/*',
    container: 'modal',
    services: ['COMPUTER', 'FACEBOOK', 'INSTAGRAM', 'CLOUDAPP'],
    hide: true,
    policy: policy,
    signature: signature
  },
  function(Blob) {
    progressBar.className = '';
    progressBar.className = 'progress-bar progress-bar-success';
    document.getElementById('filestack-url').value = Blob.url;
  },
  function(FPError) {
    console.log(FPError.toString());
  },
  function(FPProgress) {
    progressPercentage = parseInt(FPProgress.progress) + '%';

    progressBar.style.width = progressPercentage;
    progressBar.innerHTML = progressPercentage;
  }
  );
};
If you have doubts on the pick function, I suggest you any of my previous articles where I go into details.
So what happens when we submit data to the server? Let’s check again the route code for the upload:
server.js
//Upload
app.route('/upload')
  .get((req, res) => res.render('upload', getPermissions()))
  .post((req,res) => {
    let {url, caption} = req.body;
    let handler = url.substring(url.lastIndexOf('/') + 1);
    let permissions = getPermissions(handler);
    list.push(Object.assign({handler, caption}, permissions));
    res.redirect('/upload');
});
1. first of all we cut out the handler from the url (Blob.url in the front-end).
2. We get the permissions but this time we also send the handler because those will be picture permissions.
3. We save the picture in the pictures list where there are other 5 already, check out data.js in case.
That’s all! The last part is on how to show the pictures in the homepage.
Homepage
server.js
//Index
app.route('/')
  .get((req, res) => res.render('index', {list}));
As you notice we are sending the list as an object in the index page. Let’s take a look at the index.pug code where we list all the pictures:
views/index.pug
each image in list
  - var src = 'https://cdn.filestackcontent.com/' + image.handler + '?policy=' + image.policy + '&signature=' + image.signature;
  div(class='col-md-4')
    div(class='thumbnail')
      img(src=src, class='img-rounded')
      p= image.caption
We are looping on the list and in the src attribute we are building the URL by adding the policy and signature. By doing so, we have the right to see the pictures.
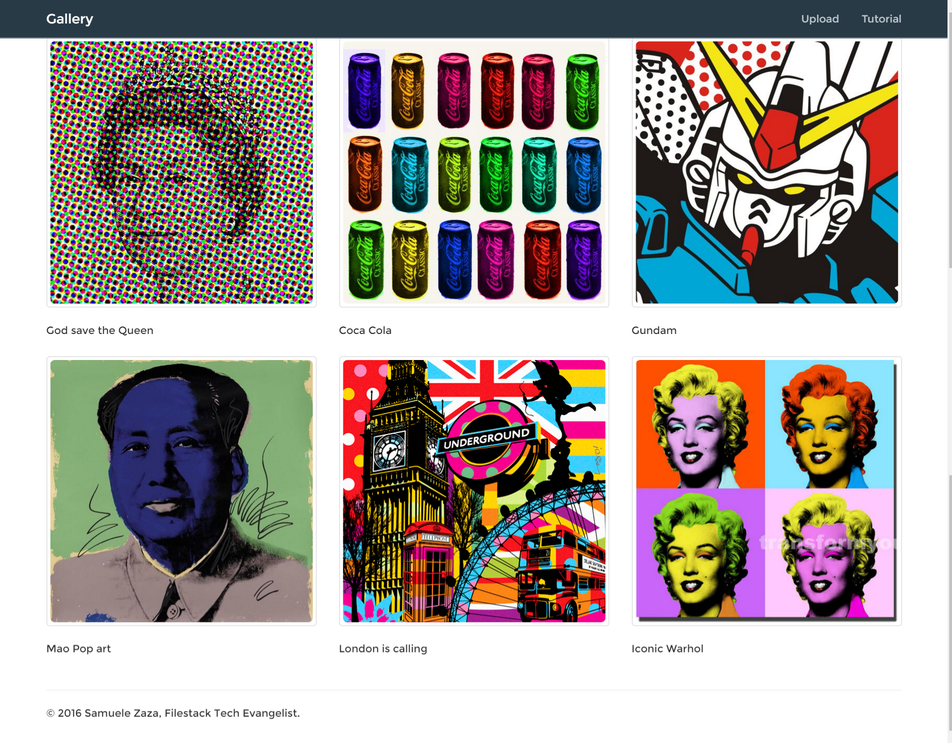
If you try to upload a picture, this is the result in the homepage:
The picture is secured but we have the credentials to see it so it appeared in the list.
Hey, what if you try to load a picture without sending any crendetials?
file CupXxkCQZ22cS5FdMSaB policy error: proper credentials were not provided: (signature: ""; policy "")
This is what you are going to receive back.
So, we finished the app, congratulations!
Conclusions
Here at Filestack we are very sensitive about our API security and so we provide a few methods to implement it.
We focused on creating policies and signatures that allows for a complete control on what users can and cannot do.
The policies we are created are very basic and in the documentation you may find several options that can be added to it.
Filestack is a dynamic team dedicated to revolutionizing file uploads and management for web and mobile applications. Our user-friendly API seamlessly integrates with major cloud services, offering developers a reliable and efficient file handling experience.
Read More →


