The FileStack API offers the capability to create website screenshots using only URLs. Filestack acts as a browser client that renders the contents of a web page and then captures that page content as an image. This powerful feature allows you to easily incorporate screen captures of other websites into your own web pages.
Granted, taking screenshots is as easy as hitting some control keys on your keyboard, but what if you want those screenshots to be done automatically, so that you see the latest content from a site whenever your page loads?
For instance, let’s say you wanted to create a small dashboard of your social media properties, such as Twitter and Facebook, so you knew exactly what the messaging was that your customers were seeing when they visited those accounts.
With the FileStack API, this can be done by creating URLs to the API referencing those pages and then taking advantage of Filestack’s chain-able transformation commands
URL Website Screenshots in Practice
Creating the screenshot is as simple as taking your existing URL:
*https://twitter.com/filestack*
And pre-pending it as follows:
https://process.filestackapi.com/AWdLLpMAFSGo8szRqg1dAz/urlscreenshot/https://twitter.com/filestack
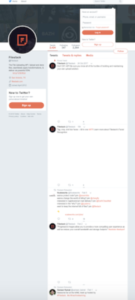
However, for a site like Twitter, this will create quite a large image (rescaled so it’s visible here):

A more useful approach for our dashboard would be to take advantage of the “window” mode of the “urlscreenshot” function which allows you to specify that you only want to see what would be immediately visible in a window of certain height or width (up to 1080 pixels)
For instance the following URL gives you a much more manageable image:
https://process.filestackapi.com/AWdLLpMAFSGo8szRqg1dAz/urlscreenshot=mode:window,height:1080,width:1080/https://www.facebook.com/filepickerio

Targeted Screenshots
Of course, showing the full Facebook site contains a lot of visual information that’s not necessary for our dashboard — such as the sidebar and Facebook header.
Fortunately, Filestack operations can be chained, so with some tweaking, you can adjust the window size (both the height and the width) and the crop out the portion of the page that you’d most want to see in your dashboard. And then for good measure you could resize it to give more of a thumbnail view.
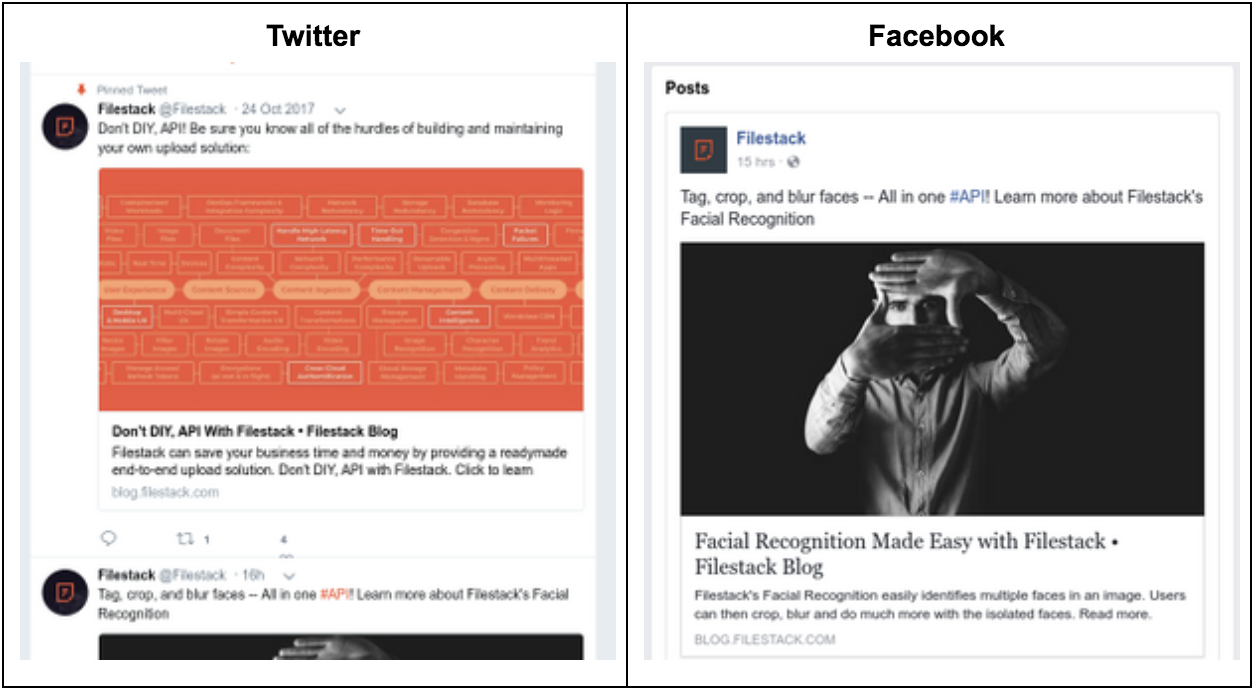
The following URLs which contain both the “urlscreenshot,” “crop,” and “resize” operations will provide the images below for Twitter and Facebook:
https://process.filestackapi.com/AWdLLpMAFSGo8szRqg1dAz/urlscreenshot=mode:window,height:1080,width:1080,delay:2000/crop=dim:[385,430,620,620]/resize=width:300/https://twitter.com/Filestack/
https://process.filestackapi.com/AWdLLpMAFSGo8szRqg1dAz/urlscreenshot=mode:window,height:1036/crop=dim:[192,524,512,620]/resize=width:300/https://www.facebook.com/filepickerio

We can now see side by side a quick thumbnail of what our visitors would see if they visit our social media accounts. This sort of automatic screen capture could also be used to do quality assurance on nightly builds of web applications or to show the latest reviews of your products on Amazon.
Note that you can also change the user agent being used to see what the screen looks like when you’re using a mobile client as opposed to a desktop client.
https://process.filestackapi.com/AWdLLpMAFSGo8szRqg1dAz/urlscreenshot=agent:mobile,mode:window,height:540,width:680/https://www.twitter.com/FileStack

Advice and Further Knowledge
There are some limitations to the URL screenshot feature. Most notable is that it can’t access websites that require credentials. There can be issues as well with dynamic content, though this can be addressed in part by having the user agent Filestack uses wait to capture the screen by a certain number of milliseconds to ensure the page has fully rendered with the “delay” parameter. And while the URL screenshot feature does allow you to get alternative views for a mobile versus a desktop client, it is not the same as actually using different user agents such as Chrome or Firefox.
Still, to do a quick grab of content automatically and incorporate those images in your web content with only URLs shows you the power and simplicity of the Filestack API. Read the full API documentation on the “urlscreenshot” function for more details. Other tasks you can automate include creating zip files from an array of images files and doing image tagging through the Google Vision API — the latter being an example of how Filestack acts as a broker for all best in class machine learning features.
We hope you can start using this feature, and please leave any thoughts or questions in the comments.
Happy Hacking!
Filestack is a dynamic team dedicated to revolutionizing file uploads and management for web and mobile applications. Our user-friendly API seamlessly integrates with major cloud services, offering developers a reliable and efficient file handling experience.
Read More →
