A Guess Who game?! Have you ever thought about integrating Filestack into a game? Today I am going to challenge you guys…
During the past months, I have been writing posts to showcase different scenarios where Filestack comes in handy:
We have seen more than once how Filestack handles pictures upload to help us create several apps, not to mention the Soundcloud-alike app where Filestack provides audio transcoding! …And more.
So if you are still not convinced of how great Filestack is, today I will prove it with some ideas about a game app where Filestack API is leveraged in a rather exotic way.
The App
Actually, the original suggestion I was given was to write a game to guess celebrities from obscured picture, but as you can imagine, I am not an expert on the matter. So, I chose a more geeky route, and will be taking characters from the magnificent The Lord of the Rings book.
What is the purpose of the game? The user is given a picture of a character of the book with two choices for the name.
Obviously, the goal is to reach the end of the characters’ list and win the game. Whenever the user chooses the right name a new character will pop up.
Easy indeed but where does Filestack actually help?
Well, in order to make the game more challenging we are going to blur the faces of the characters, thus we can use Filestack facial recognition to achieve this.
Finally, there is always the chance to upload a new character and we are going to exploit Filestack API pick() function.
Let’s take a look first at the UI now…
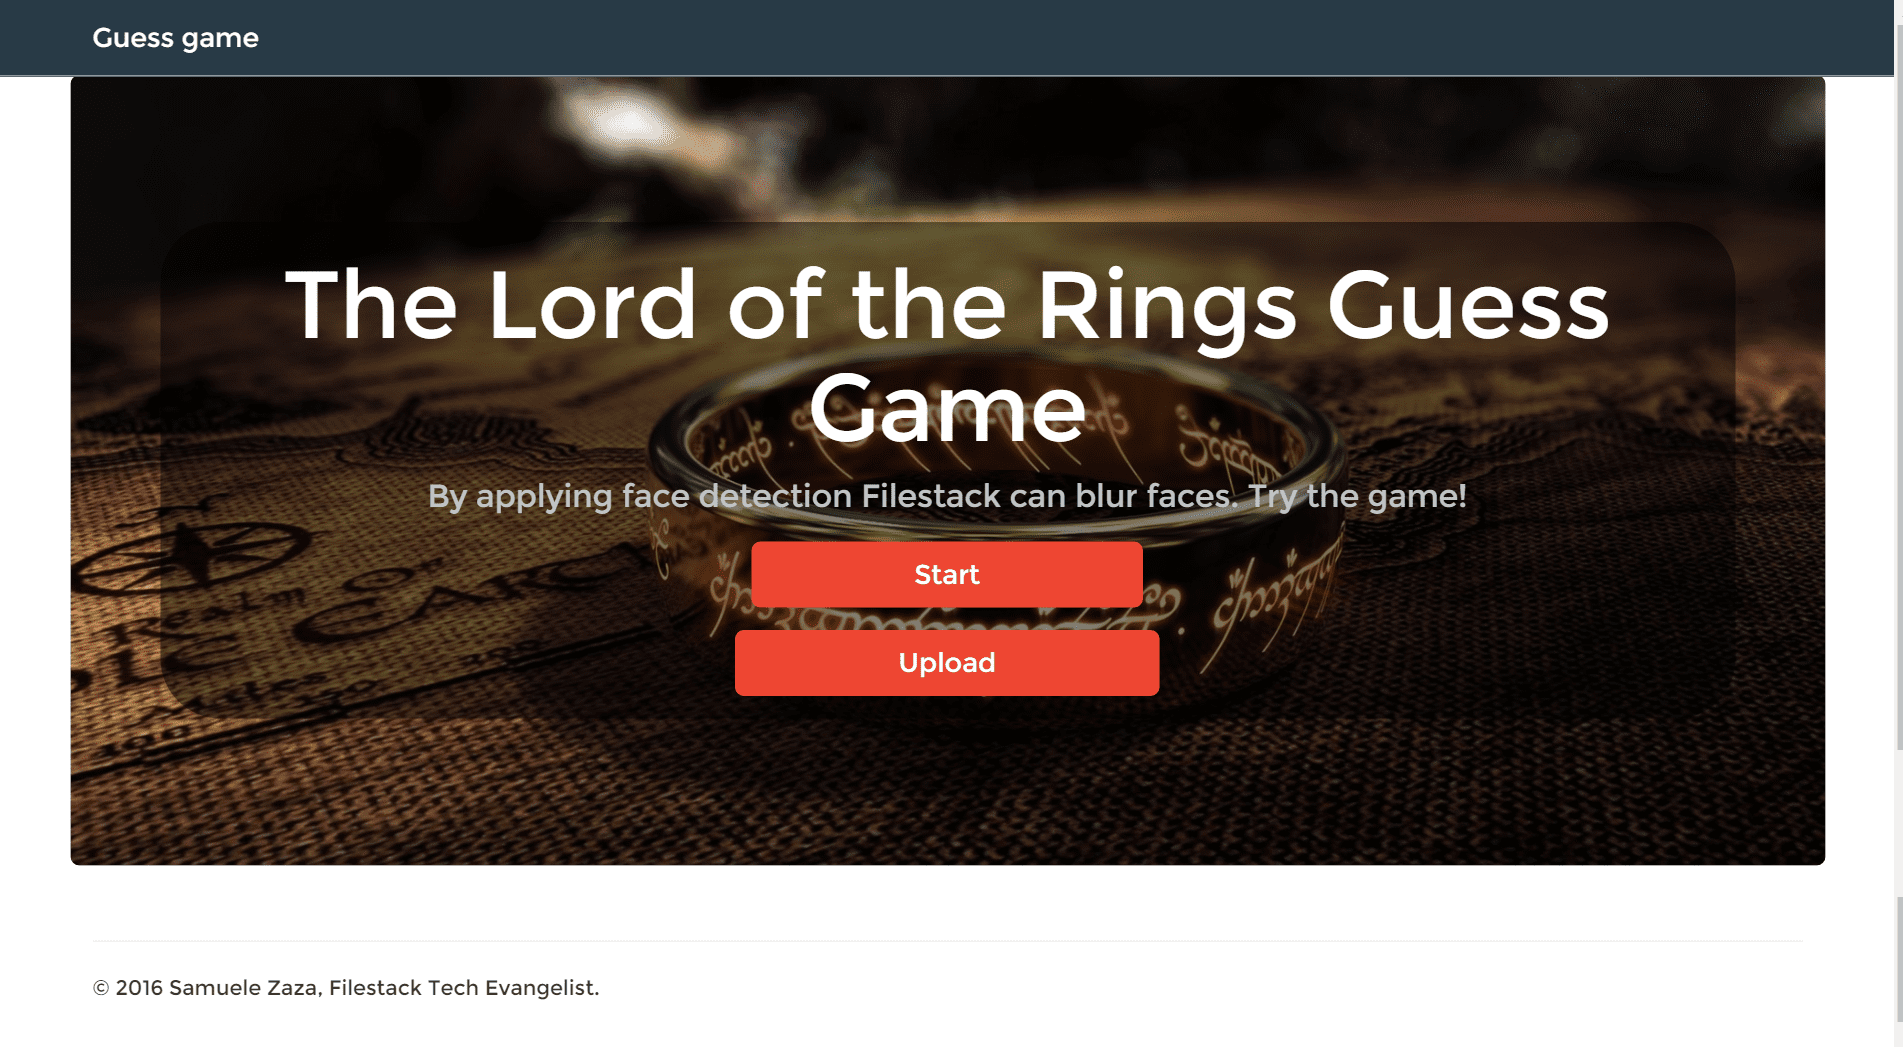
We have the homepage where we can either start the game or upload a new character:
Here is the UI of the game in action instead:
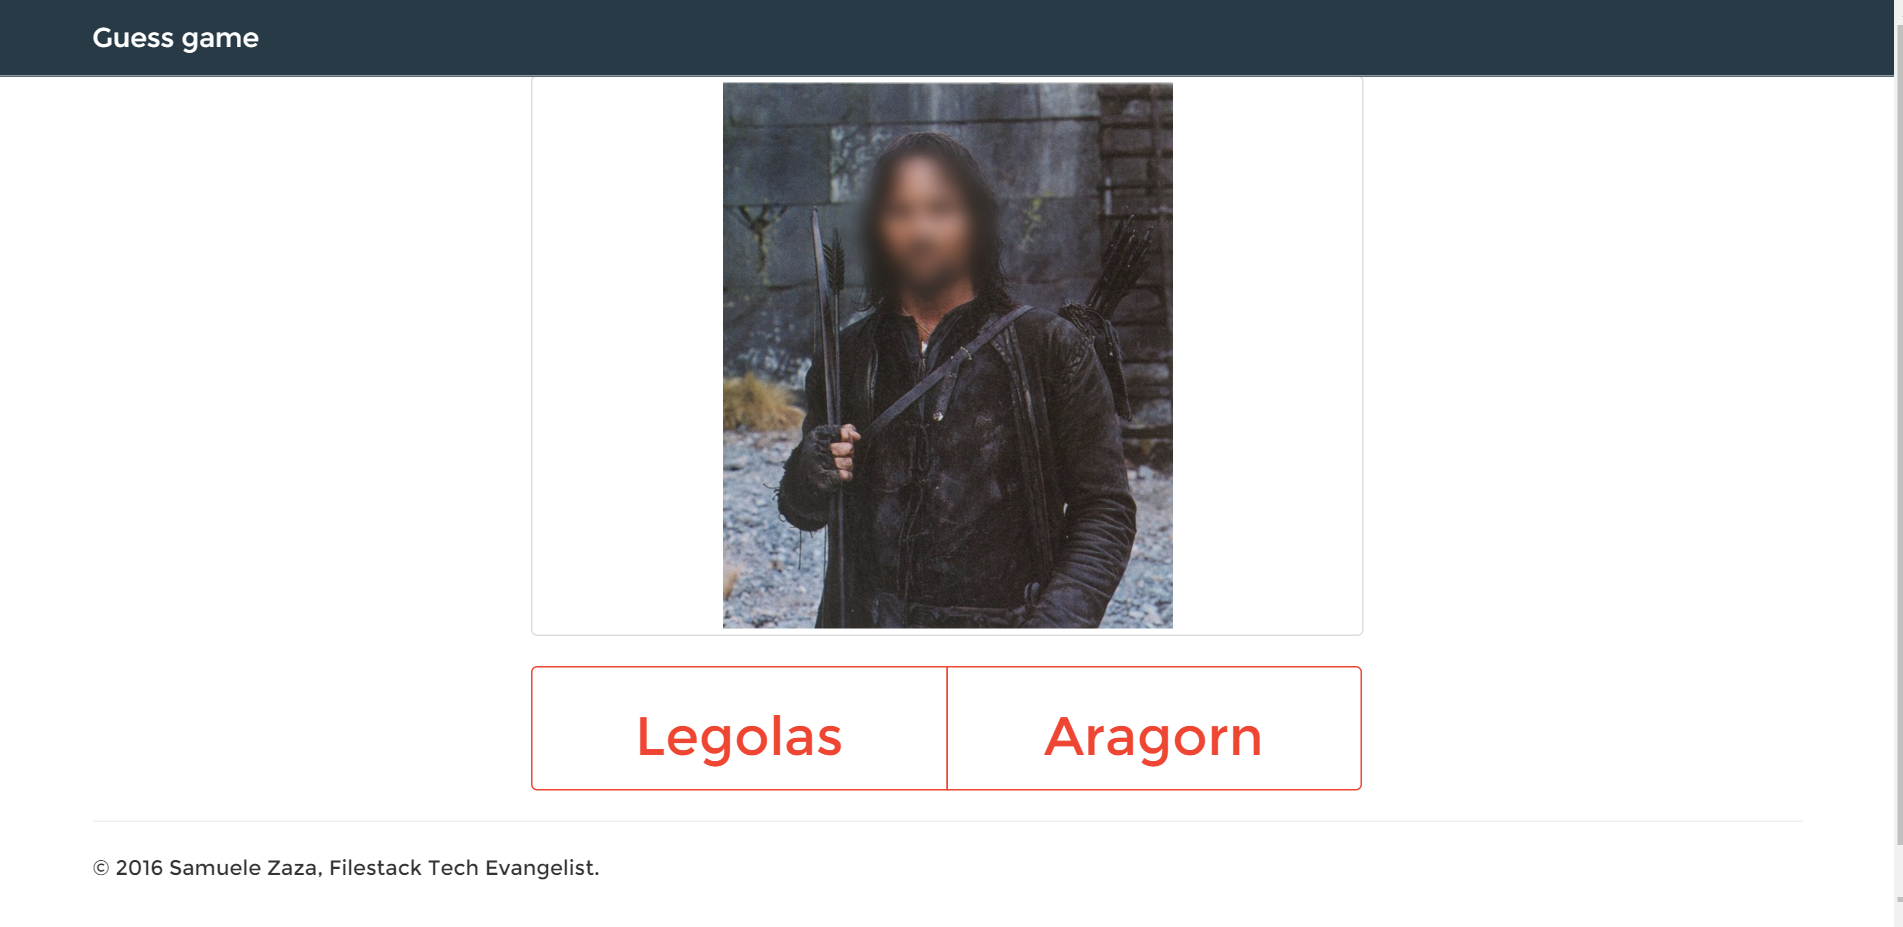
As we will see later, by choosing the right name of the character, the face will be shown for about a second and then the new character will come up.
Eventually a user may complete the game and even restart it:

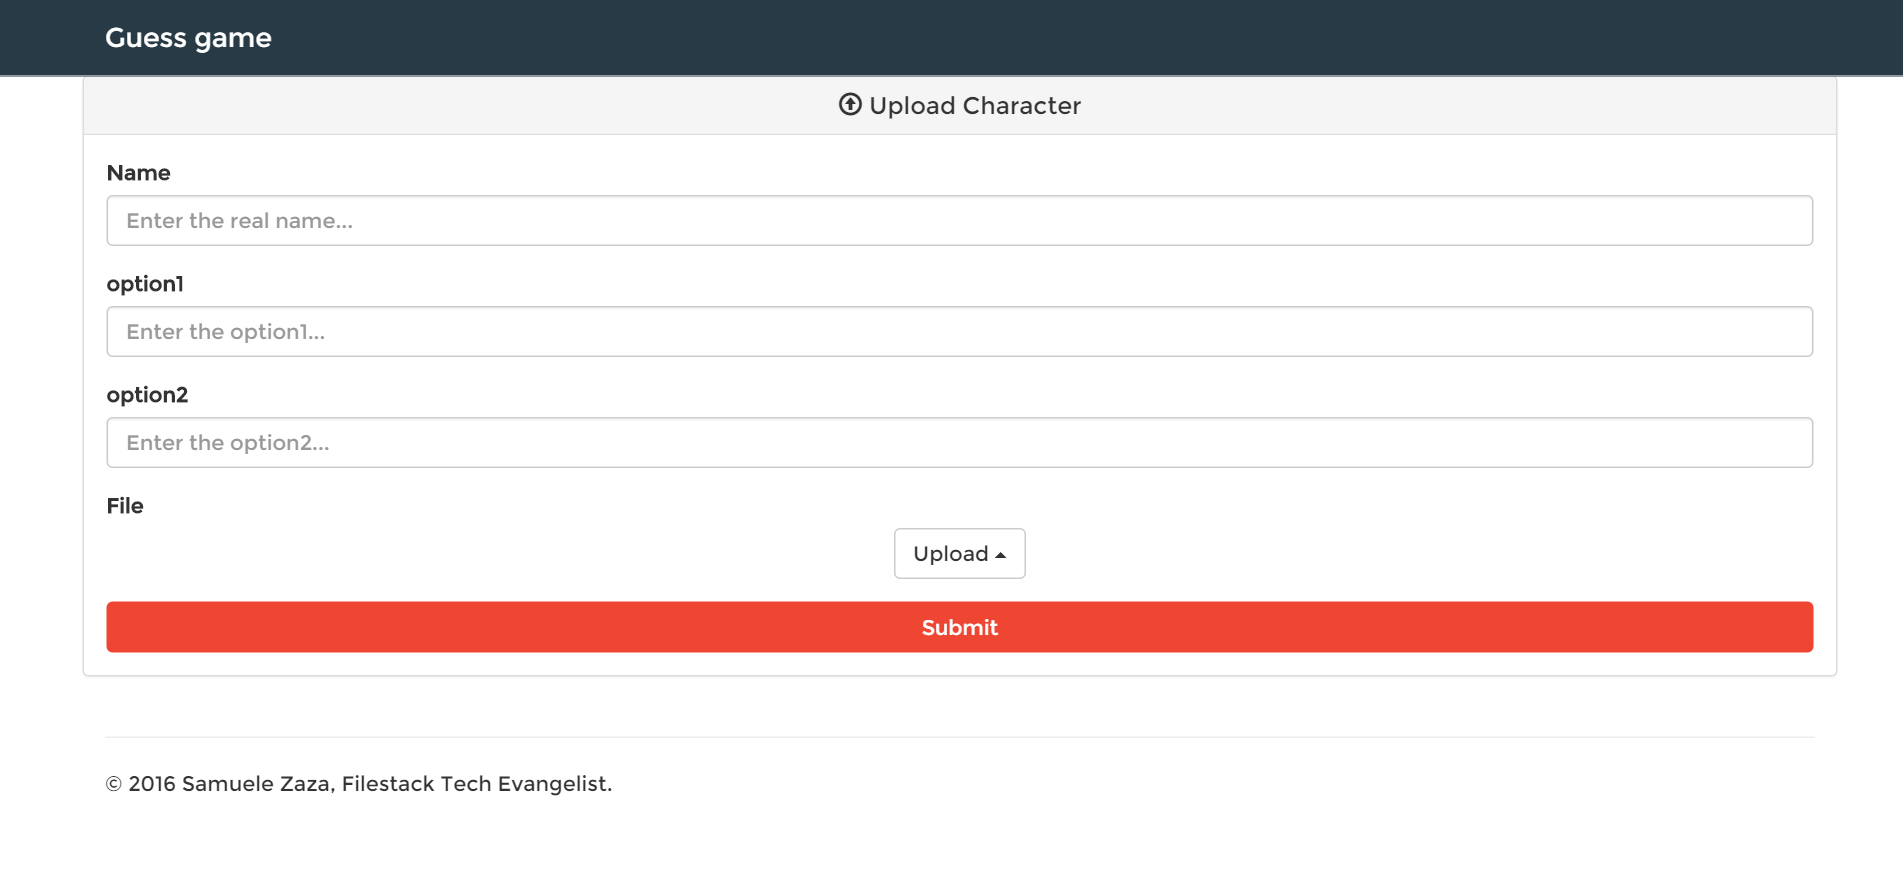
Last but not the least, we should be familiar with the form to upload a new image:
The technology behind it
The sample App I made has separated server and client:
Node.js is the server of the App while React takes care of the front-end, these two communicate through socket and both use Redux to keep the state.
In fact, client’s actions update the server state which is sent to the client to refresh the UI.
As usual, I provide here the links for both the client and server but I do want to point out that this time the app is more than a sample, it is almost completely tested with Mocha and Chai, both front-end and back-end, while it requires a basic knowledge of Redux and Immutable.js
Have fun reading it!
N.B.: To show nicer notifications whenever a user guesses a character I included JQuery since it’s required for the Toastr notifications plugin.
Filestack’s Facial Detection
Facial Detection is definitely the main topic in this post so let’s see how Filestack handles it.
You shouldn’t be surprised if I simply say that Facial Detection works the same as all the other image transformations:
In the documentation is well explained the rule for calling the Filestack’s API:
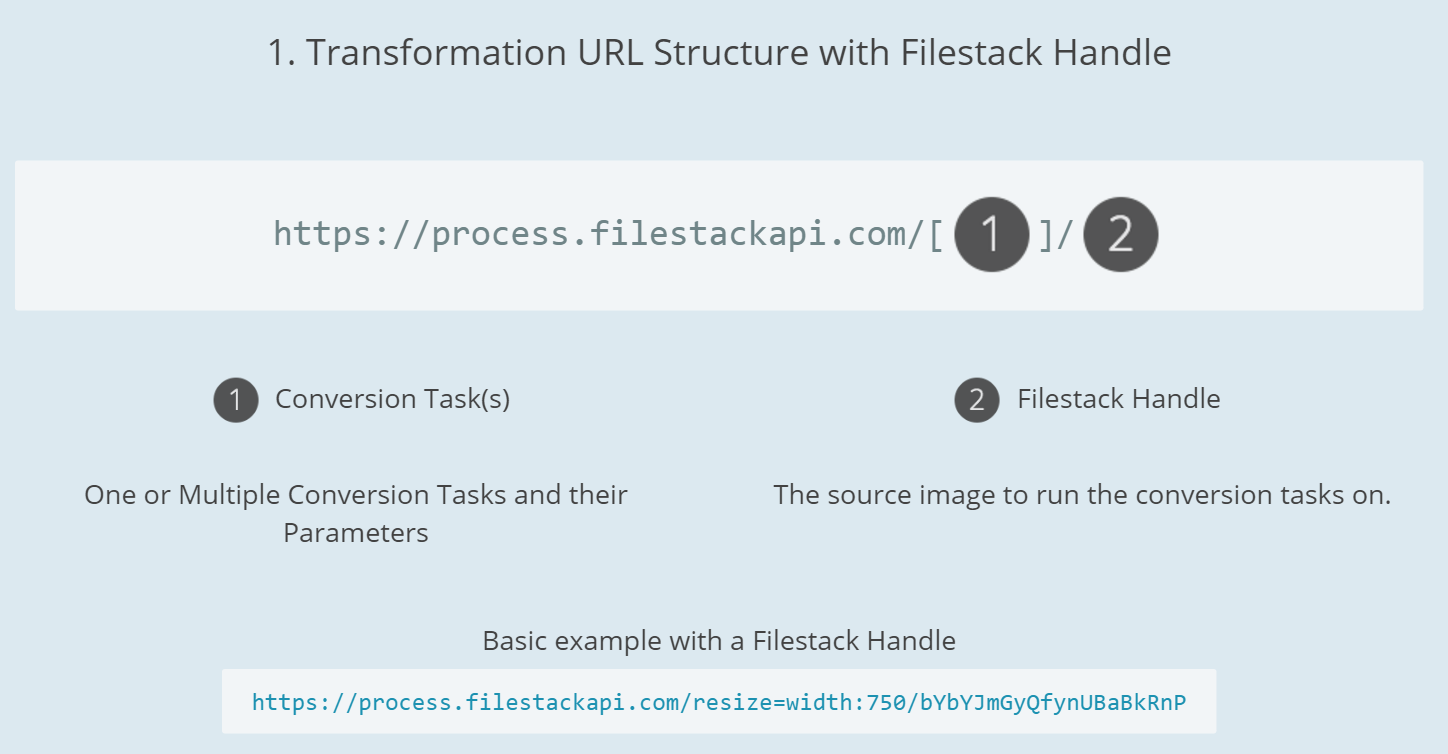
We first need to call the process URL https://process.filestackapi.com,
1) choose the process (and options) and
2) concatenate the picture-related file handler.
In our case, facial detection comes in different choices:
A standard face detection that can be useful to crop faces from a picture for instance while other processes allows for face pixelation and face blur.
In this tutorial we are going to cover the face blur one but I suggested you to take a look at the other choices in the documentation.
So, the process is blur_faces and it comes with a few options, let’s take a look at my choice:
blur_faces=faces:1,a:15,type:oval,buffer:150,blur:20
1. Just one face for picture with faces:1.
2. a:15 is the amount of blur on a scale of 0 to 20.
3. type:oval is the shape of the blurred area.
4. buffer:150 is the buffer around on a scale of 0 to 1000.
5. blur:20 the amount to obscure the face.
Example
Let’s say I uploaded a character with Filestack, the url I receive back is the following:
https://cdn.filestackcontent.com/wQhAl91Q1Cu040HSCcbg

where wQhAl91Q1Cu040HSCcbg is the file handler. Thus, the picture with blurred face will be:
https://process.filestackapi.com/blur_faces=faces:1,a:15,type:oval,buffer:150,blur:20/wQhAl91Q1Cu040HSCcbg

Regarding the app, the list of characters is saved in a JSON file called characters.json in the root of the server folder.
It’s easy to notice that both the process URL and the options are common among all the pictures so there is no need to save the entire URL but only the file handler.
For simplicity, it’s the React component in charge for the character view to compose the URL. Here is the code for the function to return the correct URL:
getImg: function() {
  let url = [];
  url.push("https://process.filestackapi.com");
  if(this.props.hasGuessed !== this.props.guess.name) {
    url.push("blur_faces=faces:1,a:15,type:oval,buffer:150,blur:20");
  }
  url.push(this.props.guess.picture || "");
  return url.join("/");
}
Notice that, as said before, once the user chooses the right name, the character’s face is clear for a few second. hasGuessed is in charge to discriminate between the initial blurry situation and the clear one and in fact, in case the character is guessed correctly, there is no need for sending the blur_faces process.
N.B.: I used a trick to show the clear face, basically I call the process API URL without the process string but just the handler, it’s totally fine and it makes the function getImg() very short and readable.
In fact that’s basically all you need to know about the facial detection!
Upload a New Character
The Upload always exploits the pick() function of Filestack API, here is the code:
uploadImg: function() {
  filepicker.pick(
    function(Blob){
      console.log(JSON.stringify(Blob));
      const handler = Blob.url.substring(Blob.url.lastIndexOf('/') + 1);
      document.getElementById('button-upload').dataset.handler = handler;
    }
  );
}
This time I have been quite lazy and I decided to skip the options object but I suggest you to always define a few constraints on the files a user can upload!
The Blob object that is returned right after the complete upload has a property called URL, this should not surprise you as well but we only need the last part, after the last slash, precisely the file handler.
How does the app looks like in action?
And that’s all, it’s a simple App but I do think the UI is already something thanks to Filestack!
Conclusions
In this post we have learnt how to integrate Filestack in a guess game App where the character’s face is initially blurry. This is an unusual situation where Filestack truly shows its potential.
We went through the facial detection by analyzing how to call the API to blur a face, what options can be sent along with and we also revised the syntax for a correct API process call.
Finally, we integrated the pick function without the options object for fast coding.
Congratulations for reaching the end!
Filestack is a dynamic team dedicated to revolutionizing file uploads and management for web and mobile applications. Our user-friendly API seamlessly integrates with major cloud services, offering developers a reliable and efficient file handling experience.
Read More →