Think about the first time you look up a website. You are looking forward to its contents. Then you endure a long wait because of huge image files. Quite disheartening, isn’t it? Considering the present situation, that is how users behave. They do not want to work hard to get what they seek. In fact, if a webpage takes more than a couple of seconds to load fully, all traffic on that page may lose interest. This damages both engagement and retention. Today, speed has become an obligatory requirement. There is an effective solution to this problem. It is known as image compression.
By using it, file sizes can be minimized. The quality of the images can still be maintained. Since the size of the images is smaller, page load time decreases. This makes users feel more satisfied. It also raises the site’s SEO ranking. In this blog post, we will discuss examples of compression techniques you can use. We will show how Filestack file uploader simplifies image compression. Do you want to save time by automating repetitive tasks? Or would you like to bypass common mistakes? Filestack offers everything you need.
Your approach to uploading and transferring images can change completely. Follow us for tips on how to upload images quickly and improve your online experience.
What is image compression?
Image compression refers to processes that reduce the size of PNG files and other image files. It improves storage capacity and allows faster loading times. Faster-loading PNG images improves user experience and website speed.
Image compression has two categories: lossy compression methods and lossless compression.
Lossy compression algorithms permanently delete some data. Images with less information may be smaller in size but may experience minor quality reduction.
The lossless compression algorithm retains all original data. However, sound quality may be lacking, and the compression amount is not very high.
Common image formats and their compression characteristics
JPEG
It is the preferred format for photographs. It uses lossy compression. This balances file size and quality.
PNG
It works well for pictures with transparency or detailed images. It uses lossless compression. All data is retained.
GIF
It is effective for simple graphics with minimal colors and animations. Due to a color limit of 256 colors, it is unsuitable for complex pictures.
The importance of image compression for quick uploads
Enhancing user experience
Quicker uploads lead to faster page loading, significantly enhancing user experience, especially when dealing with digital images or needing to convert images. Users dislike delays in image loading, so optimizing image size with an image compressor is crucial to keep engagement high.
If webp images or portable network graphics formats are used efficiently, they can further reduce the page load time, keeping users engaged. This reduces bounce rates and increases conversion rates.
It is especially vital for mobile users, as many use slower networks. The site becomes more efficient since compressed images boost performance across devices and internet speeds. Reducing storage space requirements by employing discrete cosine transform and efficient formats like webp images help websites perform optimally.
Reducing server load and bandwidth usage
Compressed images reduce server load and bandwidth use of the same image. Smaller files use less data, making it easier to compress image files effectively. This cuts hosting or data transfer costs. Your site can handle more visitors without slowing down.
Smaller files also ease the server’s burden, enhancing response times and performance. Image optimization benefits everyone, including you and your visitors.
Best practices for image compression
Selecting the appropriate image format
Correct image format selection is key for compression.
Not all images work well in one format. For photographs or images with many colors, JPEG is ideal. It uses lossy compression for smaller sizes and decent quality.
For images needing transparency or fewer colors, use PNG. This lossless format keeps all the details but is larger.
For web content, consider WebP. It combines the benefits of JPEG and PNG. WebP offers smaller sizes and low-quality loss, enhancing page loads on modern browsers.
Balancing quality and file size
Quality and file size trade-offs must be considered. Over-compressed images can appear pixelated or blurry. Look for software with manual compression controls. Ensure changes can be undone before saving final images. This prevents the loss of high-quality images.
Using tools such as Adobe Photoshop, TinyPNG, or online compressors allows you to customize preset compression settings. It is always appealing to compress images to their smallest size. This is done while retaining high quality.
Automating the compression process
There is no need to spend excessive time manually compressing images. Manual compression hardly provides good results. Tools and scripts can produce reliable effects.
Filestack and other tools offer consistent on-the-fly image compression. Ensure that your chosen applications are embedded in your workflow. This reduces optimization time and ensures that optimal standards are maintained for all images.
Moreover, image compression processes can be part of deployment procedures. This ensures that every image is optimized reliably and quickly. It enhances site speed and manageability.
Implementing image compression in your workflow
Manual vs. automated compression
Manual image compression involves changing image dimensions. It also compresses formats like JPG or PNG. This method gives precise control.
However, it has major drawbacks.
- It is extremely time-consuming and requires constant effort.
- Handling large volumes of images becomes challenging.
- Errors, such as incorrect settings or omissions, are possible.
- This dependency on images can compromise quality. It also slows down site loading.
Automated compression, on the other hand, is reliable and effective.
- The process is simple since automated tools do all the work.
- No individual involvement is needed, saving time and maintaining consistent quality.
- Human errors in processes are avoided.
- It suits a variety of pixel and requirement needs.
- It is beneficial for busy teams or sites with heavy imagery content.
Tools and services for image compression
Local software options
Compression offers many local alternatives. Adobe Photoshop is one option, with web compression settings. ImageOptim and TinyPNG reduce file size quickly. They are ideal for simple edits where users prefer manual management.
Online services and APIs
With online services and APIs, compression challenges are minimized. Filestack’s API allows for image compression. Optimization is automated during uploads or image delivery. It works seamlessly within existing systems. Integration with Filestack ensures image consistency. This boosts user experience and performance effortlessly. Such tools reduce image workflow management time.
How does Filestack simplify image compression?
Filestack is a powerful tool for managing files, including image compression. It makes integration easy and processes files in real time. With just a few lines of code, you can compress, transform, and optimize images automatically. This is perfect for businesses and developers who need quick, consistent, and scalable image-handling solutions.
Key features relevant to image compression
On-the-fly image transformation
Filestack technology offers on-the-fly image compression. This happens during uploads or final delivery. Settings are applied automatically without extra effort. Images can be resized, cropped, and optimized during loading. This enhances image quality and reduces size for faster service delivery.
Support for modern image formats
Filestack supports newer formats like WebP and AVIF. These formats improve file compression. Lower-size images are achieved without compromising quality. This improves loading speeds and user experience.
CDN integration for faster delivery
Filestack uses a content delivery network (CDN). Compressed images appear closer to users. This creates a faster and more seamless experience. Load times are shortened, increasing the responsiveness of sites or applications. Everything becomes quicker through Filestack’s CDN.
Example: Compressing an image using Filestack
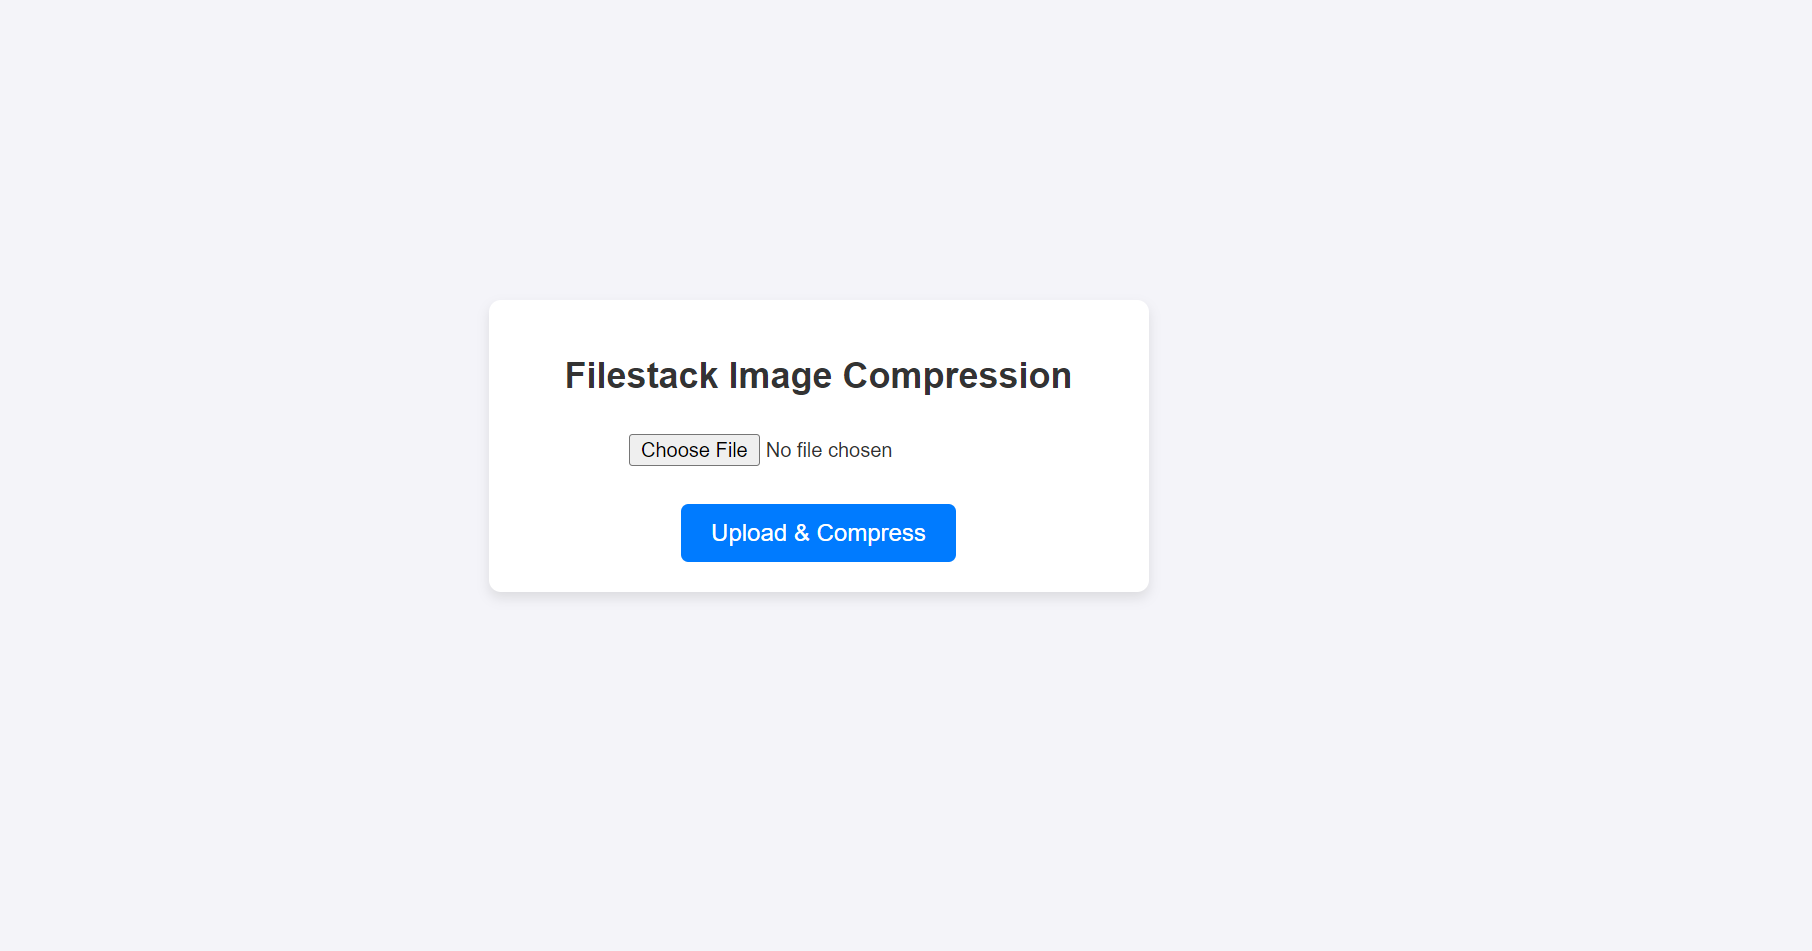
Here’s how to compress an image using Filestack’s API:
<!DOCTYPE html>
<html lang="en">
<head>
  <meta charset="UTF-8">
  <meta name="viewport" content="width=device-width, initial-scale=1.0">
  <title>Filestack Image Compression</title>
  <script src="https://static.filestackapi.com/filestack-js/3.x.x/filestack.min.js"></script>
  <style>
    body {
      font-family: Arial, sans-serif;
      margin: 0;
      padding: 0;
      box-sizing: border-box;
      background-color: #f4f4f9;
      color: #333;
      display: flex;
      justify-content: center;
      align-items: center;
      height: 100vh;
    }
    .container {
      background: #fff;
      border-radius: 8px;
      padding: 20px;
      box-shadow: 0 4px 8px rgba(0, 0, 0, 0.1);
      max-width: 400px;
      width: 100%;
      text-align: center;
    }
    h1 {
      font-size: 1.5rem;
      margin-bottom: 20px;
    }
    input[type="file"] {
      display: block;
      margin: 10px auto 20px;
      padding: 5px;
    }
    button {
      background-color: #007bff;
      color: white;
      border: none;
      padding: 10px 20px;
      border-radius: 5px;
      cursor: pointer;
      font-size: 1rem;
      transition: background-color 0.3s ease;
    }
    button:hover {
      background-color: #0056b3;
    }
    #result img {
      margin-top: 15px;
      max-width: 100%;
      border-radius: 5px;
      box-shadow: 0 2px 4px rgba(0, 0, 0, 0.1);
    }
  </style>
</head>
<body>
  <div class="container">
    <h1>Filestack Image Compression</h1>
    <input type="file" id="fileInput" accept="image/*" />
    <button id="uploadButton">Upload & Compress</button>
    <div id="result"></div>
  </div>

  <script>
    // Initialize Filestack client with your API key
    const apikey = 'Add-your-api-key'; // Replace with your actual API key
    const client = filestack.init(apikey);

    document.getElementById('uploadButton').addEventListener('click', () => {
      const fileInput = document.getElementById('fileInput');
      if (fileInput.files.length > 0) {
        const file = fileInput.files[0];

        client.upload(file).then(response => {
          // Apply the compress transformation to the uploaded file
          const handle = response.handle;
          const url = `https://cdn.filestackcontent.com/compress/${handle}`;

          // Display the compressed image
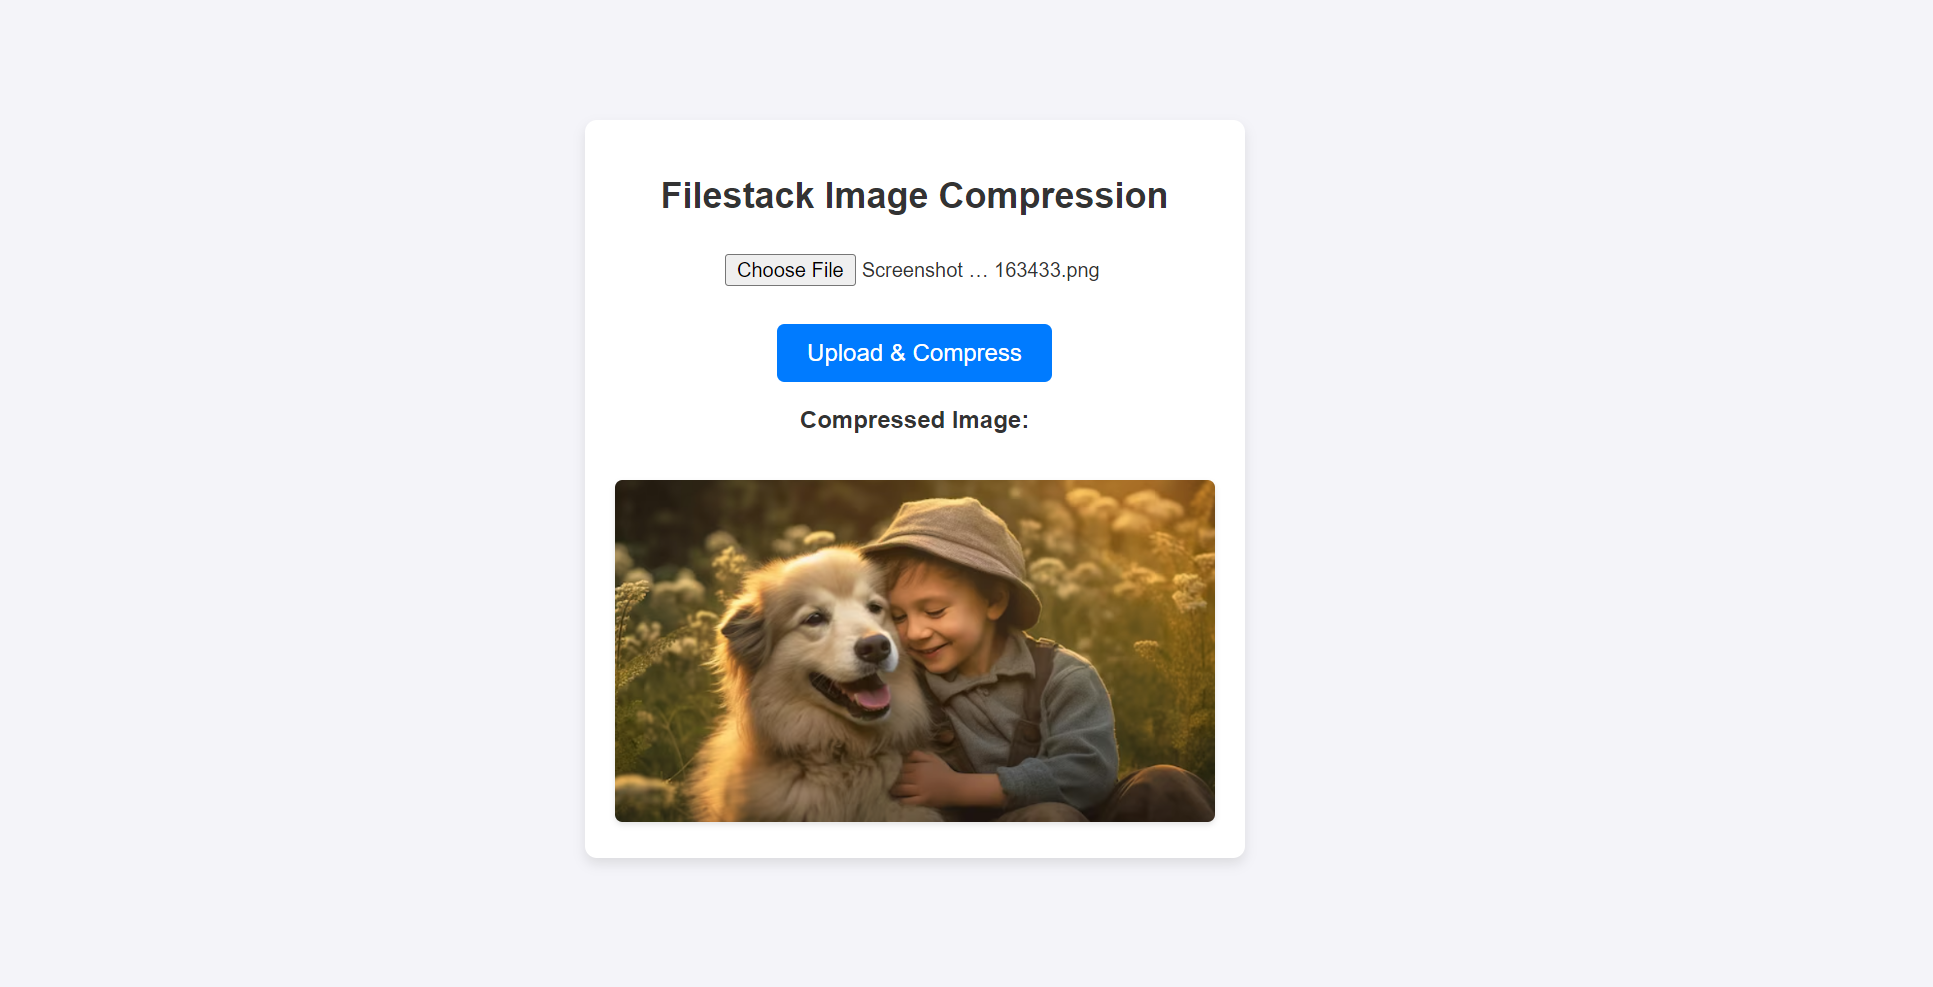
          document.getElementById('result').innerHTML = `
            <p><strong>Compressed Image:</strong></p>
            <img src="${url}" alt="Compressed Image" />
          `;
        }).catch(error => {
          console.error('Error uploading or compressing image:', error);
        });
      } else {
        alert('Please select an image file.');
      }
    });
  </script>
</body>
</html>
This is the original file:
Common mistakes in image compression and how to avoid them
Over-compression leading to poor quality
Some users may prefer high compression ratios. Heavy compression can lead to pixelated or blurry images. This reduces visual appeal and usability. Optimized images should balance dimensions and quality. Using certain tools to unfold changes before compression can help.
Neglecting different device requirements
Optimizing images for different devices is essential. Usage varies among targets. Failure to do this properly causes images to display poorly on certain screens. Images should be responsive and scale with different screens and resolutions. Addressing this ensures enhanced images on mobile, tablets, and desktops. This improves efficiency and client satisfaction across devices.
Ignoring SEO implications
Large images or images without compression waste space on your site. This harms your SEO rankings since speed is a ranking factor. Compressed images improve load times. Also, provide descriptive file names and alt text. This boosts accessibility and enhances SEO.
The impact of image compression on user experience and SEO
Faster page load times
User interaction and bounce rates relate to page speed. Ideally, it should take one second or less to boost conversion rates. Compressed images have reduced sizes and load faster. This means your content becomes viewable sooner. Engaging pages retain users and reduce bounce rates.
Improved SEO rankings
Search engines like Google prefer fast websites. Optimizing images is a technical SEO best practice. Smaller images lead to faster load times. This improves user experience and enhances SEO rankings. Fast sites are more likely to rank higher on search engines.
Higher conversion rates
Pages optimized for speed perform better. Visitors stay on fast sites, browse more, and may buy items. Compressing images makes your site faster. This improves user experience, driving conversions and revenue.
Future trends in image compression technology
Emergence of advanced image formats
New formats like WebP and AVIF are changing image compression. They offer better compression, reducing file sizes without losing quality. This means faster-loading websites and improved performance. However, browser support and adoption rates are still catching up. As more browsers support these formats, their use will grow.
AI and machine learning in compression
Artificial Intelligence (AI) is making compression smarter. AI-driven algorithms optimize images for the best size and quality balance. This leads to faster and more efficient compression. Machine learning also helps automate the process. You get consistent, high-quality results with minimal effort.
Staying updated with the latest tools
Technology is always evolving. You need to stay updated with the latest tools and trends. Services like Filestack regularly update their features. They incorporate new advancements to keep you ahead. This ensures you have access to the best compression solutions available.
Conclusion
Image compression is crucial. It enhances user experience, boosts website effectiveness, and contributes to SEO scores. Large images slow down site loading. This inconveniences users and reduces interaction. Compressed images enable fast-loading pages. This satisfies users and lowers bounce rates.
Filestack excels at image compression. It offers automatic background optimization, modern format support, and CDN integration. By adhering to formatting procedures and avoiding mistakes, images are consistently optimized. Embrace new tools and trends for a more responsive, user-friendly site.
FAQs
What does image compression mean?
You reduce the file size by removing unnecessary data from your images.
Does image compression reduce quality?
You may lose some quality with lossy compression, but lossless keeps all original data.
What is the effect of image compression?
You speed up page load times, save storage, and improve user experience.
What is the best compression method for images?
You should choose between lossy or lossless based on your needs for size and quality.
Boost your site’s speed and user experience effortlessly. Try Filestack today!
Ayesha Zahra is a Geo Informatics Engineer with hands-on experience in web development (both frontend & backend). Also, she is a technical writer, a passionate programmer, and a video editor. She is always looking for opportunities to excel in her skills & build a strong career.
Read More →


