Filestack has recently launched our File Picker V3 with a minimalistic design, in-app image transformations, and an even faster file uploading API. In case you missed it, you can read more about the new features and improvements in our article Filestack Launches File Picker V3.
The new UI is what everyone needs in a modern website. Uploading a file has never been so easy and fast as it is now, and we finally released the library as npm for the node ecosystem. Also, after many user requests, there is now an pro plan for the first time which means you can upload an unlimited number of files!
I have already experimented with the new picker and I can honestly say I have been quite surprised by it. I didn’t realize it was possible, but the Filestack engineers managed to make the new integration even easier than before:
- The
pickfunction is now implemented with promises, which I love because they are so popular with modern Javascript. In fact, in my last tutorial on Scotch.io I implemented the oldpickfunction to resolve/reject a promise.
-
- The uploader now returns both the CDN url and the file handle which come handy as I often had to manually extract it from the file url. No more string manipulation! If you are new to Filestack you should know how the API works: Upon uploading a file, Filestack responds with a json containing information related to that specific file:
[{
  "name":"52883-star_wars_battlefront_wallpaper.jpg",
  "mimetype":"image/jpeg",
  "size":416766,
  "source":"local_file_system",
  "url":"https://cdn.filestackcontent.com/pP2XHtfZTRWqN4aBcUBl",
  "handle":"pP2XHtfZTRWqN4aBcUBl",
  "status":"Stored"
}]
As described above, it provides the url through the Filestack CDN to increase the performance and possibly cache the file. Now it also returns the Filestack handle! Think of it as a unique id to represent your file that Filestack needs for serving it and/or applying transformations.
- The uploader now returns both the CDN url and the file handle which come handy as I often had to manually extract it from the file url. No more string manipulation! If you are new to Filestack you should know how the API works: Upon uploading a file, Filestack responds with a json containing information related to that specific file:
-
- Some image transformations are now available within the upload UI without the additional code of calling the process API.
In-App Transformations
As the documentation makes it clear, we are able to apply a few transformations within the uploader UI. Here is the list of the available transformations: minDimensions, maxDimensions, crop, rotate, circle, monochrome, sepia. The pick function’s new property transformOptions accepts a boolean value to enable them:
{ transformOptions: { { parameter: value } }
Where parameter is the targeted transformation.
The App
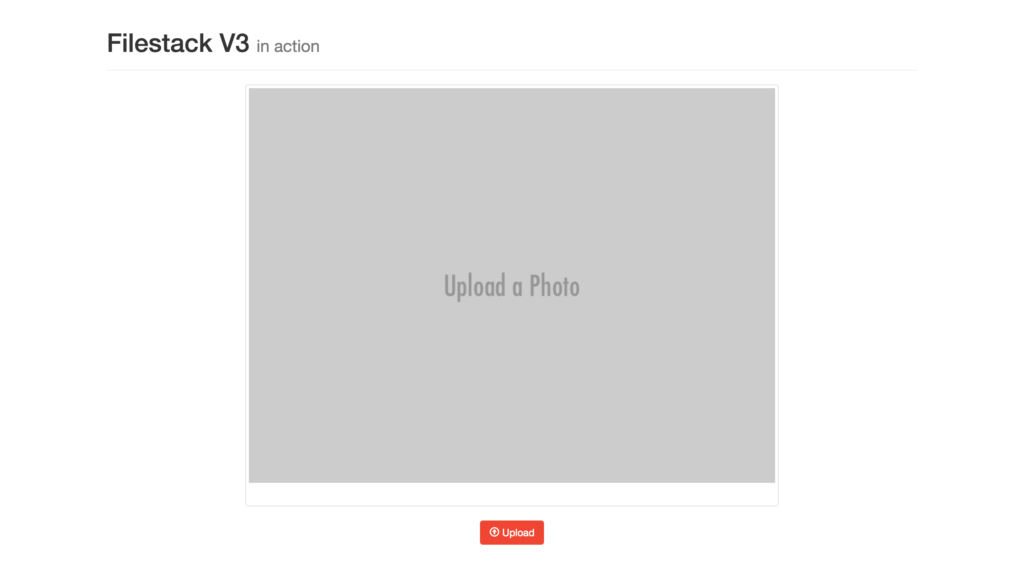
For the purpose of the article I wrote a very simple html/javascript page served by json-server:
Users can upload and edit their photos before seeing them in the browser. As always, you can clone/fork the repo on my github profile.
To use Filestack API we need to set our API key, init is the function we need:
const client = filestack.init('YOUR_API_KEY');
Now we can access the entire API and call pick.
But let’s not set some real-world restrictions on our users:
- limit the uploader to images only right
- 2Mb as the maximum size.
- users can crop their photos but the aspect ratio is gonna be locked to 16/9.
Here is the customized pick function:
client.pick(
  {
    accept: 'image/*',
    maxSize: 1024 * 1024 * 2,
    transformOptions: {
      transformations: {
        rotate: true,
        circle: true,
        monochrome: true,
        sepia: true,
        crop: {
          aspectRatio: 16/9,
        },
      }
    }
  }
)
.then(function(data) {
  document.getElementById('filestack-pic').src = data.filesUploaded[0].url;
  console.log(JSON.stringify(data.filesUploaded))
});
The new pick function returns a promise and once it resolves it provides the CDN url for the photo:
data.filesUploaded[0].url
data.filesUploaded is an array since we can upload more than a picture but the default behavior only allows one picture to be uploaded at a time. In our case, we simply take the first and only photo from it.
Moreover, the new API now returns the handle so we can now get it by writing:
data.filesUploaded[0].handle
And that’s pretty much all we need to write.
Upload Example
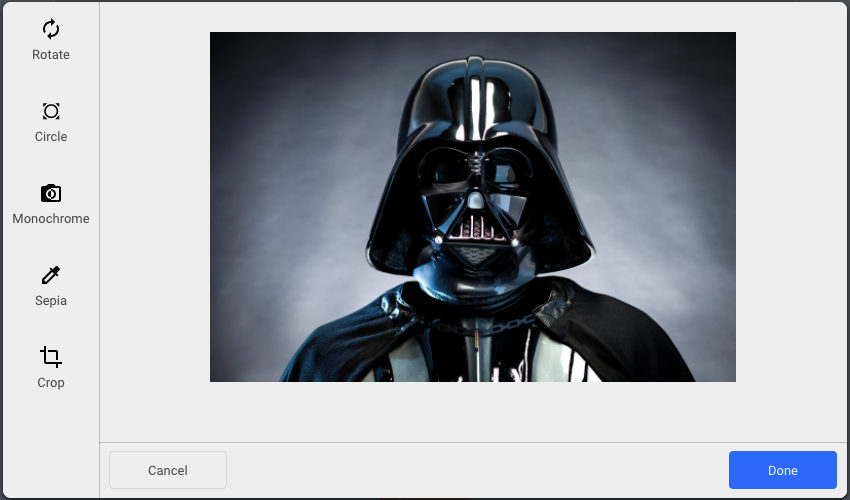
Now, let’s say we want to upload a photo of the “handsome” Darth Vader:
Thanks to the new pick function we can create a cool avatar picture out of it, take a look at the result:
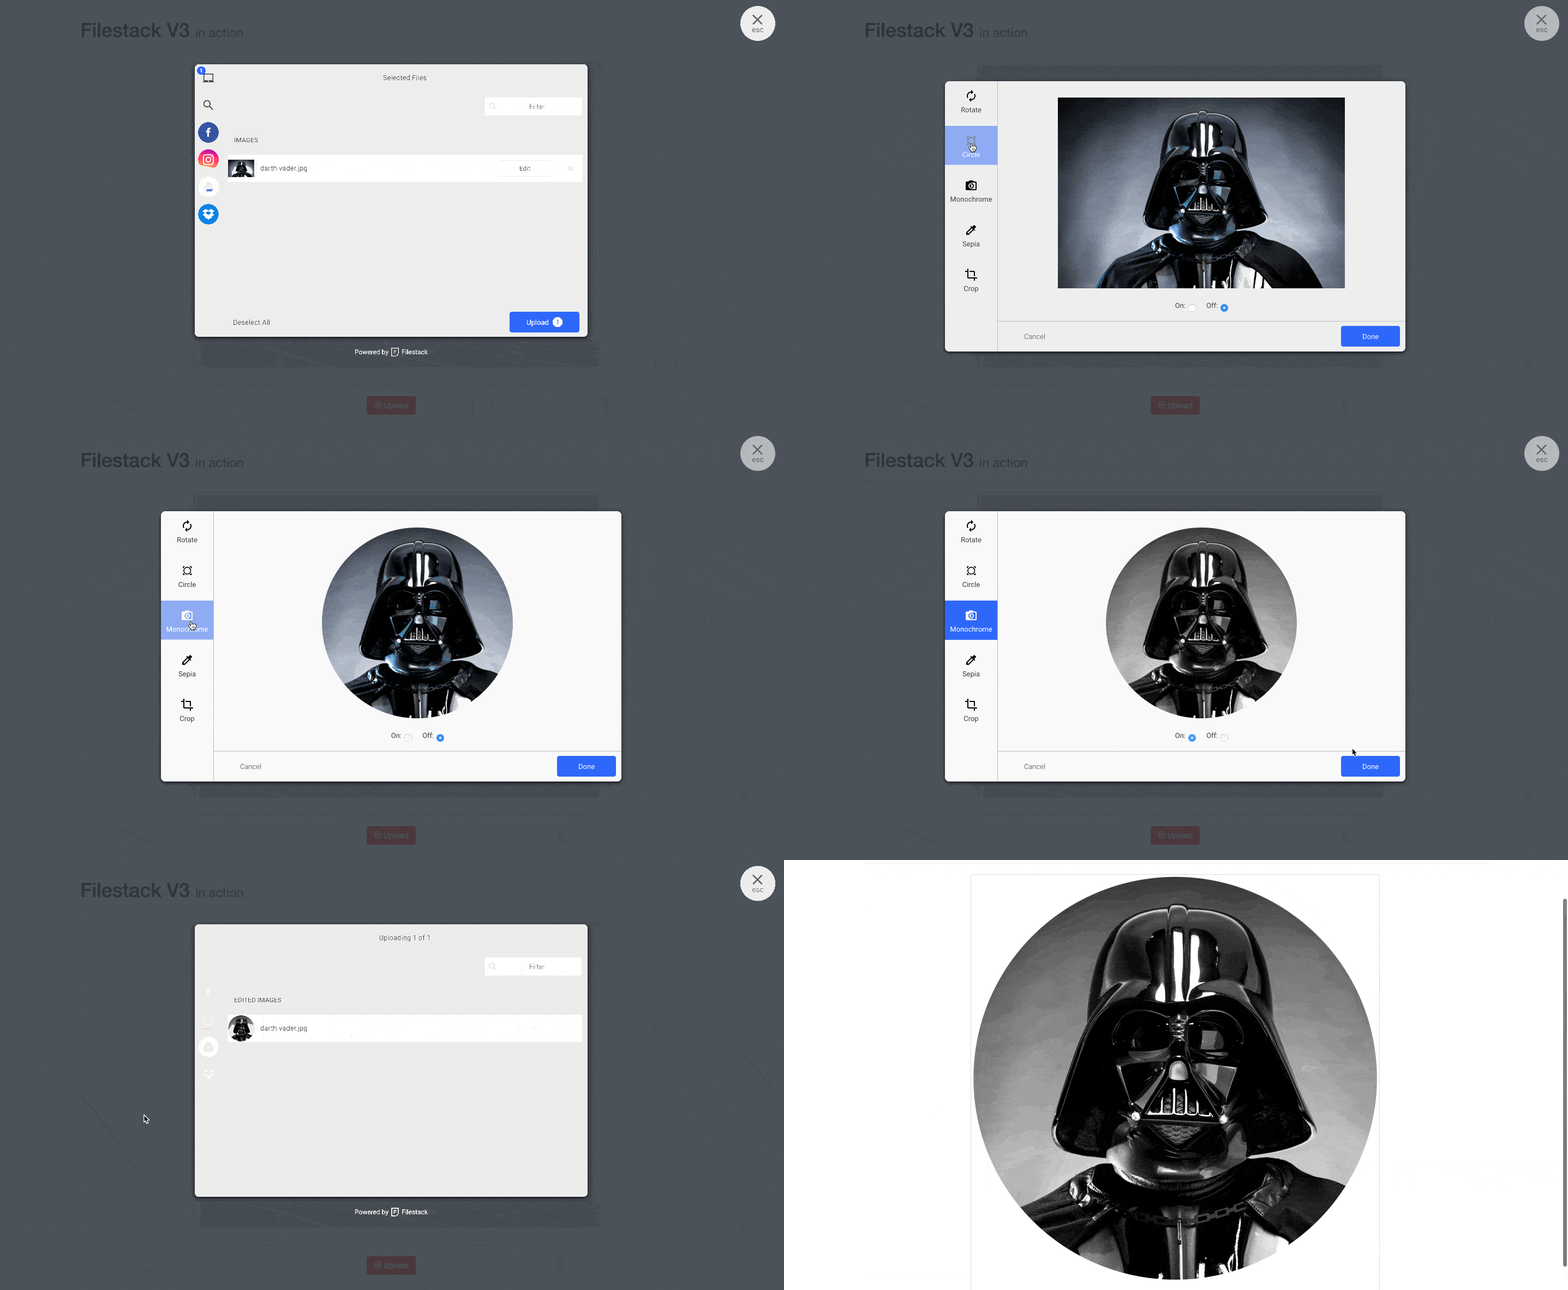
I applied the monochrome and circle transformations to the picture.
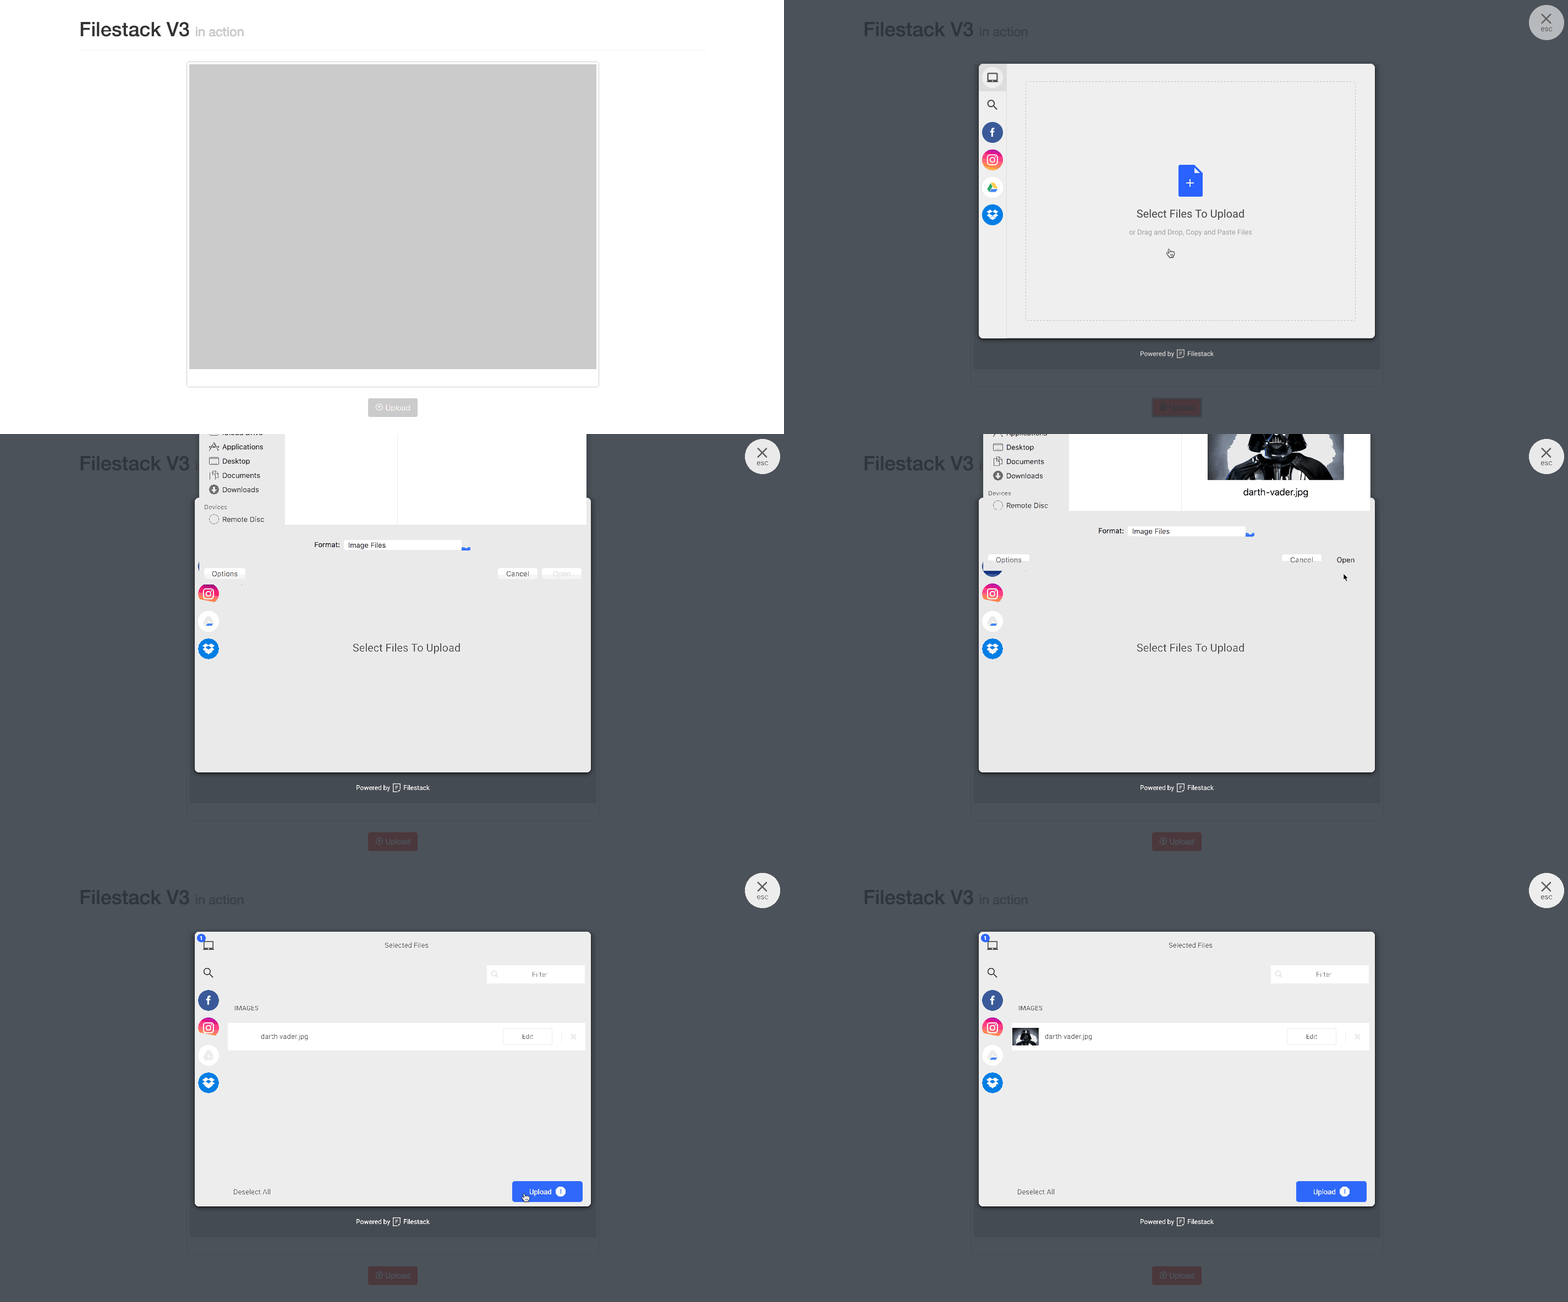
First, upload the picture:
And then edit it to apply monochrome and circle:
…And this is just the beginning!
What we have seen today is just an introduction to file picker V3, stay tuned for more.
Filestack is a dynamic team dedicated to revolutionizing file uploads and management for web and mobile applications. Our user-friendly API seamlessly integrates with major cloud services, offering developers a reliable and efficient file handling experience.
Read More →


