
Filestack Image Enhancement – your go-to tool for making your pictures look amazing! The way your images look is super important. Filestack makes it easy to make your pictures stand out and grab attention. With simple integration, it helps you make your photos look better without any complications.
In this blog, we’ll talk about why Filestack Image Enhancement is the best tool for developers. It not only helps make pictures better, but it is also easier to integrate and use. In the below article, we will start by explaining the basics of image enhancement. Then, we will tell you some reasons to use the image enhancements in various fields.
But that’s not all we will cover. We will also create a simple web application using HTML, CSS, and JavaScript with Filestack. Finally, we will show you how Filestack image enhancement works on different images. So what are you waiting for? Let’s explore how Filestack can make your pictures look fantastic.
What is image enhancement?
Image enhancement gives a boost to make pictures look better. It helps us add different adjustments to improve the overall quality and appearance of an image.
One way to enhance an image is by tweaking the brightness and contrast. If a photo looks too dark, adding some brightness can help. Similarly, adjusting contrast can make the details stand out more.
Colour correction is another trick. It’s like fixing the colours to make them look just right. If a photo has weird colours, enhancing it can make everything look more natural.
And don’t forget sharpness! Making an image sharper means bringing out the small details. These are useful for medical pictures where you want to see things super clearly.
👉So, image enhancement is about making pictures more appealing and clear.
Why do we need image enhancement?
Image enhancement is important because it makes pictures look better and more useful. It helps grab attention and serve specific purposes.
✔️For example, ads or marketing. We enhance images to make products look more attractive. Adjusting colours and brightness can make a picture pop. Hence, catching the eye of potential customers.
✔️In healthcare, image enhancement is helpful for clear medical pictures. Sharp and detailed images help doctors make accurate diagnoses and better care decisions.
✔️Security and surveillance benefit from image enhancement too. Making pictures clearer helps in identifying people or events from low-quality footage.
What is the best method to implement image enhancement?
Using APIs like Filestack can help us enhance images in the best possible ways. Let’s explore it.
Filestack
Filestack Image Enhancement intelligently examines an image. It helps us in applying color correction to the images. Moreover, we can also add other improvements to enhance the overall image quality.
You have the option to select from various presets to attain optimal results. This guide will showcase all the presets available. Moreover, we will also demonstrate how to utilize upscaling with the Filestack API.
👉Please be aware that to execute enhancement tasks on your image, it must not exceed 10MB in size.
👉It’s important to note that Filestack Image Enhancement is a premium feature. If you’d like to include it in your plan, contact our helpful support team today!
How do you implement image enhancement features using Filestack?
Before we start the implementation, we must know the enhancement options available at Filestack. Filestack gives us the following enhancement options for our images:
- Upscale
- Auto
- Vivid
- Beautify
- Beautify Plus
- Fix Dark
- Fix Noise
- Outdoor
- Fix Tint
- Fireworks
You might have realized the versatility of image enhancement options available at Filestack. Let’s begin the implementation now.
Create an index.html file in Visual Studio Code. Then, add the below code to it. Let’s explain each part of the code one by one.
HTML Structure
<html lang="en">

<head>

    <meta charset="UTF-8">

    <meta name="viewport" content="width=device-width, initial-scale=1.0">

    <title>Your Web Page</title>

    <!-- Include the Filestack library -->

    <script src="https://static.filestackapi.com/filestack-js/3.x.x/filestack.min.js"></script>

    <style>

        <!-- CSS styles -->

    </style>

</head>

<body>

    <!-- Body content -->

</body>

</html>
In the HTML structure, we have the basic setup with:
- The document type
- Language
- Metadata.
👉The Filestack library is included via a script tag, and there’s an embedded style tag containing CSS styles.
CSS Styles
<style>

    body {

        display: flex;

        align-items: center;

        justify-content: center;

        height: 100vh;

        margin: 0;

        background-color: #FEFEFE;

        background-size: cover;

        background-image: url('https://png.pngtree.com/background/20220726/original/pngtree-orange-border-abstract-watercolor-texture-picture-image_1812115.jpg');

    }

    <!-- More styles... -->

    #filestackEnhanceButtonContainer {

        display: flex;

        flex-direction: column;

        align-items: center;

    }

</style>
Here, CSS styles define the appearance of the page, including:
- Body styles
- Button styles
- Options styles
- Label styles
- input styles.
We set body styles as a flex container to center its content vertically and horizontally. It has a background image and other properties for appearance.
We have general button styles, including padding, font size, cursor, and border.
#filestackEnhanceButtonContainer are styles for a container that holds the “Enhance Images with Filestack” button, making it a flex container.
JavaScript
<script>

    const apikey = 'ADD YOUR API KEY HERE';

    const client = filestack.init(apikey);

    let uploadedFileHandle;

    let enhancedFileHandle;

    function showSmartCropOptions() {

        const options = {

            onUploadDone: (res) => {

                <!-- Function code... -->

            },

        };

        const picker = client.picker(options);

        picker.open();

    }

    function openFilestackEnhancePicker() {

        const options = {

            onUploadDone: (res) => {

                uploadedFileHandle = res.filesUploaded[0].handle;

                <!-- Function code... -->

            },

        };

        const picker = client.picker(options);

        picker.open();

    }

    function generateUpscaleUrl() {

        <!-- Function code... -->

    }

    function applyEnhancement(enhancement) {

        <!-- Function code... -->

    }

    function redirectToEnhancedImage() {

        const enhancedUrl = document.getElementById('accessUpscaledButton').getAttribute('data-url');

        window.location.href = enhancedUrl;

    }

</script>
In the JavaScript section, we did the following implementations:
- Define the Filestack API key (`apikey`)
- Initialize the Filestack client
- Declare two variables (`uploadedFileHandle` and `enhancedFileHandle`).
JavaScript Functions
Here is the explanation for functions:
openFilestackEnhancePicker()
It opens the Filestack picker for image uploads, stores the file handle, and triggers the enhancement options.
generateUpscaleUrl()
It initiates the image upscaling operation (in this case, just alerts a success message).
applyEnhancement(enhancement)
It applies various enhancements (presets or custom) to the uploaded image.
redirectToEnhancedImage()
It redirects to the enhanced image using the generated URL.
These functions define the behavior of the web page. Therefore, handling user interactions and communicating with the Filestack API for image processing.
Final code
<!DOCTYPE html>

<html lang="en">

<head>

    <meta charset="UTF-8">

    <meta name="viewport" content="width=device-width, initial-scale=1.0">

    <title>Your Web Page</title>

    <!-- Include the Filestack library -->

    <script src="https://static.filestackapi.com/filestack-js/3.x.x/filestack.min.js"></script>

    <style>

        body {

            display: flex;

            align-items: center;

            justify-content: center;

            height: 100vh;

            margin: 0;

            background-color: #FEFEFE;

            background-size: cover;

            background-image: url('https://png.pngtree.com/background/20220726/original/pngtree-orange-border-abstract-watercolor-texture-picture-image_1812115.jpg');

        }

        button {

            padding: 20px;

            font-size: 20px;

            cursor: pointer;

            margin: 10px;

            border: none;

            border-radius: 10px;

            z-index: 1;

        }

        #filestackEnhanceButton, #upscaleButton, #accessUpscaledButton,

        #presetAutoButton, #presetVividButton, #presetBeautifyButton, #presetFireworksButton,

        #presetOutdoorButton, #presetFixNoiseButton, #presetFixTintButton, #presetFixDarkButton {

            background-color: #EF4A25;

            color: white;

        }

       #enhanceOptions, #upscaleOptions {

            display: none;

            text-align: center;

            margin-top: 20px;

        }

        label {

            font-size: 18px;

            margin: 10px;

            display: block;

        }

        input {

            padding: 10px;

            font-size: 16px;

            margin: 5px;

            border: 1px solid #ccc;

            border-radius: 5px;

            width: 200px;

            display: block;

            margin: 10px auto;

        }

        #accessUrlButton, #enhanceImageButton, #enhanceUploadedButton, #accessUpscaledButton {

            display: none;

        }

        #filestackEnhanceButtonContainer {

            display: flex;

            flex-direction: column;

            align-items: center;

        }

    </style>

</head>

<body>

<div id="filestackContainer" style="display: none;"></div>

<div id="filestackEnhanceButtonContainer">

    <button id="filestackEnhanceButton" onclick="openFilestackEnhancePicker()">Enhance Images with Filestack</button>

    <div id="enhanceOptions">

        <button id="upscaleButton" onclick="generateUpscaleUrl()">Upscale</button>

        <button id="presetAutoButton" onclick="applyEnhancement('preset:auto')">Preset Auto</button>

        <button id="presetVividButton" onclick="applyEnhancement('preset:vivid')">Preset Vivid</button>

        <button id="presetBeautifyButton" onclick="applyEnhancement('preset:beautify')">Preset Beautify</button>

        <button id="presetFireworksButton" onclick="applyEnhancement('preset:fireworks')">Preset Fireworks</button>

        <button id="presetOutdoorButton" onclick="applyEnhancement('preset:outdoor')">Preset Outdoor</button>

        <button id="presetFixNoiseButton" onclick="applyEnhancement('preset:fix_noise')">Preset Fix Noise</button>

        <button id="presetFixTintButton" onclick="applyEnhancement('preset:fix_tint')">Preset Fix Tint</button>

        <button id="presetFixDarkButton" onclick="applyEnhancement('preset:fix_dark')">Preset Fix Dark</button>

        <button id="accessUpscaledButton" onclick="redirectToEnhancedImage()">Access Enhanced Image</button>

    </div>

</div>

<script>

    const apikey = 'ADD YOUR API KEY HERE';

    const client = filestack.init(apikey);

    let uploadedFileHandle;

    let enhancedFileHandle;

    function openFilestackEnhancePicker() {

        const options = {

            onUploadDone: (res) => {

                uploadedFileHandle = res.filesUploaded[0].handle;

                alert('File uploaded successfully. Now click "Upscale" or choose a preset to apply enhancements.');

                document.getElementById('filestackEnhanceButton').style.display = 'none';

                document.getElementById('enhanceOptions').style.display = 'block';

            },

        };

        const picker = client.picker(options);

        picker.open();

    }

    function generateUpscaleUrl() {

    alert('Upscaling the image...');

    const fileHandle = uploadedFileHandle;

    // Generate the upscale URL

    const upscaleUrl = `https://cdn.filestackcontent.com/upscale/${fileHandle}`;

    alert(`Upscale URL: ${upscaleUrl}`);

    enhancedFileHandle = fileHandle;

    document.getElementById('accessUpscaledButton').style.display = 'block';

    document.getElementById('accessUpscaledButton').setAttribute('data-url', upscaleUrl);

}

    function applyEnhancement(enhancement) {

        alert(`Applying ${enhancement} enhancement...`);

        const fileHandle = uploadedFileHandle; // Assuming you want to apply the enhancement to the originally uploaded image

        const enhancedUrl = `https://cdn.filestackcontent.com/enhance=${enhancement}/${fileHandle}`;

        alert(`${enhancement} enhancement applied successfully.`);

        enhancedFileHandle = fileHandle;

        document.getElementById('accessUpscaledButton').style.display = 'block';

        document.getElementById('accessUpscaledButton').setAttribute('data-url', enhancedUrl);

    }

    function redirectToEnhancedImage() {

        const enhancedUrl = document.getElementById('accessUpscaledButton').getAttribute('data-url');

        window.location.href = enhancedUrl;

    }

</script>

</body>

</html>
When running the above code, make sure you add the API key. You have to add it in the given placeholder “ADD YOUR API KEY HERE”.
Output
Run the above HTML code, and it will open a web page as follows:
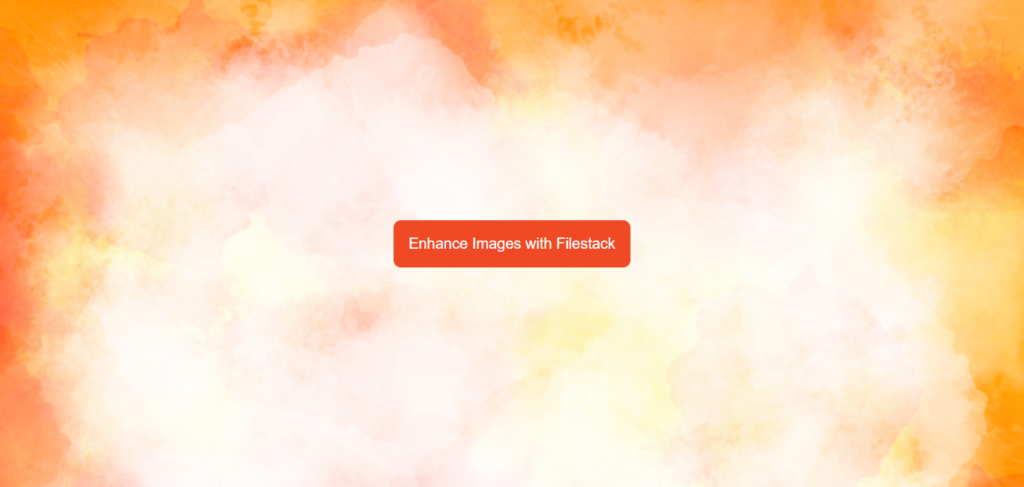
Click on the “Enhance Images with Filestack Button” to open the File Picker.
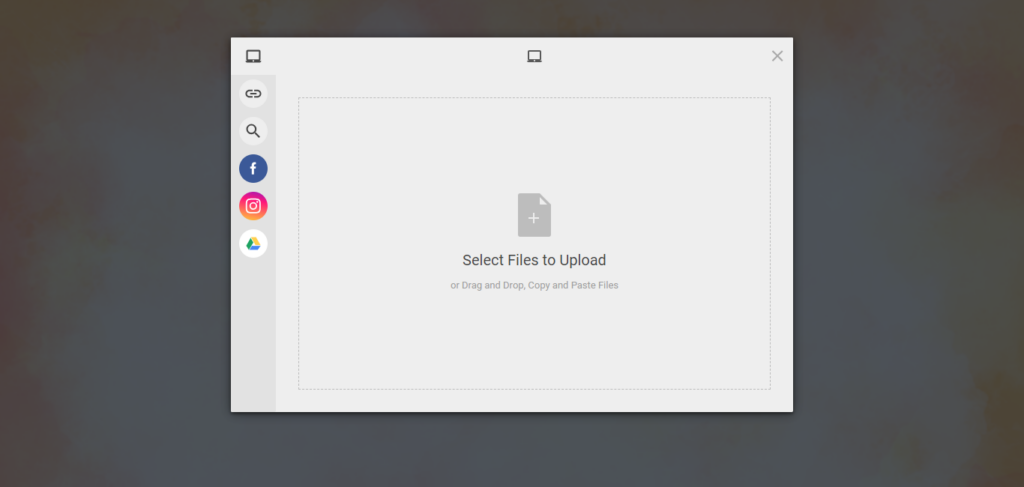
Click “Select Files to Upload” and Upload a file from your preferred location. The file picker allows uploading from a drive location, Instagram, Facebook, or search option. You can also upload from a local directory.
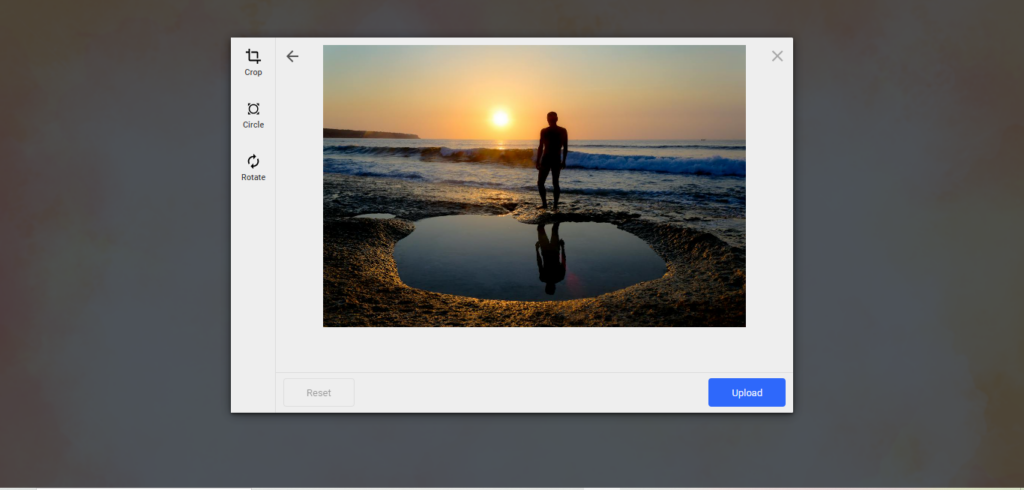
Click on the blue upload button after choosing the file as under:
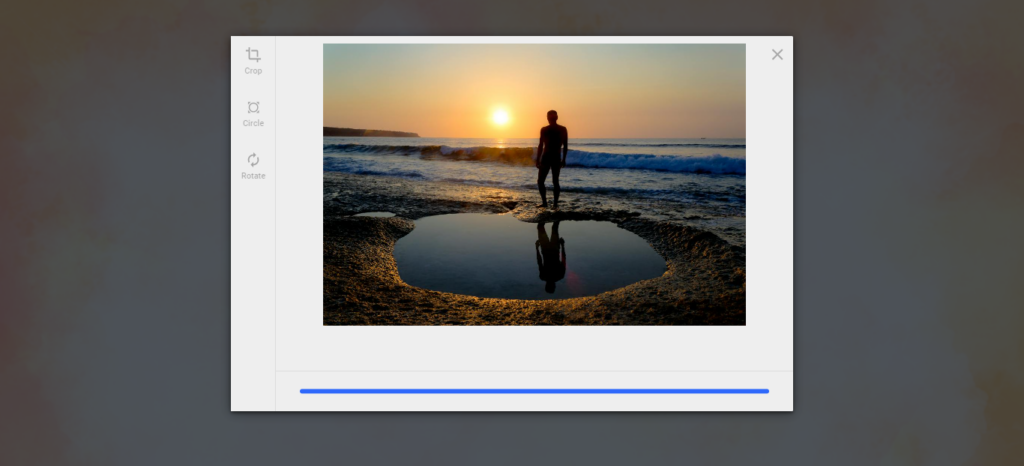
When you click on “Upload”, Filestack file picker also shows a progress bar, as you can see below:
Once it is uploaded, you will see the options to enhance the uploaded image as follows:
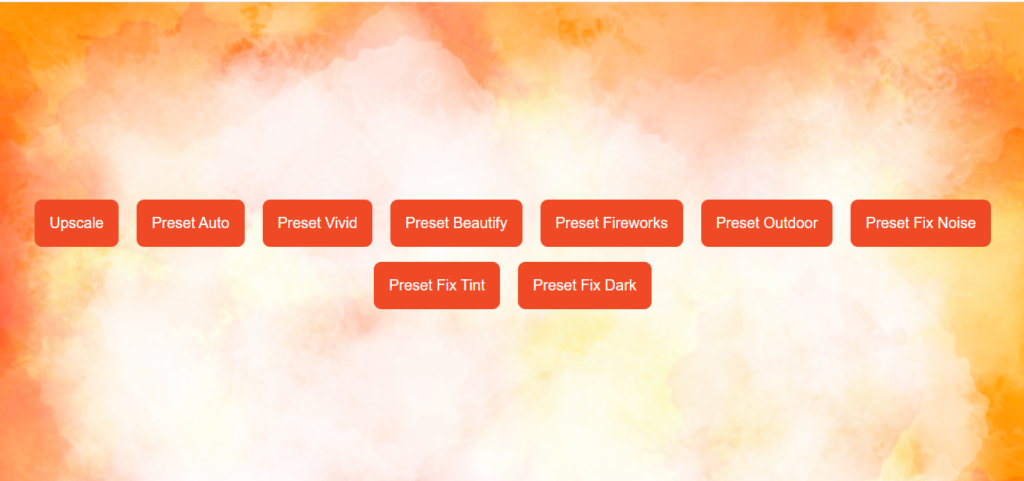
After you click on the desired enhancement option, it will show you an access button. You can see it below.
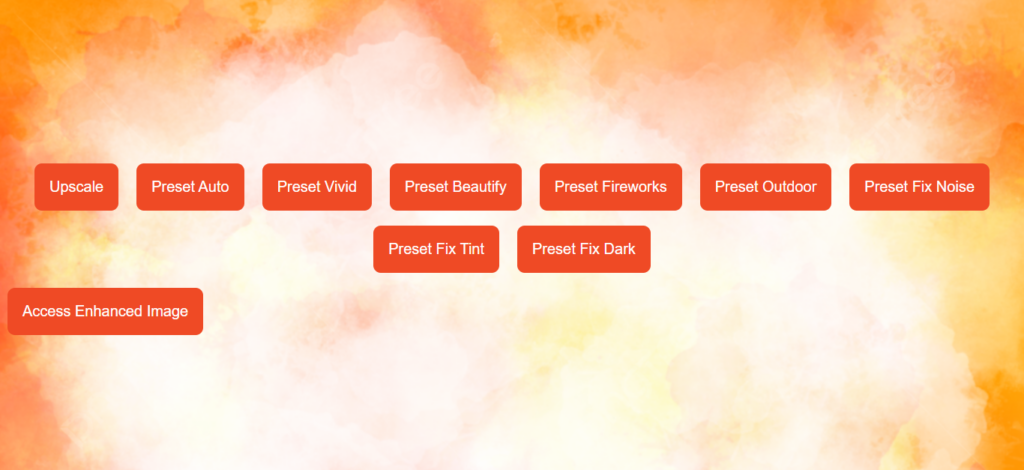
You must click the “Acess Enhanced Image” button to get your enhanced image. You can choose any of the nine enhancement options given above. As a result, you will get an enhanced image.
Let’s try the above enhancement options on different images one by one.
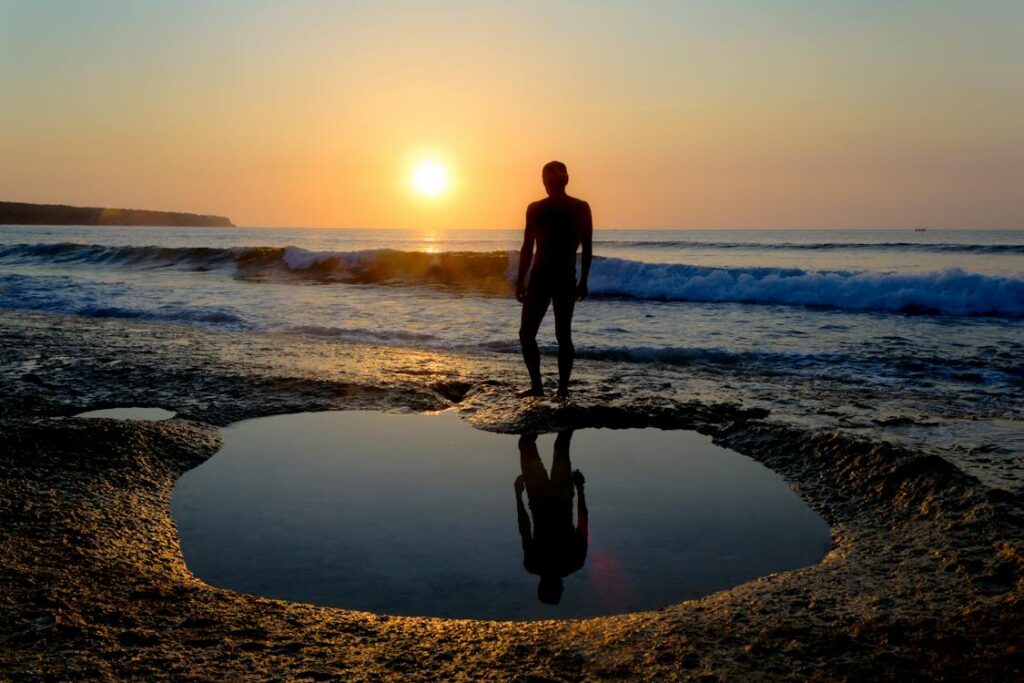
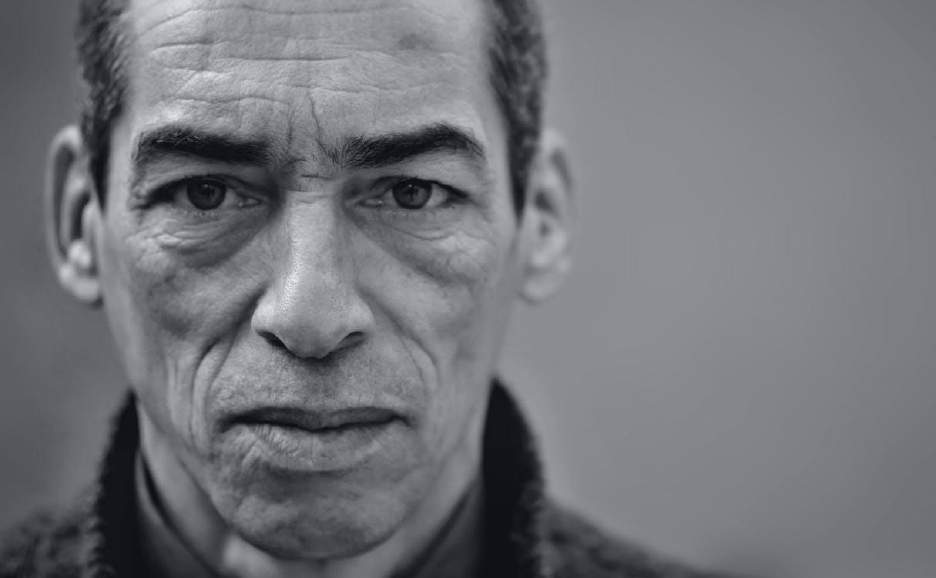
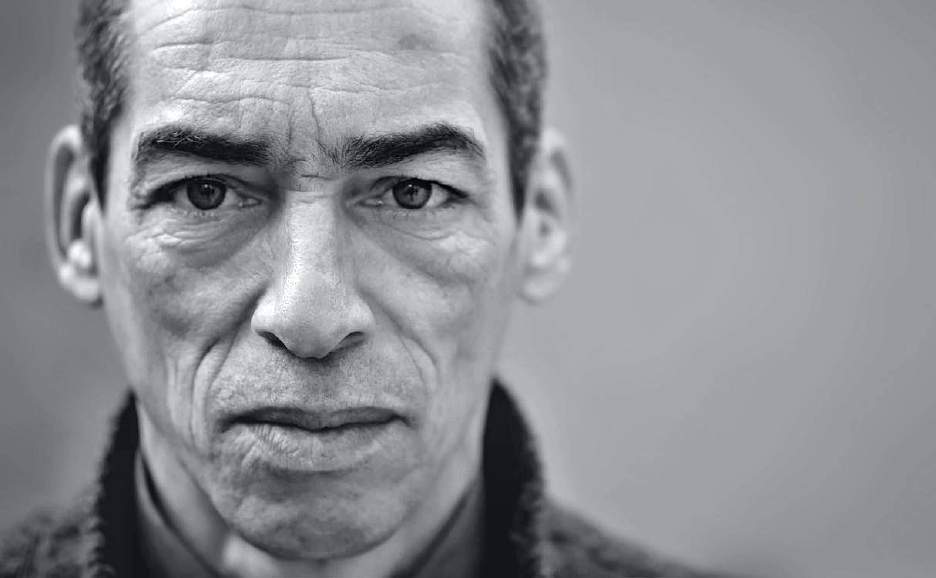
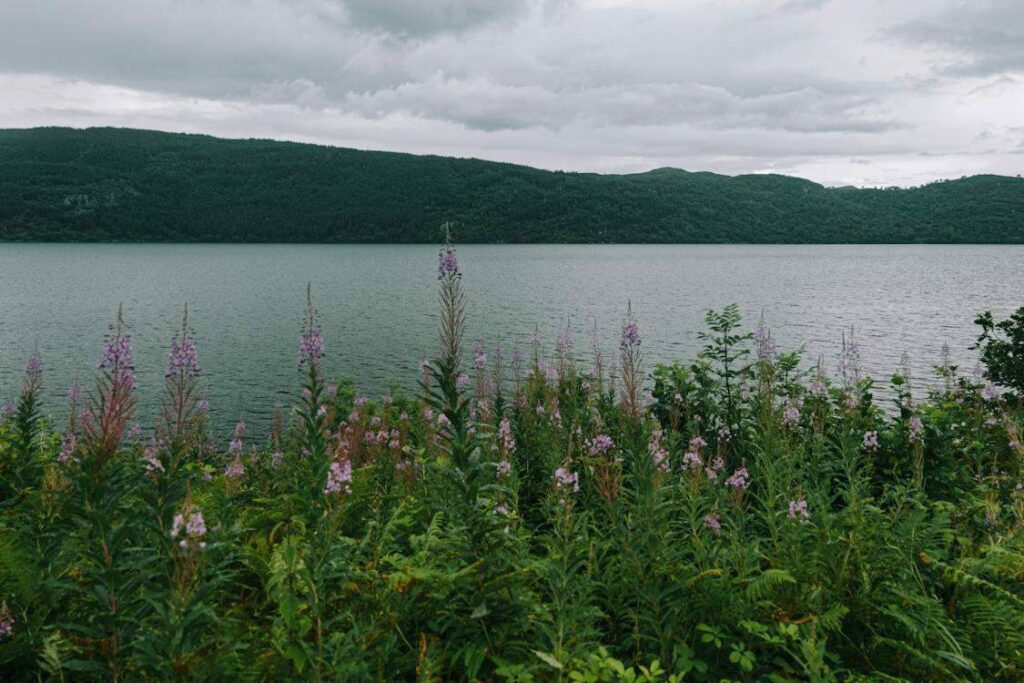
Upscale
Original Image
Enhanced Image
Auto
Original Image

Enhanced Image

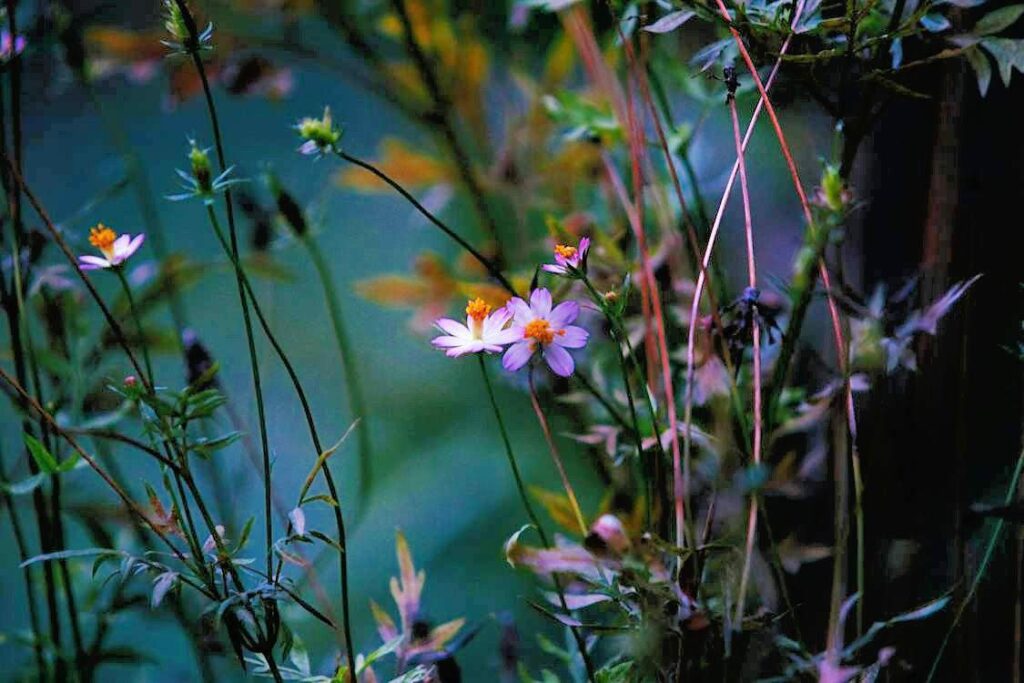
Vivid
Original Image

Enhanced Image

Beautify
Original Image
Enhanced Image
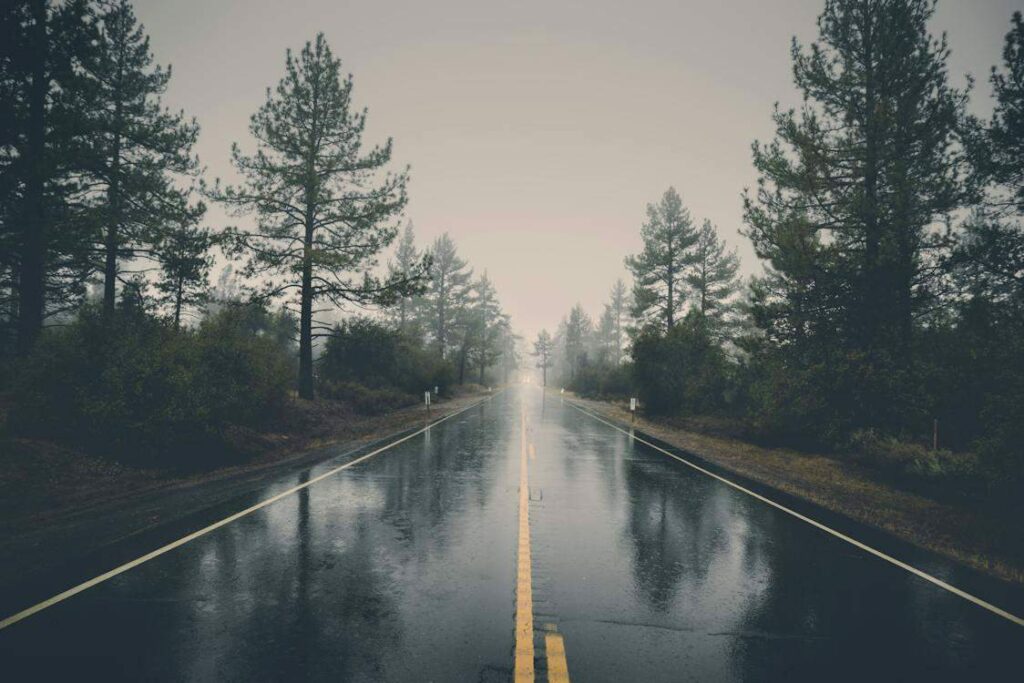
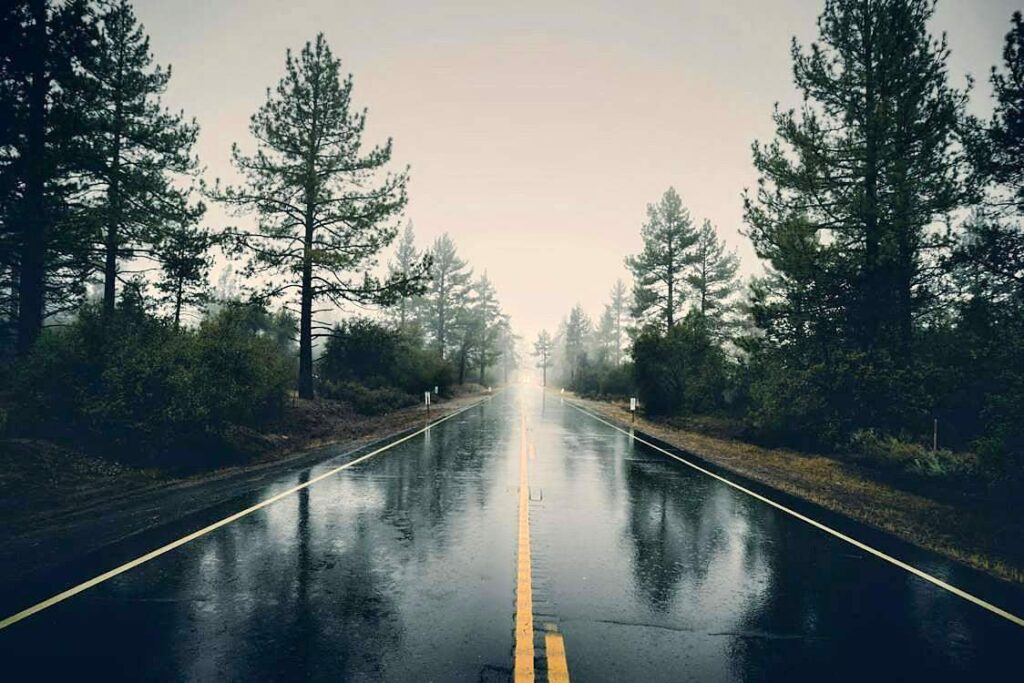
Fix Dark
Original Image

Enhanced Image
Fix Noise
Original Image
Enhanced Image
Outdoor
Original Image

Enhanced Image

Fix Tint
Original Image
Enhanced Image

Fireworks
Original Image

Enhanced Image

Conclusion
In the above article, we discussed about image enhancement. First, we explored what image enhancement is. Then, we talked about the reasons behind using image enhancement. Next, we talked about Filestack, the best method for image enhancement implementation. Finally, we build a simple application that enhances images using the Filestack.
It is important to note that image enhancement is essential in our lives. From healthcare to other fields, image enhancements can make a big difference. For example, we can post good images and attract a large audience of customers.
However, it is also important to choose the right tool for image enhancement. Filestack is one such option available for you. Besides enhancements, it also allows multiple other image operations. Check Filestack documentation for more amazing features.
FAQs
Can I try Filestack image enhancement for free?
The Filestack image enhancement feature is not available on free plans. If you want to try it, contact our support to add this feature to your plan.
What are the benefits of image enhancement?
Image enhancement is beneficial in a way that it does the following tasks:
✔️Improves visual quality
✔️Sharpens details
✔️Enhances colors
✔️Aids in better interpretation and analysis.
✔️Facilitates clearer communication
✔️Boosts overall visual appeal across various applications.
Does image enhancement affect image quality?
Yes, image enhancement significantly impacts image quality by improving clarity, contrast, and overall visual appeal. It enhances details, sharpens edges, and optimizes colours. Therefore, we can get a more vivid and appealing final image.
How does Filestack image enhancement work?
Filestack’s image enhancement employs advanced algorithms to analyze and optimize images. It automatically adjusts brightness, contrast, and sharpness, ensuring superior visual quality. This dynamic process enhances user experience by delivering visually appealing and professional-looking images.
Sign Up for free at Filestack today – Upgrade your image enhancement experience.
Ayesha Zahra is a Geo Informatics Engineer with hands-on experience in web development (both frontend & backend). Also, she is a technical writer, a passionate programmer, and a video editor. She is always looking for opportunities to excel in her skills & build a strong career.
Read More →