


Astro ships static HTML by default, which makes the first upload genuinely simple. With a public API key and the Filestack JavaScript SDK, a static page uploads a file with no server at all. Turn security on later and you add one on-demand route. Start with a free API key and build up from the static version.
A bundled <script> runs the SDK in the browser, and a .ts file under src/pages/api signs credentials when you need them. You start static and add the server only at the point security requires it, which keeps the simple case simple.
Every snippet runs against the real filestack-js SDK. Copy them in order and you will have a working upload, signed credentials, and a resized image by the end.
Key takeaways
- The SDK works in the browser with just your public API key, so a static Astro page can upload with zero server configuration
- An Astro endpoint with export const prerender = false signs a short-lived policy with your app secret, kept out of the client bundle
- The signing logic is a handful of node:crypto lines, so the endpoint needs no extra packages
- client.upload accepts the File object from an <input type=”file”> directly, so the bytes travel straight from the browser to Filestack
- Public keys reach the browser through the PUBLIC_ prefix, while the app secret stays server-only
Before you start
You need:
- Node 18 or higher
- An Astro project (npm create astro@latest)
- A Filestack account for your API key and app secret
- Familiarity with Astro pages, scripts, and endpoints
Pull your API key and app secret from the Filestack developer portal. The API key is fine in client code. The app secret stays on the server and signs every policy.
Step 1: Install and set environment variables
Install the SDK:
npm install filestack-js
Add your keys to .env:
PUBLIC_FILESTACK_API_KEY=Axxxxxxxxxxxxxxxxxxxxx
FILESTACK_APP_SECRET=your-app-secret-here
Astro reads both with import.meta.env. Anything prefixed with PUBLIC_ is available in client scripts. The app secret has no prefix, so it stays server-side and is left out of the browser bundle.
Step 2: Get a working upload on a static page
Filestack apps start with security off, so an API key is enough for your first upload, and this version needs no adapter or server config at all. Edit src/pages/index.astro:
---

---

<input type="file" id="file" />

<div id="out"></div>


<script>

  import * as filestack from 'filestack-js';


  const apiKey = import.meta.env.PUBLIC_FILESTACK_API_KEY;

  const client = filestack.init(apiKey);

  const input = document.getElementById('file');

  const out = document.getElementById('out');


  input.addEventListener('change', async (e) => {

    const file = e.currentTarget.files?.[0];

    if (!file) return;

    out.textContent = 'Uploading...';

    const result = await client.upload(file);

    out.innerHTML =

      `<p>Uploaded ${result.filename}</p>` +

      `<img src="${result.url}" alt="${result.filename}" width="320" />`;

  });

</script>
Run npm run dev, pick a file, and you have a working upload on a static page. The resolved object carries result.handle, result.url, result.filename, result.mimetype, and result.size. Hold on to the handle, since it is the durable identifier you reuse for signed reads, transformations, and deletes. The URL is convenience metadata.

Step 3: Add an adapter and sign a policy on the server
Once you turn on security in the developer portal, uploads need a policy and a signature, and signing runs at request time. Add an on-demand renderer:
npx astro add node
Then create src/pages/api/filestack-creds.json.ts. The filename ends in .json.ts, so the endpoint lives at /api/filestack-creds.json:
export const prerender = false;


import type { APIRoute } from 'astro';

import { createHmac } from 'node:crypto';


function signPolicy(policy: object, secret: string) {

  const encoded = Buffer.from(JSON.stringify(policy))

    .toString('base64')

    .replace(/\+/g, '-')

    .replace(/\//g, '_');

  const signature = createHmac('sha256', secret).update(encoded).digest('hex');

  return { policy: encoded, signature };

}


export const GET: APIRoute = () => {

  const policy = {

    expiry: Math.floor(Date.now() / 1000) + 300, // valid for 5 minutes

    call: ['pick', 'store', 'read', 'convert']

  };


  const secret =

    import.meta.env.FILESTACK_APP_SECRET ?? process.env.FILESTACK_APP_SECRET;

  const creds = signPolicy(policy, secret);


  return new Response(JSON.stringify(creds), {

    headers: { 'Content-Type': 'application/json' }

  });

};
export const prerender = false keeps this route out of the static build and runs it on demand, which is what lets it read the secret at request time. The line reads import.meta.env first and falls back to process.env, so it resolves the same way in dev and after deploy. This is the only security policy source in the app, and the app secret stays on the server.
Step 4: Upload with the signed credentials
Update the client script to fetch credentials first, then initialize the client with that security object:
<script>
import * as filestack from 'filestack-js';
const apiKey = import.meta.env.PUBLIC_FILESTACK_API_KEY;
const input = document.getElementById('file');
const out = document.getElementById('out');
input.addEventListener('change', async (e) => {
const file = e.currentTarget.files?.[0];
if (!file) return;
out.textContent = 'Uploading...';
const security = await fetch('/api/filestack-creds.json').then((r) => r.json());
const client = filestack.init(apiKey, { security });
const result = await client.upload(file);
out.innerHTML =
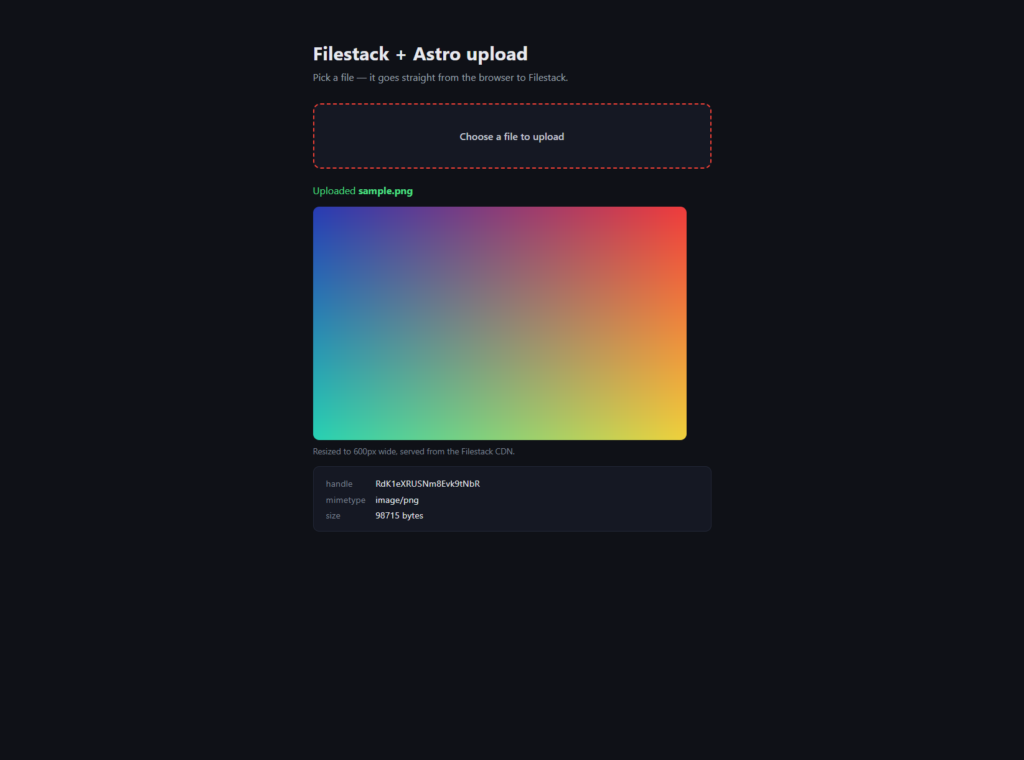
`<img src="https://cdn.filestackcontent.com/resize=width:600/${result.handle}" alt="${result.filename}" />`;
});
</script>The browser fetches a five-minute credential, initializes a secured client, and uploads. The app secret never reaches the page.
Step 5: Resize on delivery
Filestack transformations happen at delivery time, so a resize is a CDN URL built from the handle. The <img> above already requests a 600px-wide version through the resize=width:600 task. The transform runs on the Filestack Processing Engine and the result is cached on the CDN, so your Astro server never touches the bytes. If you want to give users a visual editor instead of fixed URLs, the Transformations UI drops in alongside the same SDK. With security on, append the read credentials as query parameters:
const src =

  `https://cdn.filestackcontent.com/resize=width:600/${result.handle}` +

  `?policy=${security.policy}&signature=${security.signature}`;
Putting it all together
A static page handles the simple upload with zero server config, an on-demand endpoint signs short-lived policies with node:crypto, the app secret stays server-side, and a resize is a URL built from the handle. You start static and add the server only when security calls for it.
Start free. Get an API key, ship the static upload today, and add the signed endpoint the day you turn security on. When traffic grows, Filestack pricing scales with uploads, transformations, and bandwidth, so you pay for what your Astro site actually uses.


Carl is a Product Marketing Manager at Filestack with four years of hands-on experience in React, JavaScript, Django, and Python. He bridges the gap between product and developer, translating how Filestack’s APIs and SDKs actually work into content that’s useful for the engineers building with them. His writing covers file handling workflows, upload integrations, and real-world implementation patterns, written from the perspective of someone who has built with these tools firsthand.