Do you have a website with several images but still not getting the expected results? It’s time to spice up your website imagery with JavaScript image editing. Remember the time when website content was all about text?
Well, guess what? In today’s ever-evolving digital landscape, images and visuals rule nearly all websites and web apps. We live in an age where visuals have become the primary language of communication. And they can certainly make or break your business.
Dull and bad images won’t fulfill the purpose of having visuals on your site. Imagine impressing your website users and telling your brand’s story with stunning visuals. This is where JavaScript image editing comes in handy. However, it’s not only about image editing. You must also focus on managing and delivering visuals across platforms, which has its challenges.
In this article, we’ll explore all about JavaScript image editing, from crafting custom image manipulation solutions to using pre-built libraries and frameworks. We’ll also delve into the features of Filestack to edit images with JavaScript. Let’s get started!
The crucial role of JavaScript in image editing

Let’s start by discussing the basic concept of JavaScript.
JavaScript is the most popular scripting language for creating dynamic and interactive websites. In the realm of web development, HTML is used to create the basic structure of a website, and CSS helps style the website. But how do you add interactive elements to your website? JavaScript is the answer. It lets you add buttons, charts, graphs, dropdown menus, and lots of interactive UI (User Interface) elements. In other words, it turns static content into engaging user experiences. And that’s not all. JavaScript has evolved into a magical tool for image editing and manipulation.
JavaScript image editing has various benefits. For instance, JavaScript is easy to learn. Moreover, it offers developers next-level flexibility and power to craft custom image functionalities, from image filters, cropping, and resizing to text overlay and image compression. Additionally, you can see real-time results as you make edits to images. Another impressive benefit of JavaScript image editing is reduced server load. JavaScript performs image editing on the client side. Hence, it reduces the workload on the server, leading to improved response times.
Crafting custom image manipulations with JavaScript
JavaScript serves as a powerful tool for developers to create custom image functionalities. It involves using the <canvas> HTML 5 element, allowing us to draw and manipulate graphics. You can use the <canvas> element to craft various custom image manipulations, such as:
- Image cropping
- Resize images
- Rotation
- Flipping
- Masking
- Change aspect ratio
- Various image filters and effects
Example code
Below is an example code for creating a custom grayscale filter with JavaScript image editing. It involves manipulating the image’s pixel data using the HTML5 Canvas API.
<!DOCTYPE html>
<html>
<head>
    <title>Custom GrayScale Image Filter</title>
</head>
<body>
    <img id="image" src="exampleImage.jpg" alt="Original Image">
    <canvas id="canvas"></canvas>

    <script>
        const image = document.getElementById('image');
        const canvas = document.getElementById('canvas');

// defining constnat to obtain 2D rendering

const canvasctx = canvas.getContext('2d');

        // Set canvas dimensions to match the image size
        canvas.width = image.width;
        canvas.height = image.height;

        // Draw the image on the canvas
        canvasctx.drawImage(image, 0, 0);

        // Get image data
        const imageData = canvasctx.getImageData(0, 0, canvas.width, canvas.height);
        const data = imageData.data;

        // Applying a custom grayscale filter
        for (let i = 0; i < data.length; i += 4) {
            const red = data[i];
            const green = data[i + 1];
//
            const blue = data[i + 2];
            const grayscale = (red + green + blue) / 3;

            data[i] = data[i + 1] = data[i + 2] = grayscale;
        }
        // Putting the edited image data back on the canvas
        canvasctx.putImageData(imageData, 0, 0);
    </script>
</body>
</html>
Here is how the above code works:
- First, we’ve created an HTML image element and a canvas element.
- Next, the image is drawn onto the canvas.
- Using the getImageData, we’ve retrieved the image data from the canvas.
- We’ve applied a custom grayscale filter to each pixel in the image data. We calculated the average of the red, green, and blue components to create the grayscale effect. We can also create more complex custom filters by manipulating pixel values differently. For example, we can create sepia tones, add contrast, etc.
- Finally, we put the modified image back onto the canvas using putImageData.
Image editor in javascript: Tools, libraries, and frameworks
Using the HTML <canvas> element with JavaScript has its benefits. For example, you have complete control over the image manipulation and editing. You can create custom effects and filters. You can even create a custom JavaScript image manipulation program or tool tailored to your project’s needs. However, custom JavaScript image editing using the <canvas> element is time-consuming. Fortunately, various pre-built JavaScript image manipulation libraries and tools are available, allowing you to edit images instantly and save time. These tools are built and maintained by experts and offer an extensive range of image processing and editing features. An example of a JavaScript image manipulation library is the Pintura image editor.
However, when it comes to web images, using a JavaScript image editor isn’t enough. You need an all-in-one solution for uploading, managing, and delivering images to your WordPress site. This is where Filestack comes in.
Introducing Filestack: An all-in-one solution for JavaScript image uploading, manipulation, and management
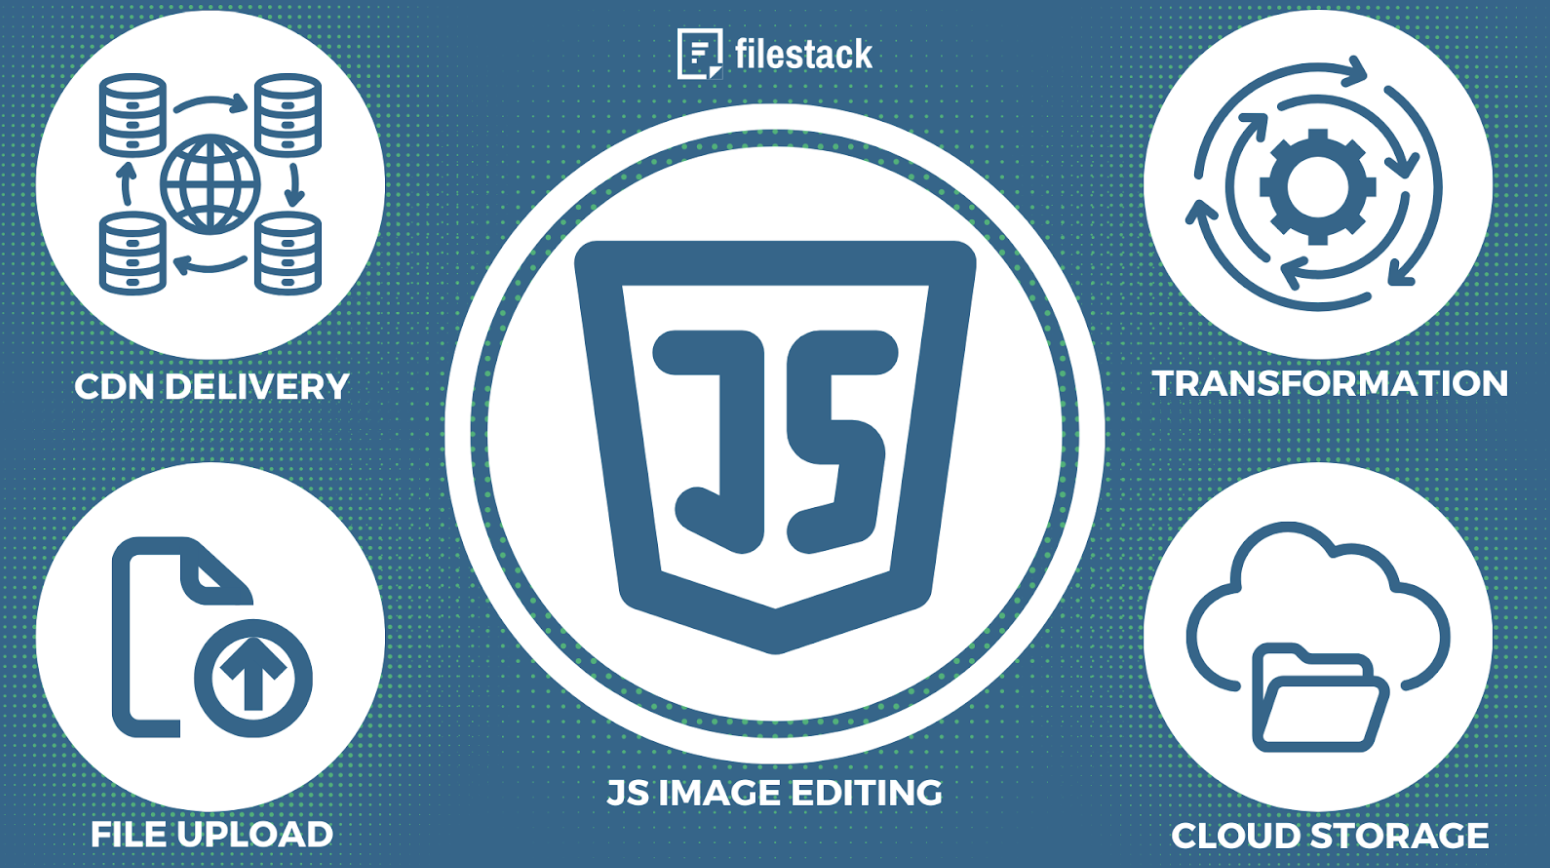
Filestack offers an extensive set of powerful tools and APIs for file upload, transformation, and management. Beyond interactive file uploads, Filestack supports real-time image previews, asynchronous uploads, and processing visuals on the fly. Filestack also offers a WordPress plugin that lets you add all these capabilities to your WordPress site.
Here are the key features and capabilities of Filestack:
Drag-and-drop file uploader
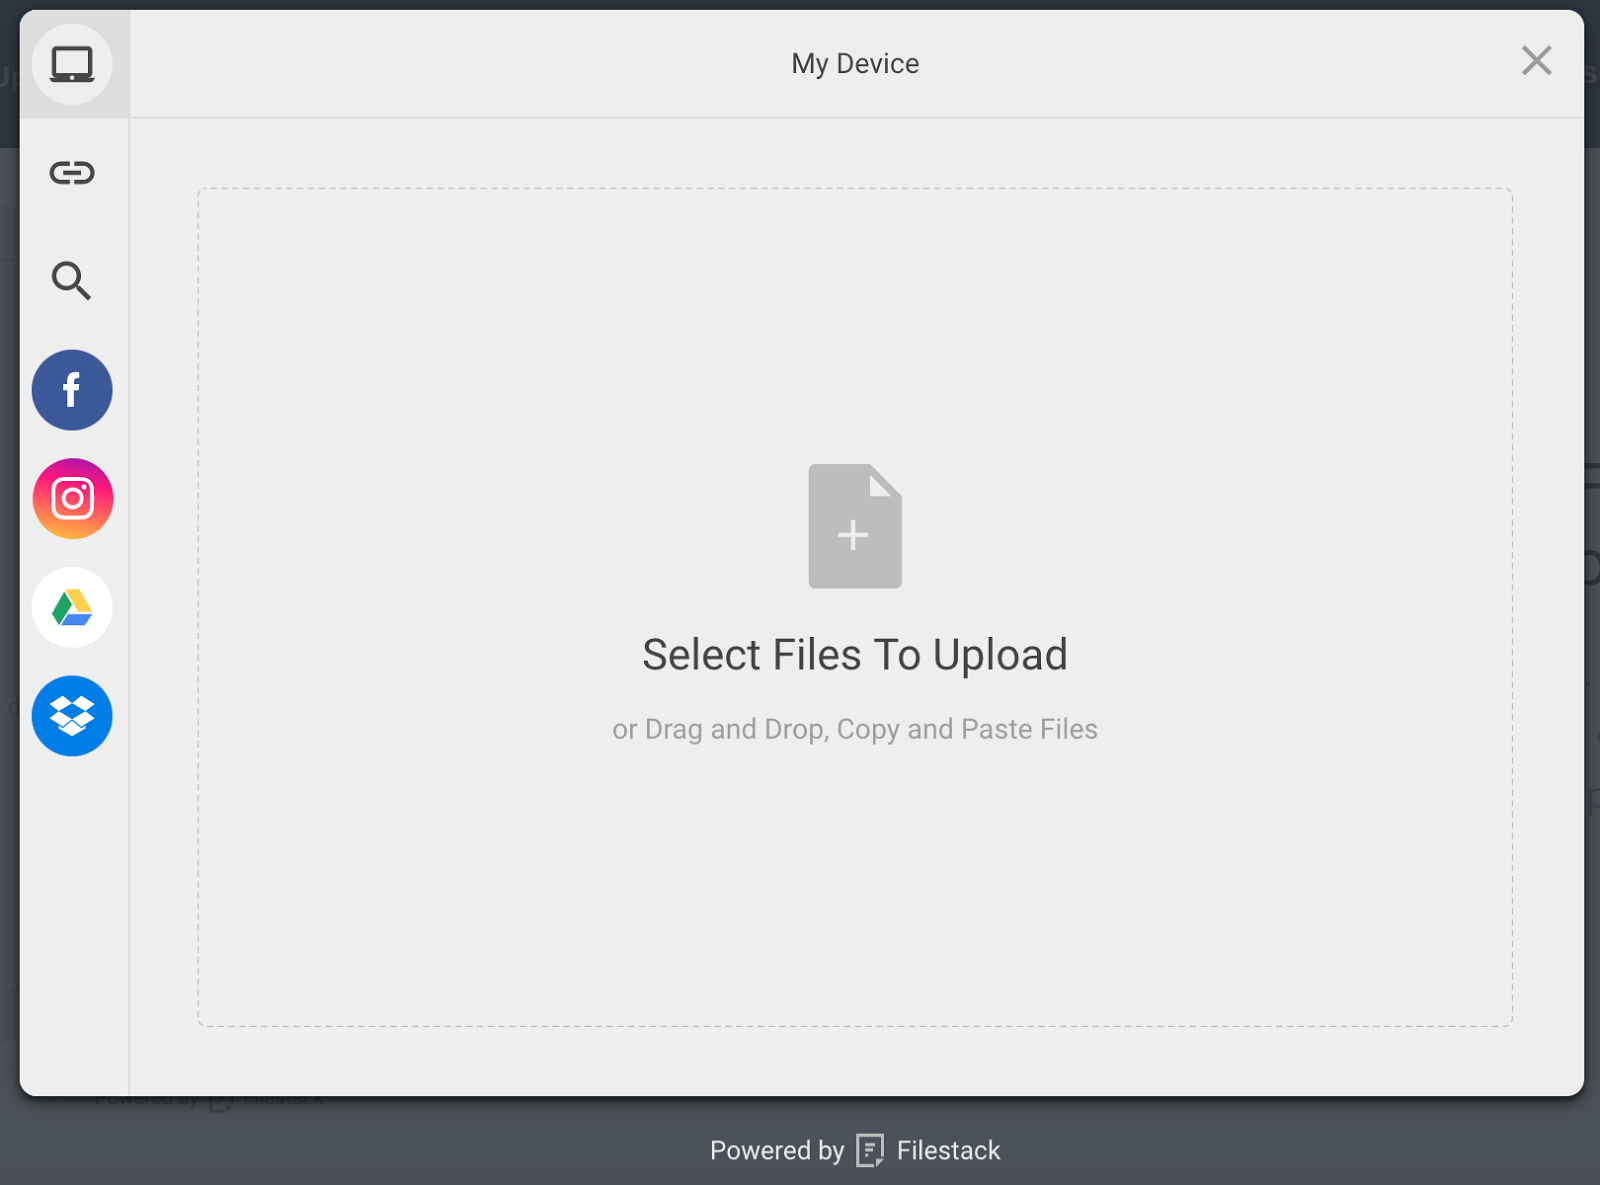
The Filestack File Uploader has a user-friendly and beautiful interface that enables you or your users to upload images to your site effortlessly. It supports various image file types, such as JPG, PNG, and WebP. It also lets you upload various other file formats, such as PDFs, CSV, videos, etc. Moreover, the uploader is highly customizable, so you can personalize its appearance to match your site’s theme.
Learn how to integrate the Filestack WordPress plugin here.
Several integrated sources
The Filestack file and image uploader supports various integrated sources. Thus, it allows you to upload files directly from different sources, such as:
- Cloud storage like Google Drive and Dropbox
- Local device
- File uploads via URL.
- Directly from Google Image Search
- Webcam and video cam
- Google Photos
Multi-file and large file uploads
With Filestack, you or your users can upload multiple files simultaneously without hassle. It also makes multi-file handling a breeze with its impressive features. For instance, it allows you to specify the total number of files that must be ready before the upload process begins.
In addition, Filestack supports asynchronous uploads and large file uploads. With our powerful file uploader, you or your users can upload files as large as 5TB. Handling large file uploads is also convenient and seamless with features like chuck uploads, parallel uploads, file compression, and file type conversion.
Cloud Storage Integration and CDN Delivery
Filestack provides a centralized repository for managing and organizing all your uploaded files. By default, it uploaded images/ files in an S3 bucket, allowing you to access your files anytime from anywhere easily. The best part? You can also integrate your existing cloud storage solution with the uploader, such as:
- Amazon S3
- Dropbox
- Google Cloud Storage
- Microsoft Azure
- Rackspace
Filestack returns a CDN URL for every uploader file, allowing you to quickly deliver the file on your web app or website. A CDN or Content Delivery Network essentially refers to an extensive collection of servers and data centers distributed across the world. It caches files in the server nearest to the user, reducing latency and delivering files instantly.

JavaScript Image Manipulation and Transformation
Integrating the Filestack File Uploader into your site allows you to effortlessly manipulate images before uploading them. For example, you can rotate or crop images. However, if you want more advanced transformation options, you can use the Filestack Processing API.
The API supports a wide range of image enhancements and transformations, such as:
- Resizing
- Crop
- Rotate
- Various effects, filters, and image border styles
- Automatic image enhancement
- Image upscale
- Image compression
- Red-eye removal
- File type conversion
- Adding a watermark to images
You can use the CDN URL returned by Filestack to transform images with the processing API. Here is an example code for automatic image enhancement:
https://cdn.filestackcontent.com/enhance/HANDLEOriginal image:

Enhanced image:

Harnessing External APIs for Sophisticated Image Processing
Another good thing about JavaScript image editing tools is their ability to integrate with third-party APIs. This allows you to add powerful features and capabilities to your web app or website. For example, you can leverage AI and machine learning for image recognition and sentiment analysis from visuals. The good news is that Filestack seamlessly merges with other third-party services and APIs. Hence allowing developers to extend the platform’s functionality and enhance their web apps. For example, while Filestack offers several impressive image and video processing features, it can also integrate with other specialized image and video processing APIs to provide access to advanced functionality.
Optimization Algorithms: Balancing Quality and Performance
One of the key aspects of delivering images on the web is creating responsive images. This means your images should adapt to various screen sizes and platforms to deliver an outstanding user experience. With Filestack, you can optimize images for multiple devices and deliver responsive visuals while balancing quality and performance. For example, depending on the screen size, you can resize images, adjust the quality, convert image file type, etc.. The best way to deliver responsive images is to create a Workflow with Filesrack that automatically generates multiple image resolutions and sizes for various screen sizes.
Conclusion
In today’s web development world, images are at the heart of modern websites. But using images on your site isn’t enough. You must ensure your visuals are clear and attractive. This is where JavaScript image editing can be helpful. When it comes to JavaScript image editing, you can create custom image manipulation functionalities using the HTML <canvas> element. For example, you can create various filters, resize, crop, and rotate images, compress images, etc. If you’re looking to save time, you can use a robust third-party solution like Filestack. Filestack is a one-stop solution for file upload, transformation, and management.
Sign up for free and try the Filestack today!
Frequently Asked Questions (FAQs)
How can developers ensure cross-platform image compatibility?
Ensuring cross-platform image compatibility involves:
- Choosing the right image format
- Resizing the image for various screen sizes
- Adjusting the image quality
What are some efficient algorithms for image compression without quality degradation?
Efficient image compression algorithms include:
- Lossless Compression
- FLIF (Free Lossless Image Format)
- PNG (Portable Network Graphics)
- Progressive JPEG
Is it possible to integrate custom tools with Filestack for extended functionalities?
An efficient platform like Filestack enables developers to integrate custom tools. For example, you can integrate:
- Custom sources to upload images from
- Your existing cloud storage solution
- Third-party image processing APIs, etc.

Sidra is an experienced technical writer with a solid understanding of web development, APIs, AI, IoT, and related technologies. She is always eager to learn new skills and technologies.
Read More →