Here at Filestack, we are never done developing. As the Internet and general technology are constantly evolving, our mission to apply new functionality to our files management API is forever growing.
It is with great pleasure that I am showing you the newest available feature for our Filestack Pro clients:
We just released a set of Image Enhancements built on deep learning technologies to improve the overall quality of pictures. These allow, for instance, higher resolution on smartphone captures that successively can be printed without quality loss.
So, what exactly are these enhancements?
- Upscale.
- Noise reduction.
- Enhance.
- Red eyes removal.
Forget Photoshop and other similar applications, Filestack is going to take care of editing your images!
Now, for an overview of the app we are going to make:
The Image Enhancement App
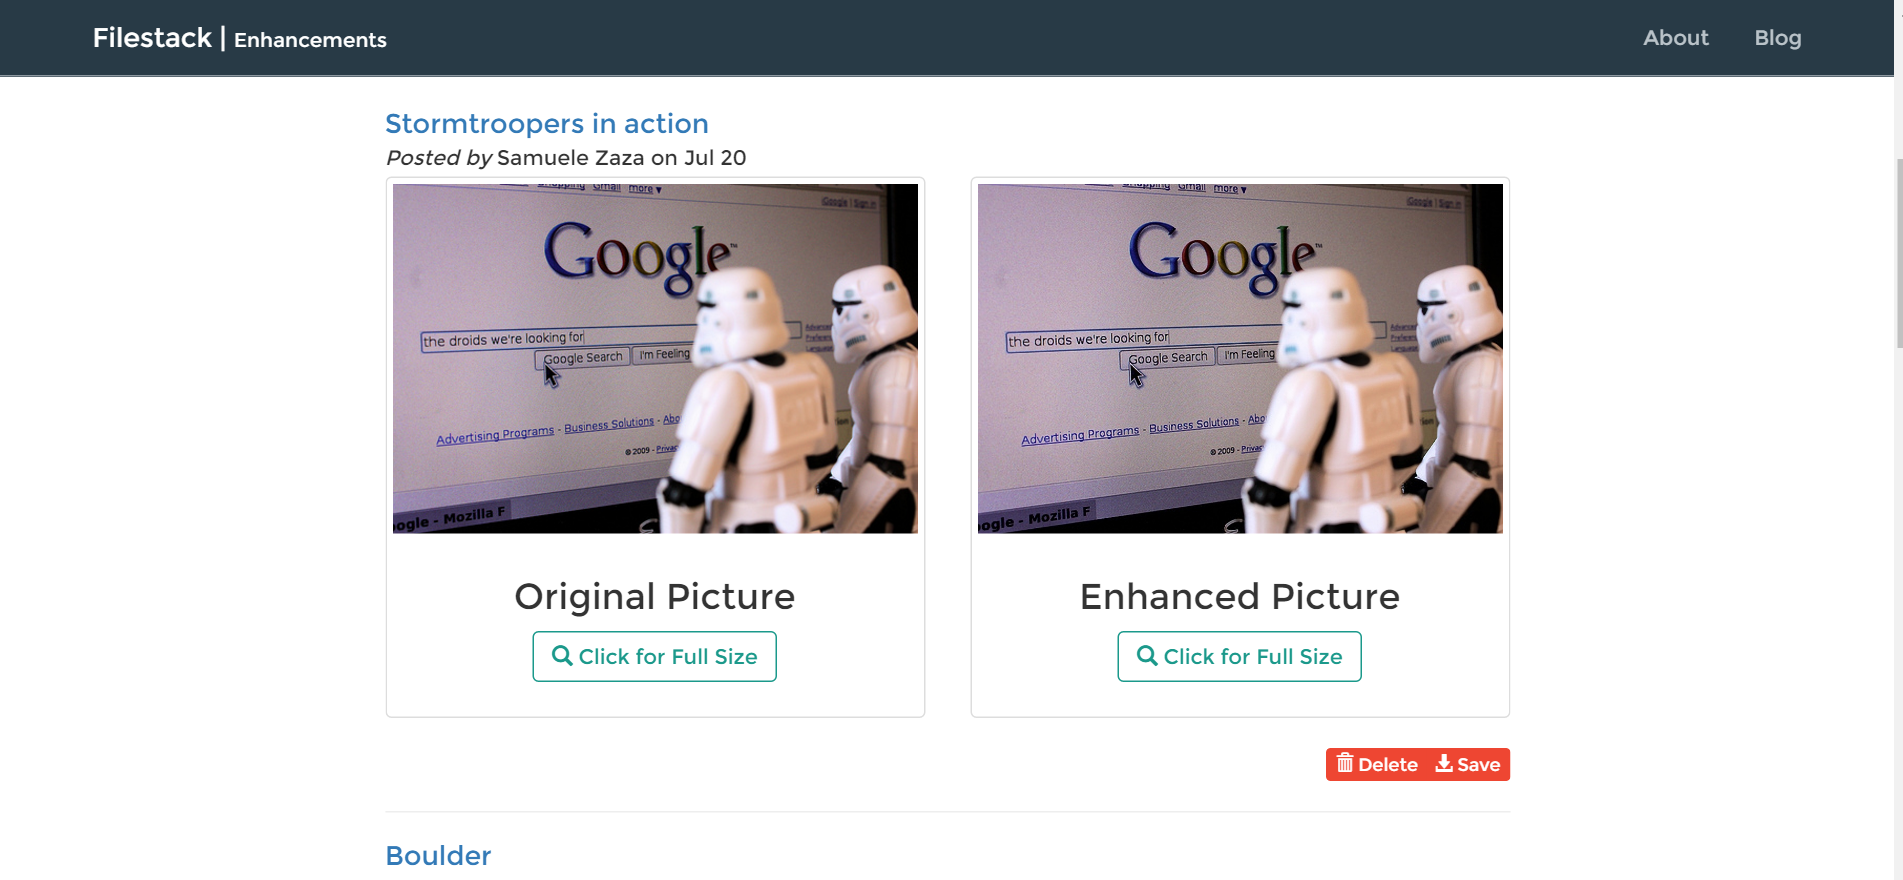
As a personal opinion, the best way to show this kind of features is to provide a sort of before/after preview of images in the homepage. Let’s take a look at the finished homepage:
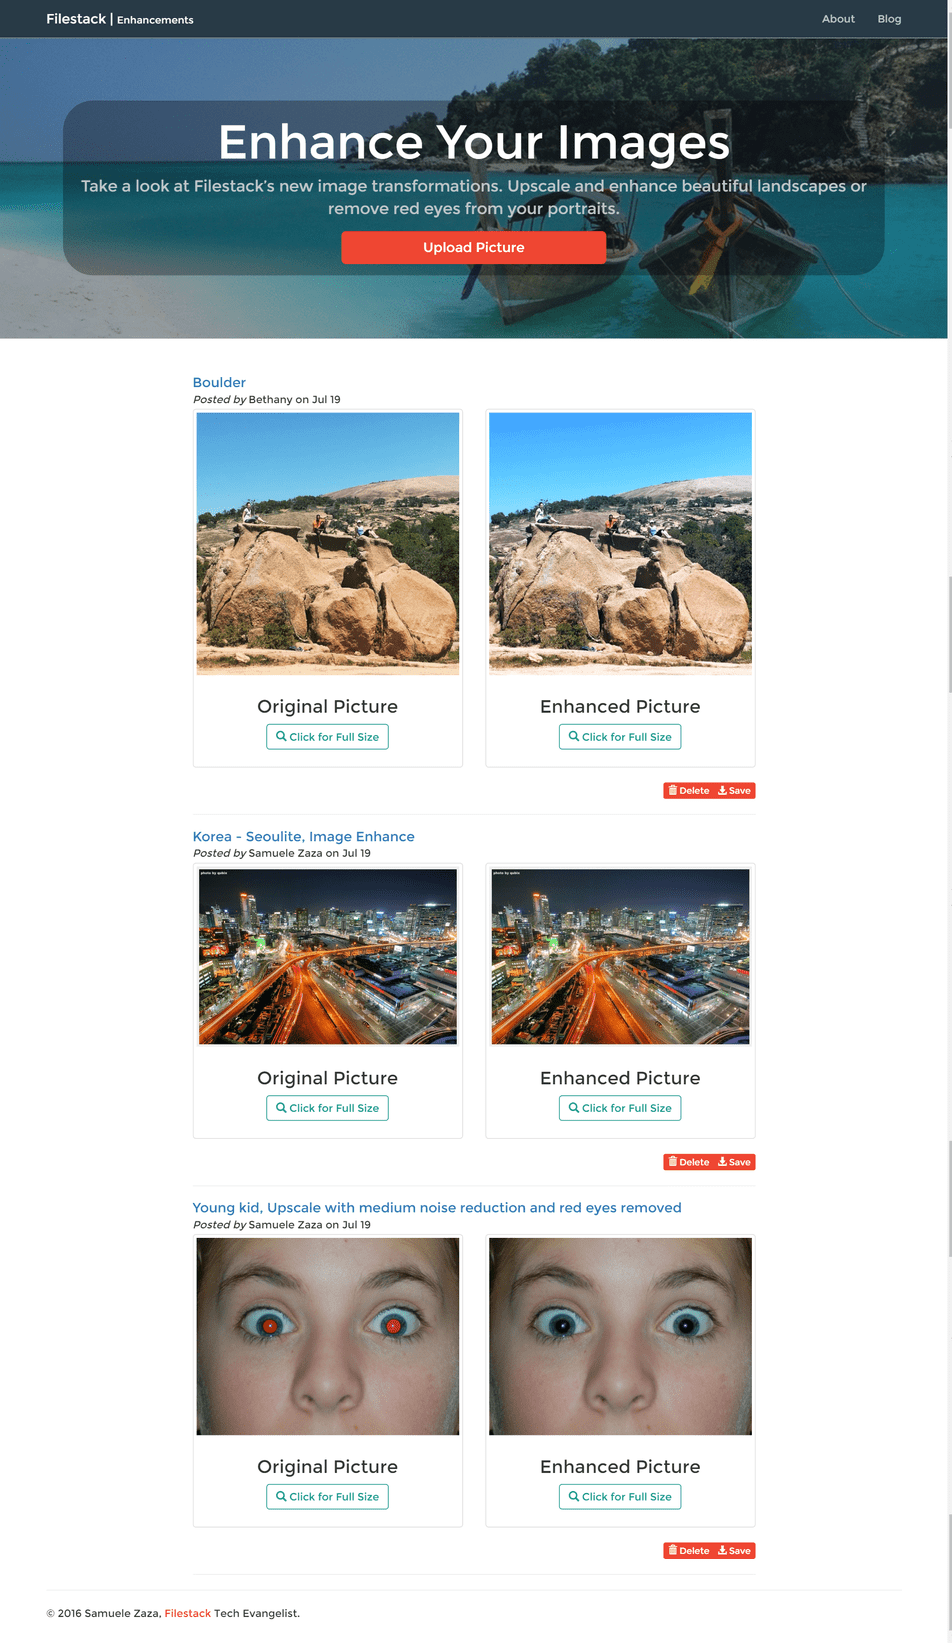
For each image, there is a preview for both the original image on the left and the enhanced one on the right. To better see the final result, there is a button to open the picture in a new tab.
In addition, we have a “save” button to export the enhanced picture (also a Filestack feature) by exploiting the function exportFile!
Finally, we use Filestack’s file uploader to enable users upload their own pictures:
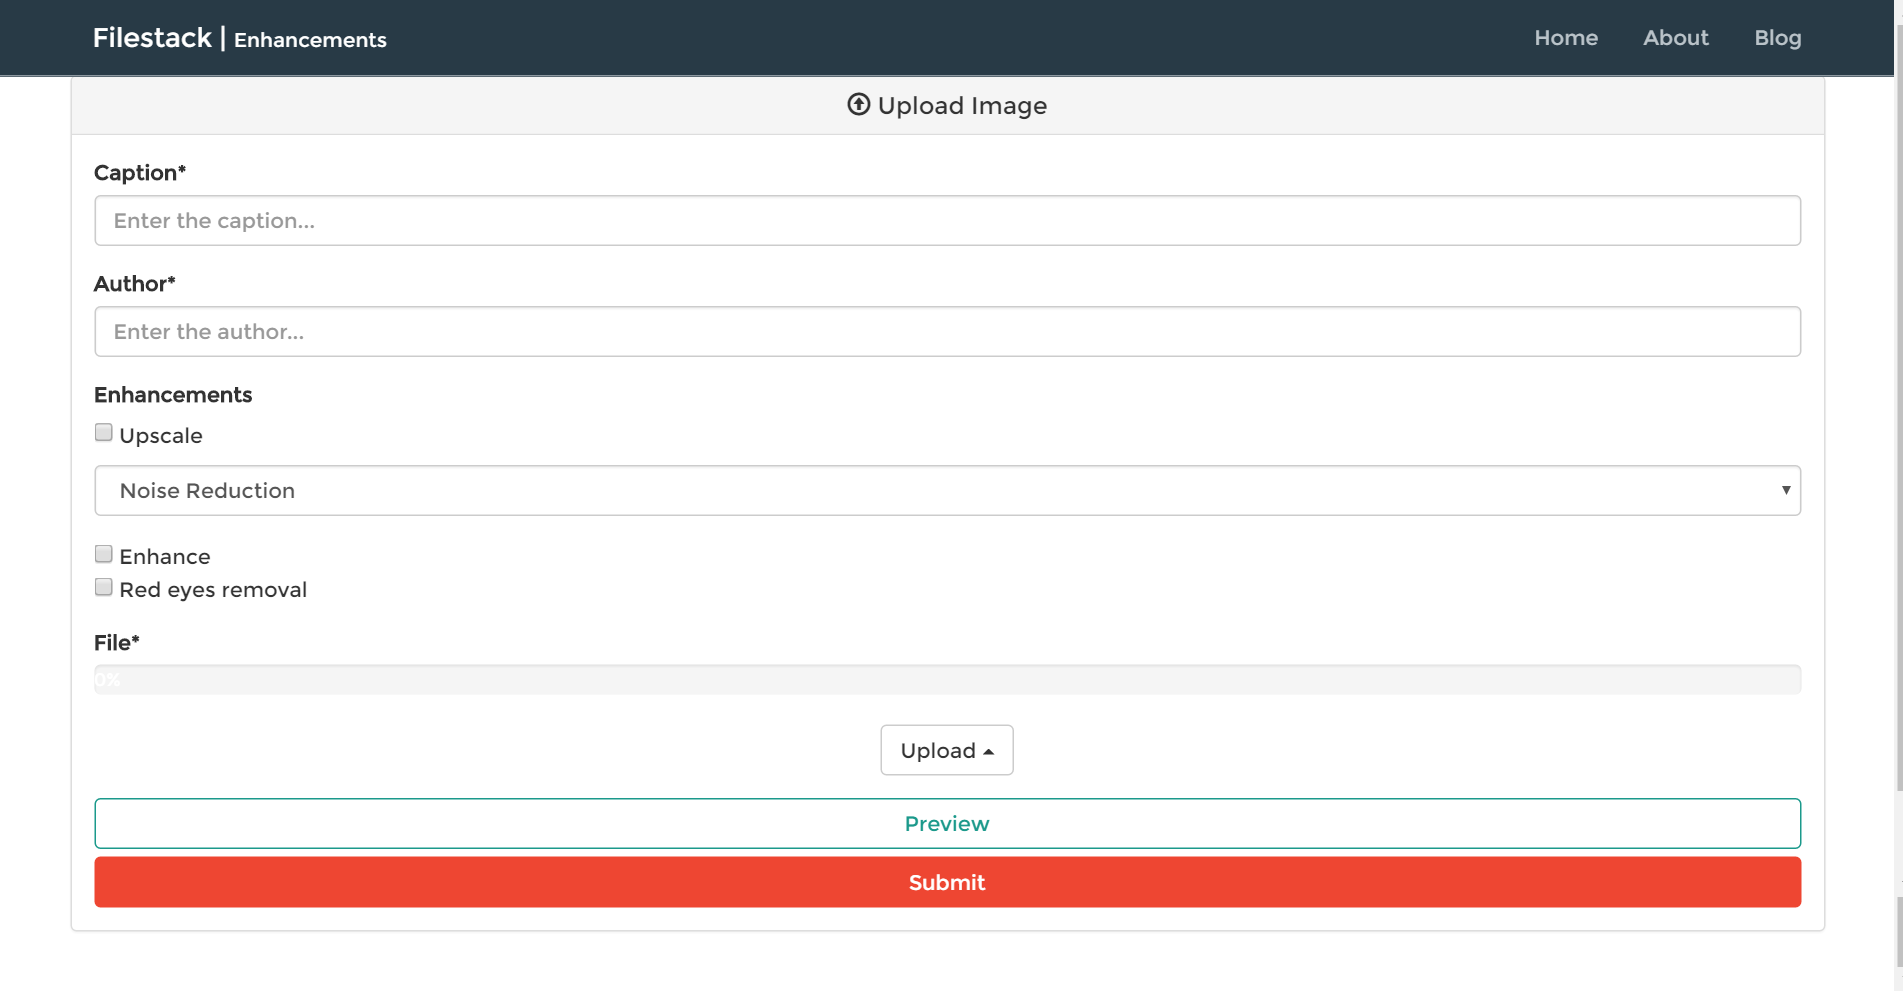
In the form, users can choose which image enhancement/s to apply, and preview the changes before submitting.
That’s pretty much all!
The technology behind the app
This app comes richer than the previous ones we made: we will not only cover the newest enhancements but also the upload and export functions. So, there is plenty to talk about!
How are we organizing the project then?
In the previous tutorials, we made large use of JQuery for the front-end side (plus a little of React in fact) and Node.js for the server side. We also never actually store data in a database, just temporary in memory, but this time we will use mongodb. Moreover, including JQuery just for ajax calls is not cool…
So, we are going to make a single-page app with my old beloved Javascript stack, the MEAN stack, Node.js, Express, Angular.js 1.5 and Mongodb.
Though I won’t go into detail on the app structure and how to handle routes or controllers in Angular, throughout the tutorial I am going to highlight everything related to Filestack to make it easy to build the same app with other technologies.
File Upload and Enhancement
Uploading an Image
The very first thing to do is let the users upload the file and, as we always do, include the pick function in our controller.
The function is called once clicked on the submit button. Here is the code:
// Filestack library in action
$scope.filepicker = function() {
  var progressBar = document.getElementById('progress-bar');
  filepicker.pick(
  {
    mimetype: 'image/*',
    hide: true,
    services: ['COMPUTER', 'INSTAGRAM', 'FACEBOOK']
  },
  function(Blob){
    setTimeout($scope.previewImage(Blob.url, progressBar), 2000);
    console.log(JSON.stringify(Blob));
    $scope.image.url = Blob.url;
  },
  function(FPError){
  console.log(FPError.toString());
  },
  function(FPProgress){
    console.log(parseInt(FPProgress.progress));
    progressPercentage = parseInt(FPProgress.progress) + '%';
    progressBar.style.width = progressPercentage;
    progressBar.innerHTML = progressPercentage;
  });
}
1. Again we drop the property extension for mime-type, it comes handy to write ‘image/*’ to group all the images mime-types.
2. We hide the modal right after the image selection to let Bootstrap show a pretty progress bar by exploiting the onProgress function parameter of pick. This function is continuously fired and receives the current progress status as a number.
3. Here we limit the services to upload from to the local device, Facebook and Instagram.
Enhance the image
So, once the image is uploaded it will also be shown inside the form. Let’s work with the enhancements now:
If you remember, we have a set of checkboxes for upscale, enhance and red eyes removal and a dropdown for the noise reduction (low, medium and high). This makes it easy to choose the best way to improve the quality of an image, but how do they actually work?
Basically, we call the Filestack API and choose the enhancement.
Suppose we want to upscale a picture, here is the code:
https://process.filestackapi.com/ + upscale=[options]/ + YOUR_PICTURE_URLAnd in case you we did not set the API key globally we need to include it between the enhancement and the picture url.
By the way, I always prefer to set it globally so I can forget about it!
This is not all, we can also concatenate more than a single enhancement at a time. For instance, suppose we also want to remove the red eyes from the upscaled picture:
https://process.filestackapi.com/ + upscale=[options]/ + redeye/ + YOUR_PICTURE_URLAs easy as pie.
Here I show you a function I use in my app to build the final URL for the preview and for saving it in the database:
var imageManipulation = function(url) {
var url = "https://process.filestackapi.com/";
  if($scope.upscale) {
    url += "upscale";
    if($scope.noise != ""){
      url += "=n:" + $scope.noise + "/";
    }
  }
  if($scope.enhance) {
    url += "enhance/";
  }
  if($scope.redeye) {
    url += "redeye/";
  }
  url += $scope.image.url;
    return url;
  }
});
It’s an easy function that build the URL given the user’s selection on the available enhancements.
NB: notice that the noise reduction is not a stand-alone enhancement but rather an option for the upscale one, take a look a the documentation for the other available options as well.
Here is a picture (500×333) I have just uploaded myself and I chose to upscale and enhance it:
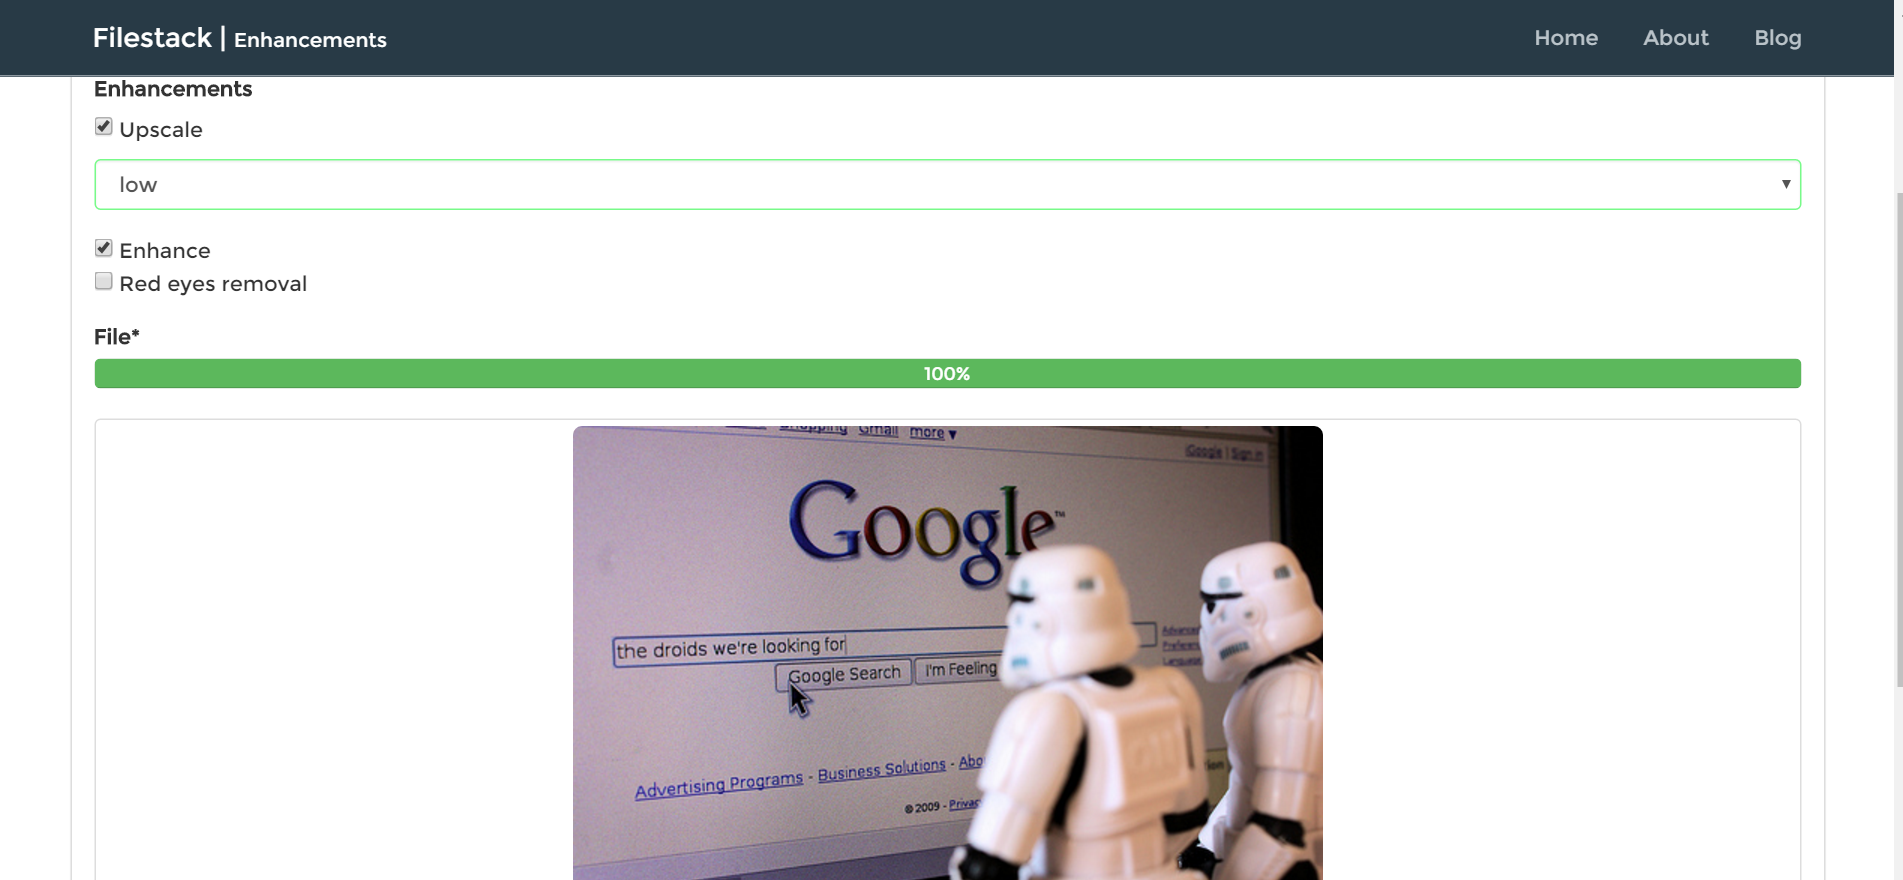
Once clicked on the preview…
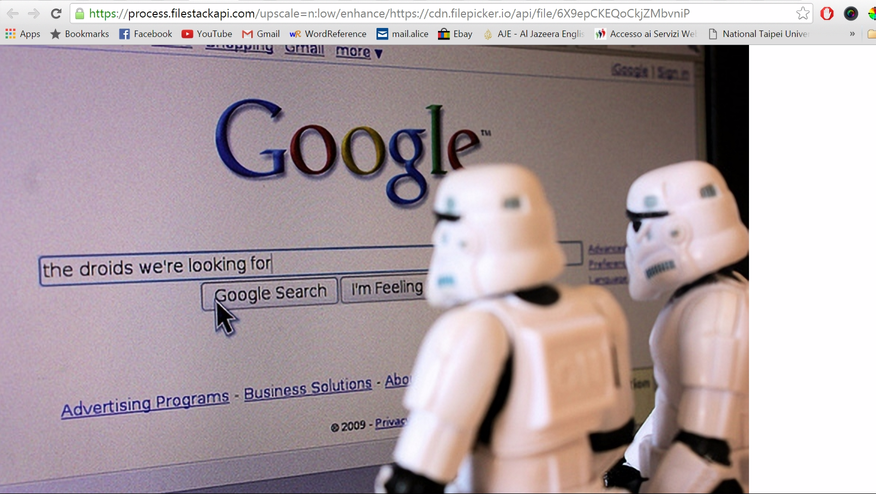
Here it is, from the browser it is clear that it was upscaled to a double size and color enhanced. Time to export!
Save the Image
When we go back to the homepage we can see the comparison between original and enhanced images, just click on it for real size:
The pictures can be both deleted (a simple CRUD operation) and saved somewhere else thanks to the exporFile function:
But how does it work?
This is actually the first time we use it so let’s take a look at this code:
//Export your enhanced image
$scope.saveImage = function(url) {
  filepicker.exportFile(
    url,
    {
      mimetype:'image/*',
      suggestedFilename: 'myCoolEnhancedPic',
      services: ['COMPUTER', 'FACEBOOK']
    },
    function(Blob){
      console.log(Blob.url);
    });
}
There are actually lots of ways to export a file, a widget as well. In this function we can see that the syntax and parameters are quite similar to the pick function:
1. The first parameter is the url of the picture we want to download.
2. Then a common object of options: We define the mime-type for the file which is “image/*” like in the pick function, we can choose a suggested name for the file thanks to suggestedFilename and the available services where to export are the local device and Facebook.
3. Finally, a function which returns the blob object with information related to the completed export.
Again, despite the easy interfacing with Filestack, the options are so many to fulfill all our clients’ needs.
I recorded a video showing the process:
…And congratulation, we finished the tutorial!
Conclusions
In this tutorial we experimented with Filestack’s latest image enhancements transformations as we easily integrated them with a MEAN app. In addition, we spent some time building our final URL and concatenating different enhancements for better image quality.
Moreover, to allow our users to save or publish their images on their device or Facebook, we also took advantage of the exportFile function and were delightfully surprised as the syntax and parameters were very similar to the pick function.
—
Even as we update our own API, we astonish ourselves with the magnitude of what can be accomplished in only a few steps. Using Filestack’s new image enhancement transformations, it is now just as simple to enhance colors, upscale images, reduce noise, and remove red eyes with near human accuracy, as it is to crop or rotate a single image.
All Image Enhancement transformations are included with Filestack Pro plans. To start using Filestack Pro, please contact us:
Contact SalesFilestack is a dynamic team dedicated to revolutionizing file uploads and management for web and mobile applications. Our user-friendly API seamlessly integrates with major cloud services, offering developers a reliable and efficient file handling experience.
Read More →