
The digital age requires everyone to learn photo uploading for website purposes because it serves bloggers, small business owners, and designers who need to update their online content. Photos serve as essential elements to attract visitors while enhancing user interaction and boosting content engagement.
Many users face difficulties when dealing with broken image links, file size problems, and complicated upload tools. This guide exists to help users.
The following steps will demonstrate how to upload a photo to a website through Filestack, which provides a dependable file uploader system that operates quickly and securely for users of all skill levels.
Let’s get started.
Key Takeaways
-
Uploading photos is essential for online presence: Whether you’re a blogger, business owner, or designer, uploading photos enhances engagement and brings your website to life.
-
Filestack makes it easy and fast: With just a few lines of code, you can integrate Filestack’s powerful uploader to allow drag-and-drop uploads, instant previews, and cloud storage—perfect for users of all skill levels.
-
Step-by-step setup included: From signing up for a free Filestack account to displaying an uploaded image on your website, this guide walks you through everything clearly.
-
Image optimization boosts speed and SEO: Learn to resize, compress, choose the right format (JPEG, PNG, WebP), and add alt text to improve page load time, accessibility, and search engine performance.
-
Built-in enhancements like lazy loading and CDN delivery: Filestack supports advanced features such as lazy loading and content delivery via CDN, making your website faster and more efficient.
-
Compare tools before choosing: While native CMS uploaders and open-source tools have their place, Filestack stands out with its customization, built-in transformations, and enterprise-level security.
How to upload a photo to a website using Filestack (step-by-step)
Let’s upload a photo to a website step by step with the Filestack file upload api.
Step 1: Sign up for a free Filestack account
Visit filestack.com and sign up for a free account. It only takes a minute, and you’ll need this to access your API key.
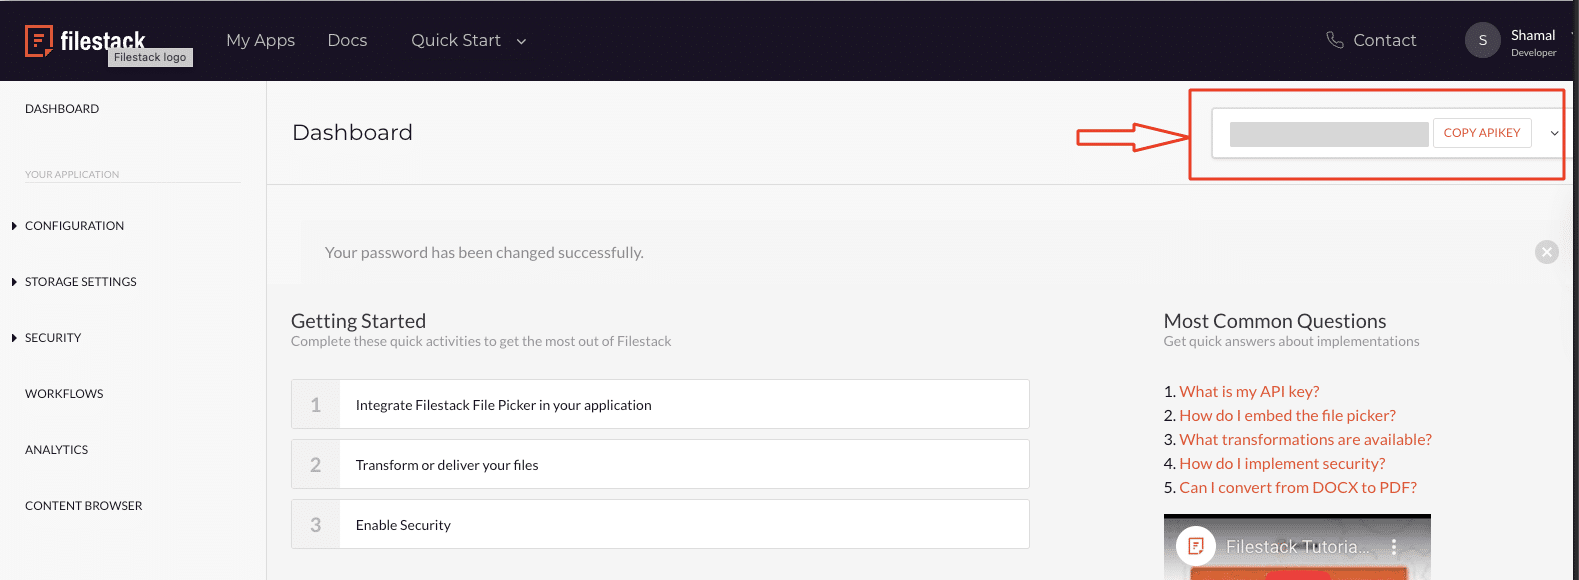
Step 2: Copy your Filestack API key
After logging in, go to your dashboard. Under the API section, you’ll see your unique API key. Click “Copy API Key”—you’ll use this to connect Filestack to your site.
Step 3: Add the Filestack script to your website
In your HTML file, just before the closing </body> tag, paste the following script to load Filestack’s JavaScript library:
<script src="https://static.filestackapi.com/filestack-js/3.x.x/filestack.min.js"></script>Add a simple button to your page that will launch the file picker when clicked:
<button onclick="openPicker()">Upload Photo</button>Step 5: Initialize the File Picker
Add the following script to initialize Filestack and open the upload dialog:
<script>
  const client = filestack.init('YOUR_API_KEY'); // Replace with your real API key

  function openPicker() {
    client.picker({
      onUploadDone: (res) => {
        const imageUrl = res.filesUploaded[0].url;
        displayImage(imageUrl);
      }
    }).open();
  }
</script>
Step 6: Display the Uploaded Image on Your Page
Below your button or wherever you want the image to show, add this:
<img id="preview" src="" alt="Uploaded image will appear here" style="margin-top: 20px; max-width: 100%;" />And then update your JavaScript to handle the preview:
<script>
  function displayImage(url) {
    document.getElementById('preview').src = url;
  }
</script>
Tips for optimizing uploaded photos
The photo upload process marks the beginning of your work. Your website requires image optimization after upload to maintain both speed and visual quality. Here are a few easy but essential tips:
1. Resize and compress for faster loading
Your website speed will decrease when you use large images, especially when accessed through mobile devices. You should resize your photos to match the specific display dimensions needed while using compression tools (such as Filestack’s built-in image transformation features or TinyPNG) to minimize file size while maintaining image quality.
API request to resize an image in Filestack:
https://cdn.filestackcontent.com/API-KEY/resize=width:400/URLLearn more about Filestack image transformation.
2. Use the right format
Each image format exists with its own unique characteristics. Here’s a quick cheat sheet:
JPEG – Great for photographs with lots of color and detail.
PNG – Ideal for graphics or images that require transparency.
WebP – A newer format that offers excellent compression with quality.
The selection of appropriate image formats enables better performance without compromising visual quality.
Learn more about Filestack’s powerful file conversion features.
3. Add alt text
Always include descriptive alt text when displaying images. Screen readers benefit from alt text descriptions to describe content for visually impaired users and search engines receive more visual context through this practice which enhances SEO.
Here’s how to do it in HTML:
<img src="https://cdn.filestackcontent.com/your-file-handle" alt="A close-up photo of a golden retriever puppy sitting on grass" style="max-width: 100%;" />4. Use lazy loading
The image loading process through lazy loading delays the images until users approach the viewing area. The initial page load speed will increase substantially when you implement this technique on pages containing numerous images. Modern browsers support this with a simple attribute:
<img src="your-photo.jpg" loading="lazy" alt="..." />A few small tweaks like these can make a big difference in how your site performs and ranks. Don’t skip them!
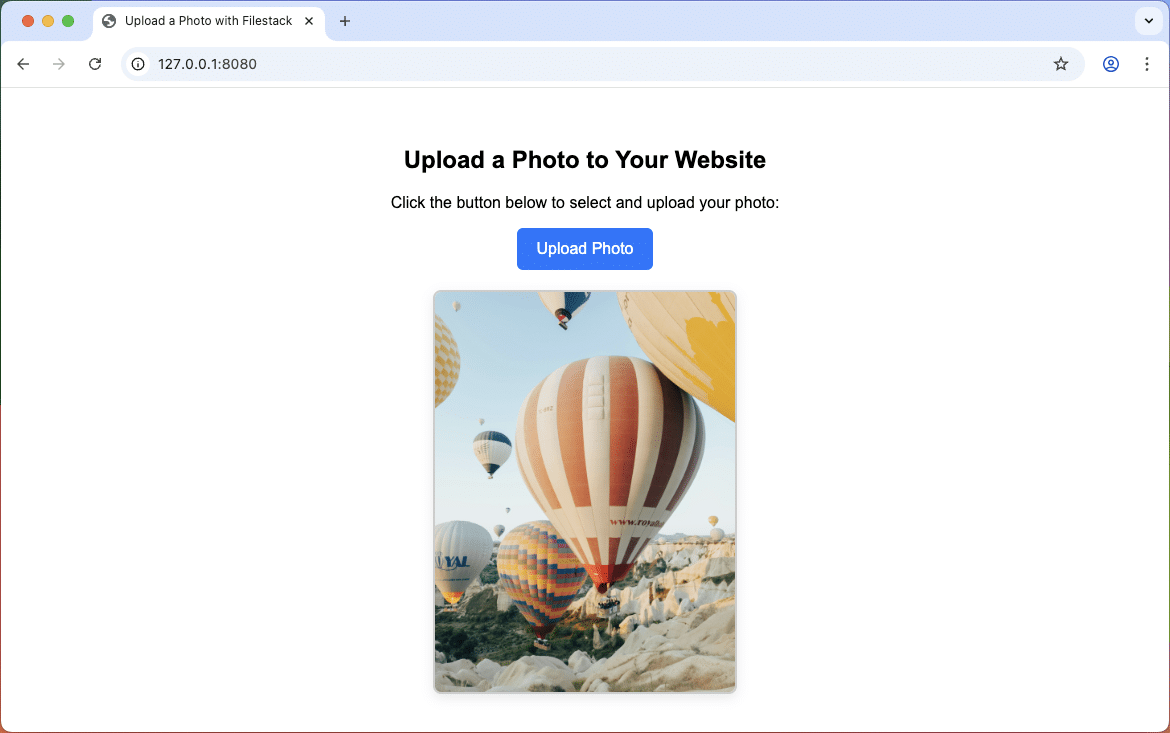
Live example: Uploading and displaying a photo on your website using Filestack
Here’s what the final result looks like when you follow the steps above—click the button to upload a photo, and it will instantly appear on the page below:
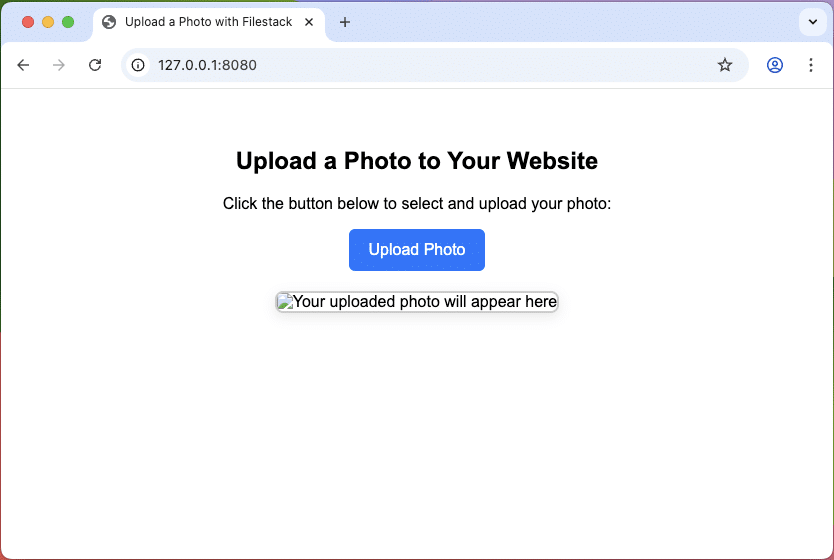
When you click the “Upload Photo” button, the file picker will appear, allowing you to select an image from your device or simply drag and drop a photo to upload.
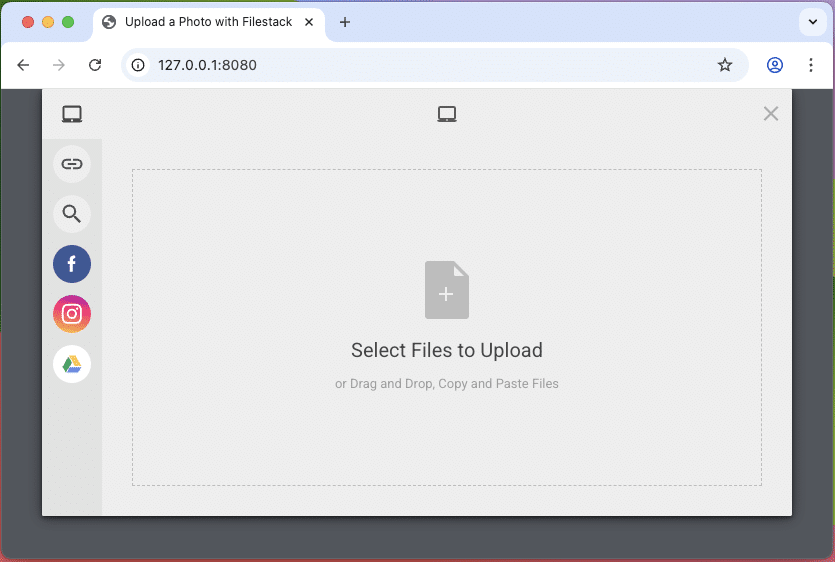
You’ll see a preview of the selected image in the file picker before it’s uploaded.

Then upload the image.
Get the full example from our GitHub repository.
Choosing the right image uploader for your website
Before choosing an image uploader for your website, it’s helpful to compare the most common options side by side to see which one fits your needs best.
| Feature / Tool | Native CMS Uploaders | Open-Source Tools (e.g., Dropzone.js) | Filestack |
| Ease of Use | Very easy, plug-and-play | Requires developer setup | Easy setup with a developer-friendly SDK |
| Customization | Limited | High | High with API & SDKs |
| Drag & Drop Support | Basic or plugin-based | Yes | Yes (built-in) |
| CDN Delivery | No | No (manual setup needed) | Yes |
| Image Transformation | No (requires plugin or manual) | Requires external tools | Built-in resize, crop, convert |
| Cloud Source Uploads | No | Depends on integration | Google Drive, Dropbox, Instagram, etc. |
| Security Features | Limited | Developer managed | Virus scanning, size/type controls |
| Best For | Beginners with simple needs | Devs needing control | Everyone from startups to enterprises |
Conclusion: Start uploading smarter with Filestack
The process of uploading photos to your website does not need to be complex. The correct tools make all the difference when you run a blog, manage an online store, or build a creative portfolio. Filestack provides you with a contemporary, reliable uploader that performs all functions, including drag-and-drop ease and advanced image transformations and secure cloud storage capabilities.
This guide showed you how to upload a photo through Filestack’s File Picker and how to show the uploaded image on your page while also optimizing it for speed, accessibility, and SEO.
The knowledge you gained about website photo uploading is ready for practical implementation.
Filestack offers a free uploader that demonstrates how simple it is to improve your visual content.
Frequently Asked Questions
Q: How do I upload a photo to my website?
A: You can upload a photo to your website by using an image uploader tool like Filestack. Sign up for a free account, add the API script to your site, create an upload button, and use JavaScript to handle the file upload and display.
Q: What is the best image format for web uploads?
A: The best image format depends on your use case. JPEG is ideal for colorful photos, PNG works well for images that need transparency, and WebP offers great compression while maintaining quality.
Q: How can I optimize images after uploading them?
A: To optimize images after uploading, you should resize and compress them, use the correct format (JPEG, PNG, or WebP), add descriptive alt text, and enable lazy loading to improve speed and SEO.
Q: Is Filestack good for image uploads?
A: Yes, Filestack is a great choice for image uploads. It supports drag-and-drop functionality, cloud source uploads, CDN delivery, built-in image transformations, and advanced security features.
Q: Do I need to know coding to use Filestack?
A: Basic coding knowledge helps, but Filestack provides simple JavaScript snippets that even beginners can use to integrate photo uploading into their websites easily.
Shamal is a seasoned Software Consultant, Digital Marketing & SEO Strategist, and educator with extensive hands-on experience in the latest web technologies and development. He is also an accomplished blog orchestrator, author, and editor. Shamal holds an MBA from London Metropolitan University, a Graduate Diploma in IT from the British Computer Society, and a professional certification from the Australian Computer Society.
Read More →