
Editing images in React can be quite challenging and requires a deep understanding of complex code and thorough research. However, there’s good news! You can make your life easier by using a React image editor or a React image SDK. These tools allow you in order to incorporate an image editor into your React application, making it easy to manipulate images. In this article, we’ll explore the benefits of using a React image editor and guide you on how to get started with it.
Key Features and Requirements
The React image editor is an incredibly powerful tool that empowers developers to create visually captivating applications that leave a lasting impression. When we dive into the features and requirements of this editor, we discover a multitude of essential functionalities.
First and foremost, the ability to crop images allows users to focus on specific areas of interest while removing unnecessary elements. Resizing images is also crucial for integration across different devices and platforms.
Additionally, the option to rotate images provides developers with flexibility in optimizing orientation for the best presentation and aesthetic appeal. Adding filters, such as adjusting colors or applying artistic effects, brings a creative touch to images. Moreover, the ability to add text or shapes to images enhances communication and storytelling.
Component Structure and Architecture
In order to create an effective and user-friendly image editor, the React component structure and architecture play a vital role.
The image editor is composed of several key components. The main component, known as the editor component, acts as a central hub, orchestrating the interactions between other components. The toolbar component offers an easy-to-use interface, allowing users to access various editing features effortlessly. The canvas component serves as the visual workspace, where images are displayed and edited.
Supporting components like overlays, controls, and preview panels further enhance the editing process.
Image Manipulation Libraries
When it comes to image manipulation in React, several popular libraries offer a range of features and functionalities. Let’s take a closer look at four widely used image manipulation libraries.
Filestack React

Filestack React is an image manipulation library that provides a comprehensive set of tools for image manipulation, including cropping, resizing, rotating, and applying filters. It also offers advanced features like facial recognition and tagging, as well as cloud storage integration.
Pros
- Offers integration with cloud storage providers.
- Has exellent documentation.
- Has an active community for support.
Cons
- Comes with a limited free plan.
React Image Crop
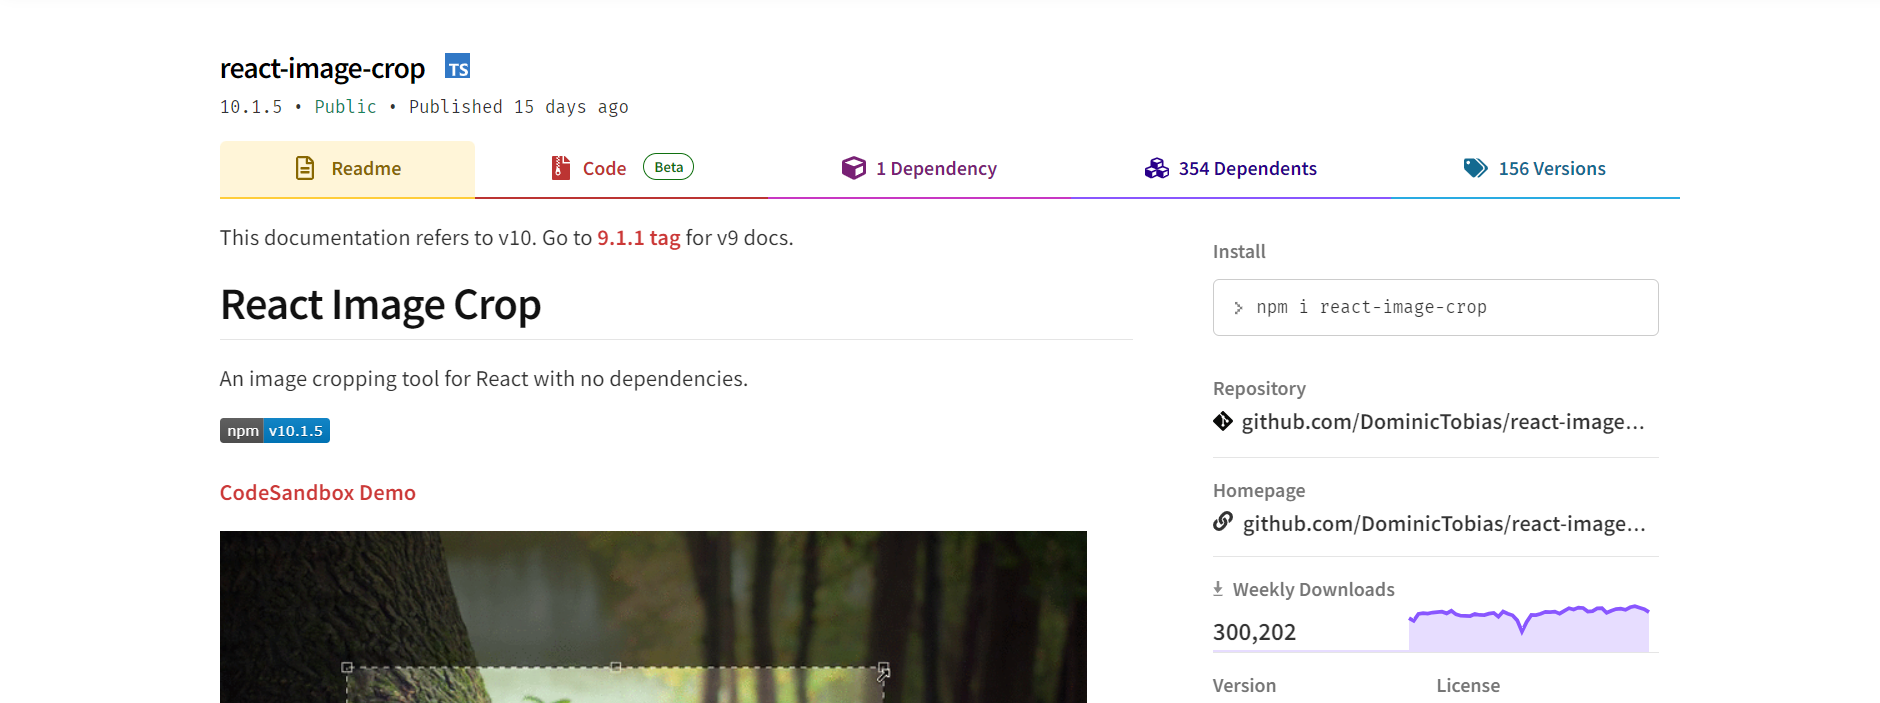
React Image Crop focuses primarily on providing cropping functionality for images in React applications. It offers a cropping interface, allowing users to define crop dimensions, aspect ratios, and handles for resizing and positioning. It also supports zooming and panning within the crop area.
Pros
- Straightforward to use.
- Gives a customizable cropping experience.
Cons
- Focused solely on cropping.
React Easy Crop
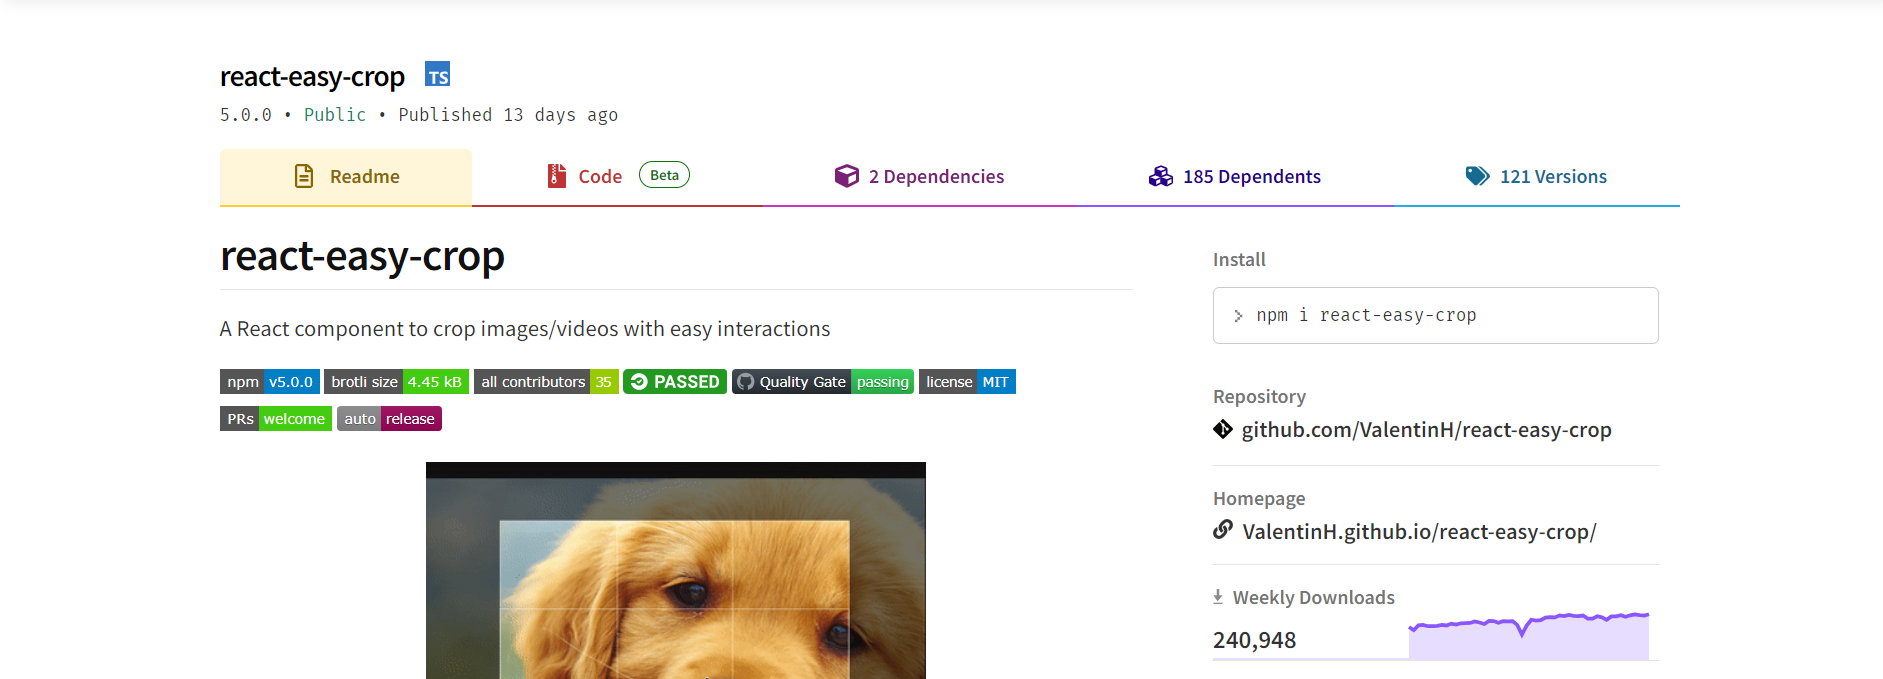
React Easy Crop is another specialized library that prioritizes easy-to-use cropping functionality. It offers an interface with drag-and-drop capabilities for defining the crop area. It supports aspect ratio locking, zooming, and panning within the crop region.
Pros
- Lightweight and easy to set up.
- Responsive design and touch support for mobile phones.
Cons
- Lacks extensive features for complex manipulations.
Fabric.js
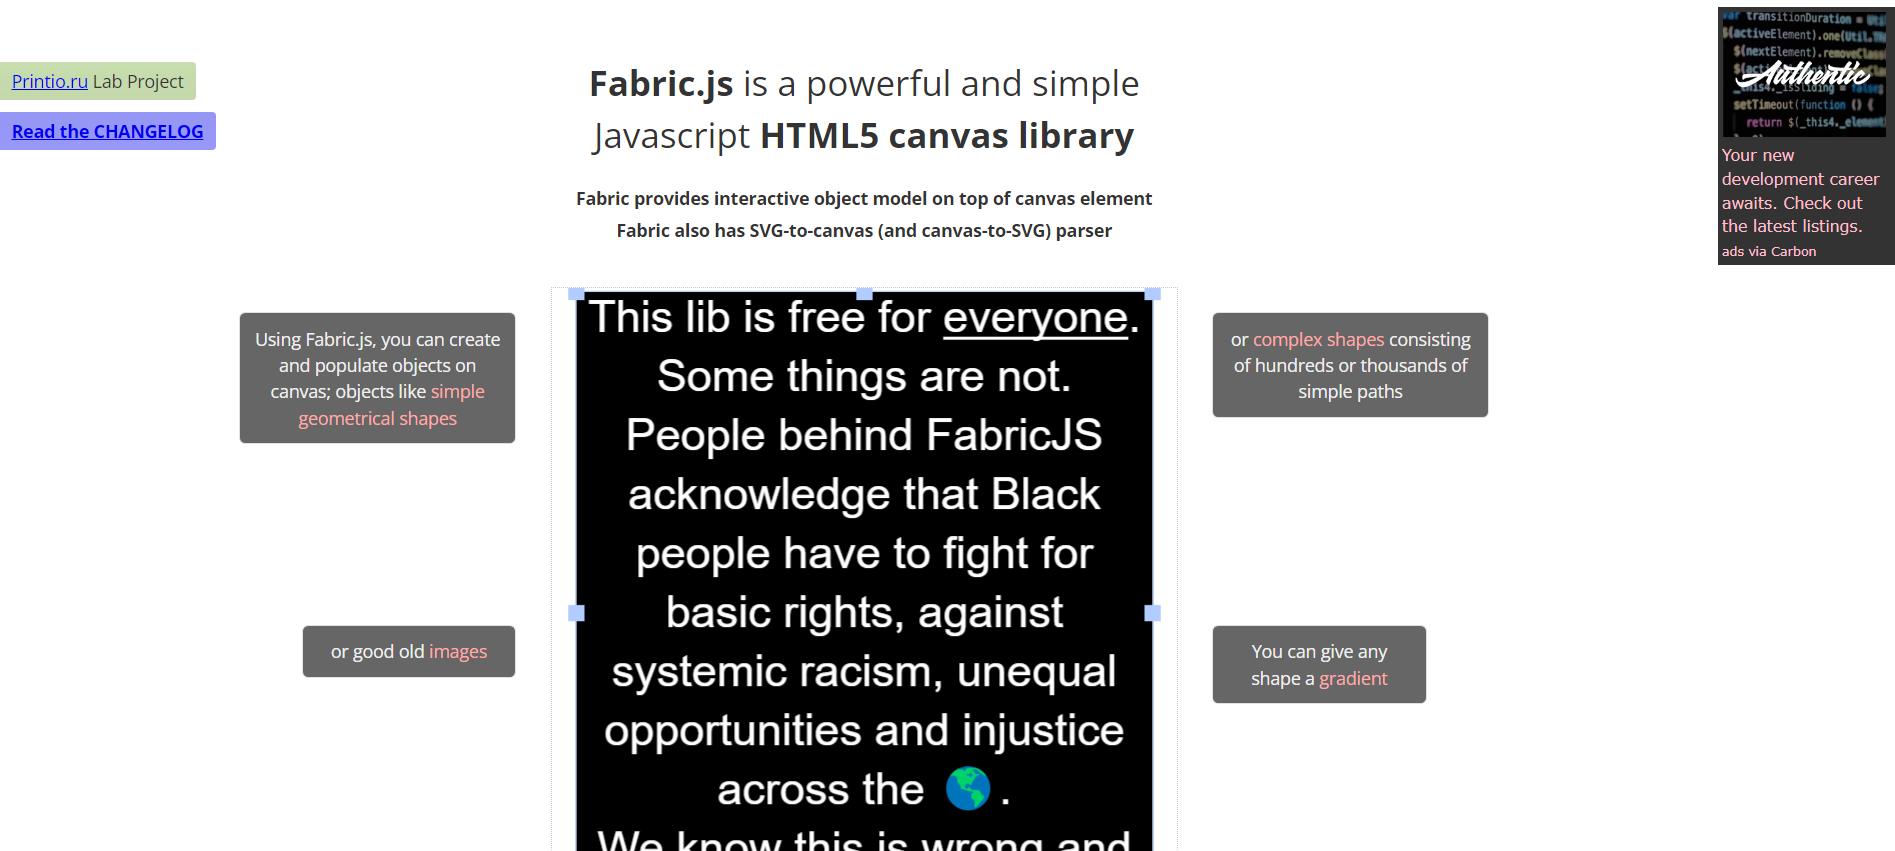
Fabric.js is a powerful HTML5 canvas library that includes robust image manipulation capabilities. It offers a wide range of features such as cropping, resizing, rotating, applying filters, adding text, and shapes to images. It also supports layers, animations, and complex transformations.
Pros
- Allows to handle complex projects.
- Has a well-documented API.
- Has a large user community.
Cons
- Might have a steeper learning curve.
- Introduces a higher level of complexity for even simple tasks.
Integration and Usage
To integrate and make use of an image manipulation library in your React application, there are a few important steps to follow. This section will use Filestack React as an example for a demo.
- Run `npm install filestack-react` or `yarn add filestack-react`.
- Set up API keys available in the dashboard after signing up.
- Import an `ImageEditor` component and use it within a parent component.
- Use methods like `cropImage`, `resizeImage`, or `applyFilter` to carry out specific editing tasks.
- Handle user interactions and events within your components to trigger image editing operations. For instance, you can use button clicks or form submissions to initiate cropping or apply filters to an image.
User Interface and Interactions
The user interface of an image editor typically consists of a toolbar for accessing editing features, a canvas for displaying the image, and controls for manipulating various editing options. The toolbar should have icons or buttons for cropping, resizing, rotating, applying filters, and adding text or shapes. User interaction patterns may include drag-and-drop functionality for repositioning or resizing elements, zooming in or out to focus on specific areas, and handling user input for adding text or shapes to the image. A user-friendly interface with clear instructions and visual feedback ensures a great editing experience, allowing users to manipulate images with ease and precision.
State Management
When it comes to managing the state in the image editor, developers have a range of options. They can choose to utilize React’s built-in state management libraries like Redux or make use of React Context. The task at hand involves keeping track of various editing actions, such as cropping dimensions, applying filters, or adding text/shapes, and updating the corresponding state variables accordingly. This, in turn, triggers the re-rendering of components, ensuring that the user interface reflects the changes made. The choice of which state management approach to adopt depends on the complexity of the project.
Performance Optimization
When striving to enhance the performance of image editing in a React application, it’s worth exploring various techniques such as memoization, virtualization, and lazy loading. By employing memoization, unnecessary re-rendering of components can be avoided, leading to improved efficiency.
Virtualization techniques like windowing or pagination prove especially useful when dealing with large collections of images, allowing for more efficient handling. Employing lazy loading enables the postponement of loading larger images until they are needed, thereby reducing the initial loading time. Furthermore, optimizing image file sizes, leveraging caching mechanisms, and implementing progressive loading techniques all contribute to further React performance optimization.
Integration with Image Storage and APIs
In order to handle image data and interact with external services, developers can utilize APIs or libraries specific to their chosen storage solution, such as Filestack, Amazon S3, Cloudinary, or Firebase Storage.
These APIs offer methods to upload and retrieve images and often provide features like React image upload, transformations, resizing, or generating URLs.
Testing
Unit tests play an important role when it comes down to verifying the accuracy of individual components. These tests thoroughly examine features like cropping, resizing, and applying filters in order to make sure they work as intended. Additionally, end-to-end tests validate the complete workflow of the editor, leaving no room for potential issues.
To assist with testing React applications, there are recommended libraries and tools available like Filestack, Jest, React Testing Library, and Cypress.
Accessibility Considerations
In order to ensure accessibility in the image editor, consider implementing best practices such as providing descriptive alternative text (alt text) for images, ensuring keyboard navigation for all functionalities, and adhering to accessibility standards for colors and contrast.
Use semantic HTML elements, proper labeling for controls, and ARIA attributes for enhanced screen reader support. Test the editor with assistive technologies and follow WCAG(Web Content Accessibility Guidelines) guidelines to ensure a positive user experience for individuals with disabilities, making the image editor accessible to a wider audience.
Deployment and Production Considerations
When deploying the React image editor to production environments, consider the following.
- Optimize performance by code splitting, lazy loading, and caching.
- Minimize and bundle the code using tools like Webpack.
- Enable gzip compression and leverage CDNs for faster content delivery.
- Set up proper caching headers in order to reduce server requests.
- Use environment-specific configuration files for API endpoints and credentials.
- Implement error tracking and monitoring tools.
- Ensure secure HTTPS connections.
- Perform thorough testing before deployment.
Filestack WordPress Plugin: Powering Up Your React Image Editor
React developers often face challenges when trying to integrate image editing functionalities into their applications. Even though using a React image editor or SDK can significantly simplify the process, navigating through the wealth of libraries and tools can be daunting. Here’s where Filestack’s WordPress plugin can be a game-changer.
Key Features
The Filestack WordPress plugin brings an array of features to your React application:
- Cropping: Focusing on specific areas of an image becomes a breeze with the cropping tools the plugin offers, allowing users to remove unnecessary elements.
- Resizing: The resizing functionality facilitates seamless image integration across different devices and platforms.
- Rotating: The plugin allows for image rotation, optimizing the orientation for the best presentation and visual appeal.
- Filters: Users can add a creative touch to their images by adjusting colors or applying artistic effects through a variety of filters.
- Text and Shapes: The plugin also provides the functionality to add text or shapes to images, enhancing communication and storytelling.
Integration and Usage
Integrating the Filestack WordPress plugin into your React application involves a few simple steps:
- Download and install the Filestack WordPress plugin in your WordPress backend.
- Set up the API keys available in the dashboard after signing up.
- In your React application, connect to your WordPress instance, making sure that you’re able to fetch data through the WordPress REST API.
- Import an ImageEditor component and use it within a parent component.
- Use methods like cropImage, resizeImage, or applyFilter to carry out specific editing tasks.
- Handle user interactions and events within your components to trigger image editing operations. For instance, you can use button clicks or form submissions to initiate cropping or apply filters to an image.
Integration with Image Storage and APIs
The Filestack WordPress plugin not only facilitates image editing but also makes it easy to handle image data and interact with external services. Filestack offers APIs that provide methods to upload and retrieve images, along with additional features like transformations, resizing, or generating URLs.
Performance Optimization
The Filestack WordPress plugin comes optimized out of the box, reducing the need for manual performance tuning. However, it works exceptionally well with various React performance optimization techniques, including memoization, virtualization, and lazy loading.
Conclusion
You can improve your image transformations with React, as the process has become remarkably effortless. By using the capabilities of robust libraries and following industry best practices, you can elevate your visuals to different levels of excellence. React empowers you with an array of powerful tools, whether you need to crop, resize, or apply captivating filters to your images.
Are you ready to amplify the impact of your React applications? Try Filestack for image editing tools today!
Frequently Asked Questions (FAQs)
How can I handle image formats other than JPEG and PNG in a React image editor?
You can use image processing libraries or APIs like Filestack that support various formats like WebP, GIF, or SVG.
Can I implement real-time collaboration features in a React image editor?
Yes, you can use technologies like Filestack for real-time communication and synchronization among multiple users.
Is it possible to integrate image recognition or computer vision features in a React image editor?
Yes, tools like Filestack has image recognition capabilities that you can use in your React image editor.

Shanika Wickramasinghe is a software engineer by profession and a graduate in Computer Science. Her specialties are Web and Mobile Development. Shanika considers writing the best medium to learn and share her knowledge. She is passionate about everything she does, loves to travel, and enjoys nature whenever she takes a break from her busy work schedule.
Read More →