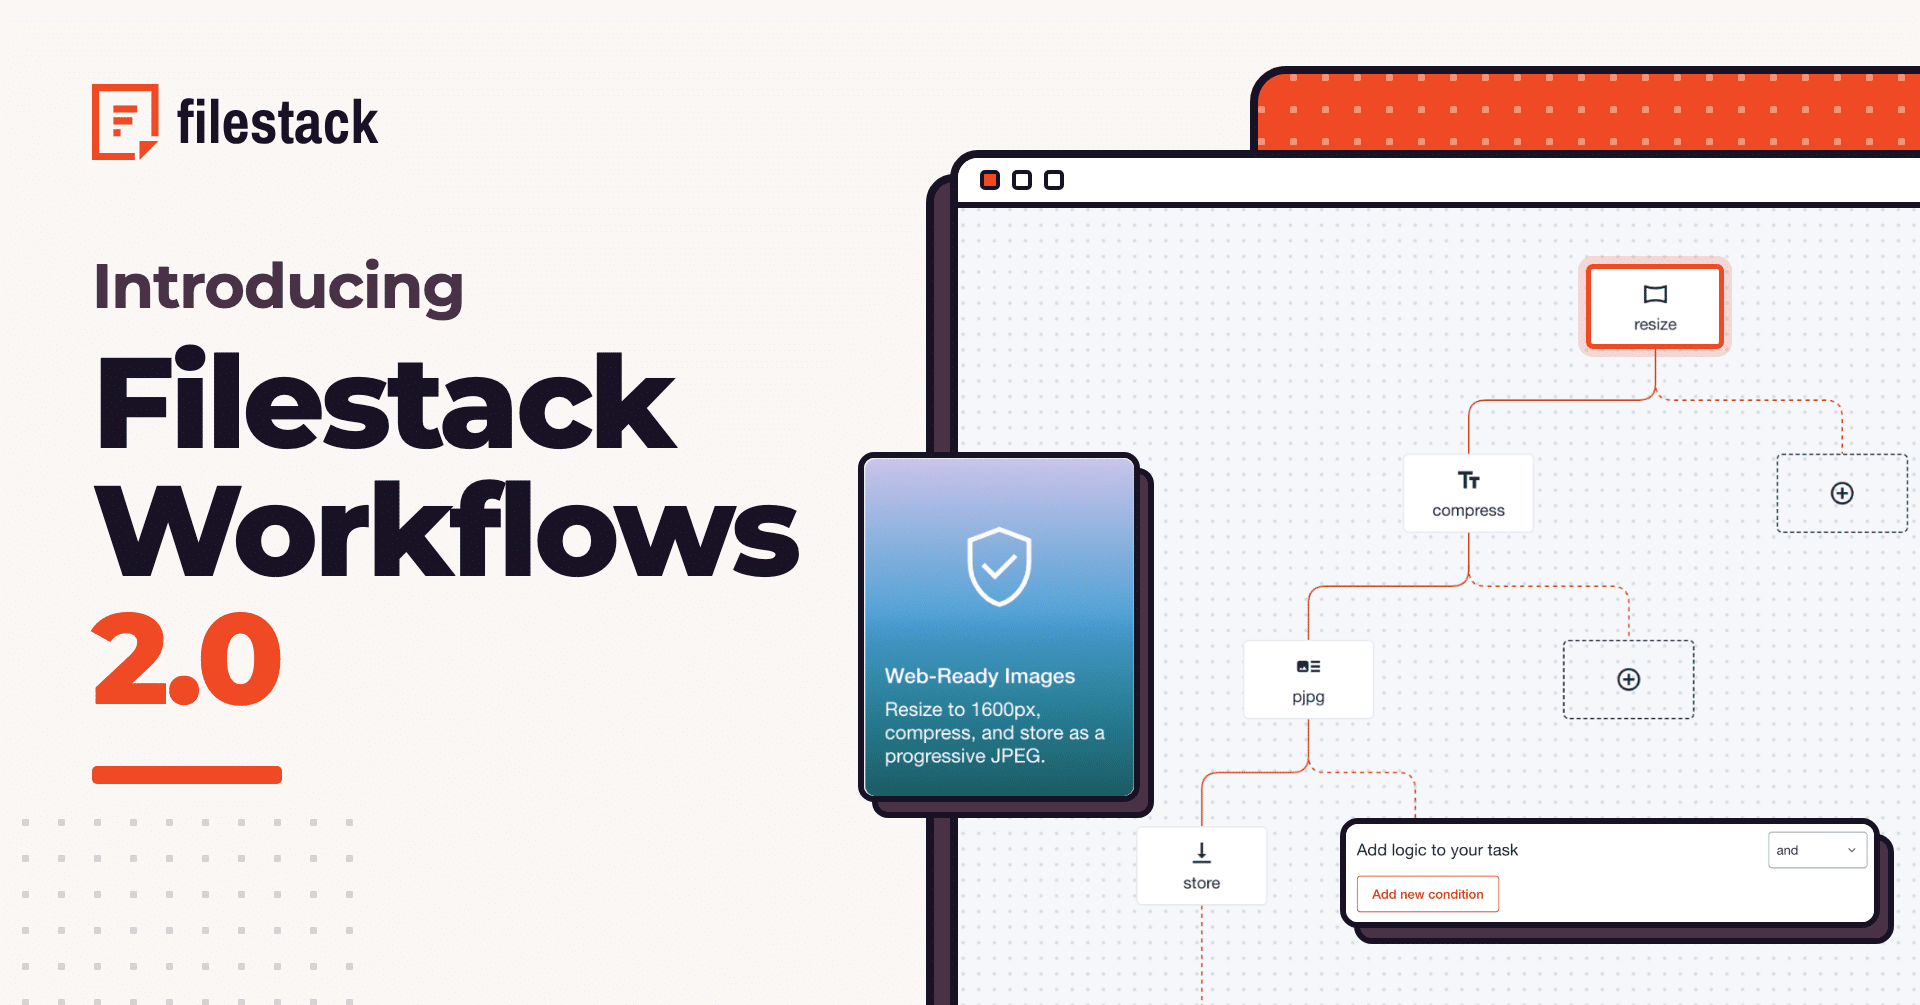
Filestack Workflows 2.0 rebuilds the way developers create, test and reuse automated file-processing pipelines. The new experience in the Filestack dashboard replaces blank-canvas setup with ready-made templates, a visual task canvas, per-task conditions and one-click duplication.
Start with Web-Ready Images, Blur Faces or Square Thumbnail, then inspect and adjust every task before you save. Add branches when one upload needs several outputs. Attach the workflow ID to a File Picker or SDK upload, and retrieve the finished files through workflow_status or a webhook. This guide walks through the Workflows 2.0 builder end to end, including a working Node example.
Key takeaways
- Workflows 2.0 adds three starting templates: Web-Ready Images, Blur Faces and Square Thumbnail.
- A workflow holds up to 20 tasks, and each task on the canvas has its own settings panel and optional conditions.
- An upload that lists a workflow ID in
storeTo.workflowsstarts a job, and a policy withrunWorkflowandconvertreads its results. - Duplicate copies a workflow inside an app in one click, and Create New copies a workflow from another app.
- The same builder covers e-commerce photos, photo privacy, print preparation, document intake and content moderation without a processing server.
What is a Filestack workflow?
A Filestack workflow is a chain of file processing tasks that runs automatically after an upload, or on request for a file you already stored. Each run is a job. The job reads the uploaded file, runs the tasks in order, and stores each output as a new file with its own handle. The original file stays as it was uploaded.
Tasks resize, compress, convert, blur faces, scan for viruses, read text and more. The catalog has 46 Transform tasks, 14 Intelligence tasks and 3 Advanced tasks. Conditions let a task run only for the files that need it. Your app gets the results from a webhook or from a status call.
How do you create a workflow from a template?
Open Workflows in the dashboard and click a template. The page shows three templates above the list of workflows you saved.

| Template | Tasks | Output |
|---|---|---|
| Web-Ready Images | resize, compress, pjpg, store |
A progressive JPEG, 1600 pixels wide |
| Blur Faces | blur_faces, no_metadata, store |
The photo with faces blurred and no metadata |
| Square Thumbnail | resize, rounded_corners, store |
A 400×400 PNG with rounded corners |
A click on a template opens a read-only preview. The preview shows every task the template runs, in order.

Click Use this template. The builder opens with the tasks in place. Type a name in Workflow Name, and the workflow is ready to save.
For phone and camera photos, start the chain with rotate and check Exif, so every later task works on an upright photo. To put rotate ahead of a template’s tasks, select Build from scratch, add rotate, then add the template’s tasks below it.
How do you edit tasks on the canvas?
Click the gear next to a task. The task’s settings panel opens on the right. The canvas shows the workflow as connected boxes, and a counter shows how many of the 20 tasks you use.

For resize, the panel has the task name, width, height, fit and align. The Web-Ready Images template sets the width to 1600 and the fit to clip. With clip, the photo keeps its proportions.

The task catalog is below the settings. It has tabs for Transform, Intelligence, Advanced and your recent tasks, and a search box. The dashed boxes on the canvas are where new tasks go. The box below the last task extends the chain. The box next to a task starts a branch from the task above it, so one upload can produce more than one output.
How do conditions work in a workflow?
A condition makes a task run only when the result of the task before it matches a rule. Any task that follows another task can have conditions. Click Add new condition in the task’s panel and fill in three fields.
- Path points to a value in the previous task’s result, with dot notation. After
virus_detection, the pathinfectedreadstrueorfalse. - Condition is one of ten operators, such as greater than, equal to, includes and key exists.
- Value is the value that the path is compared with.

In this workflow, store_clean runs only when the virus scan reports a clean file.
To add a second rule, click Add new condition again. The selector at the top of the panel joins the rules with and or or. The task’s Save button stays disabled until you fill in every row. For the path format and an example of each operator, check the workflow logic reference.
How do you get the workflow ID?
Click Save Workflow. The dashboard gives the workflow an ID and shows it in Workflow Id. Picker configuration then shows the File Picker code for this workflow.

Any upload with a workflows array in storeTo starts one job for each workflow ID in the array. In the browser, the File Picker does this for the files your users choose:
const client = filestack.init('YOUR_API_KEY');
const picker = client.picker({ storeTo: { workflows: ['YOUR_WORKFLOW_ID'] } });
picker.open();
Every file the user picks starts a job. On a server, the SDK’s upload method does the same for files your server already has.

How do you start a workflow job from Node?
Upload a file with the workflow ID in the store options. You need three things first:
- Node 18 or later.
- A Filestack API key. If you don’t have one, create a free account and copy the key from the dashboard.
- The workflow ID from Workflow Id.
Install the SDK and tslib. filestack-js 4.3 loads tslib at runtime in Node:
npm install filestack-js tslibThe scripts use the .mjs extension, so Node runs them as ES modules with top-level await. Put a photo next to the scripts and name it lake.jpg. Our photo is 4000×2670 pixels and 1,822,060 bytes.
upload.mjs uploads the photo and attaches the workflow ID, as the File Picker does:
import * as filestack from 'filestack-js';

const client = filestack.init(process.env.FILESTACK_API_KEY);
const workflowId = process.env.WORKFLOW_ID;

const result = await client.upload('./lake.jpg', {}, { workflows: [workflowId] });

console.log('handle:', result.handle);
console.log('job:   ', result.workflows[workflowId].jobid);
Run it with your key and workflow ID:
FILESTACK_API_KEY=YOUR_API_KEY WORKFLOW_ID=YOUR_WORKFLOW_ID node upload.mjshandle: 9IwXXjnuTbiAGDFLXYvC
job: deac5111-0d0c-40ea-bf3c-562f1ac7b435The handle points to the original photo, stored as uploaded. The job ID identifies this run of the workflow. result.workflows uses the workflow ID as its key, with one job ID for each workflow in the upload. JSON.stringify(result) leaves out the workflows field, so read the field from the object, as the script does.
How do you read a workflow job’s results?
Call workflow_status with a signed security policy. The status call always needs a policy, even when security is off for the rest of your app. The policy must grant runWorkflow and convert. Sign it with your app secret, which is in Configuration, on the Security tab, under Policy & Signature. The policy format is covered in the guide to security policies.
status.mjs signs a five-minute policy, gets the job’s status and prints the URL of each file the job stored:
import { createHmac } from 'node:crypto';

const { FILESTACK_API_KEY, FILESTACK_APP_SECRET } = process.env;
const jobId = process.argv[2];

const policy = Buffer.from(JSON.stringify({
  call: ['runWorkflow', 'convert'],
  expiry: Math.floor(Date.now() / 1000) + 300,
})).toString('base64');
const signature = createHmac('sha256', FILESTACK_APP_SECRET).update(policy).digest('hex');

const url = `https://cdn.filestackcontent.com/${FILESTACK_API_KEY}` +
  `/security=p:${policy},s:${signature}/workflow_status=job_id:${jobId}`;

const res = await fetch(url);
if (!res.ok) {
  console.error(res.status, await res.text());
  process.exit(1);
}

const job = await res.json();
console.log('status:', job.status);
for (const [task, output] of Object.entries(job.results ?? {})) {
  console.log(`${task}:`, output.data?.url ?? output);
}
Give it the job ID from the upload:
FILESTACK_API_KEY=YOUR_API_KEY FILESTACK_APP_SECRET=YOUR_APP_SECRET node status.mjs deac5111-0d0c-40ea-bf3c-562f1ac7b435status: Finished
store_1: https://cdn.filestackcontent.com/D8SUYghvRBWJS8DOUHaBresults uses the task name as its key, so the stored file appears as store_1. If you rename the store task in its panel, the key changes too. For this photo, the stored file is a 1600×1068 progressive JPEG of 253,328 bytes, about 14% of the original.
If the call fails, the script prints the status code and the reason:
| Response | Cause |
|---|---|
403 security required for tasks: workflow_status |
The URL has no security= segment |
403 application YOUR_API_KEY policy error: the signature is not valid |
The policy was signed with the wrong app secret |
404 ... job not found |
The job ID belongs to a different app, or it doesn’t exist |
A status script suits development. In production, use a Workflow webhook. It sends the same results object to your endpoint when the job finishes, so your app doesn’t poll. In Configuration, open the Authentication tab, click View webhooks and add your URL with the event type Workflow. Workflow webhooks run on the Start plan and above. The webhooks reference shows the payload and how to verify its signature.
For signature checks, retries and duplicate deliveries, follow our guide to handling Filestack webhooks at scale.
How do you duplicate a workflow?
Click Duplicate on the workflow’s row. It is the middle icon. A copy appears at the top of the list, with “(copy)” after its name and a new workflow ID.

Use a copy to make a variant. For example, duplicate Web-Ready Images, set the width to 800, and you have a second workflow for small listing images. The first workflow stays as it was.
To copy a workflow from a different app, click Create New and select Duplicate from another API. Use it to copy a tested workflow from a staging app into a production app. The other two options start from scratch or from a template.

What workflows can you build for your industry?
Every recipe below uses tasks from the workflow catalog. Build each one on the canvas, the same way as Web-Ready Images. A lock in the catalog marks a task that comes with a higher plan.
E-commerce and marketplaces, two image sizes from one upload
Start with rotate, then build two branches below it: the Web-Ready Images tasks and the Square Thumbnail tasks.
rotate (exif)
├─ resize (width 1600) → compress → pjpg → store_page                  product page image
└─ resize (400x400, crop) → rounded_corners → output (webp) → store_thumb  search thumbnail
f
One seller upload produces two files, and the job’s results has one key for each store task. We build tOne upload produces two filesOne upload produces two filesachotos, in our guide to resizing product photos on upload.
Photo sharing apps, privacy before a photo goes public
Start from Blur Faces, or build from scratch with rotate first for phone photos. The template blurs every detected face and removes all metadata, including the GPS location that phone cameras write into photos. For a stronger blur, raise Blur in the blur_faces panel, up to 20. When you add blur_faces from the catalog instead, clear Faces, Minsize and Maxsize, because a Faces value selects one face by its number. The full Trip Photos build, with a check that the GPS data is gone, is in our guide to blurring faces and removing GPS from photos.
rotate (exif) → blur_faces (blur 20) → no_metadata → storePrinting and print on demand, files ready for the press
Print jobs need large images and a fixed page format. imagesize reads the width and height. Two branches below it use opposite conditions on width, so small images go through upscale and large ones go straight to the JPEG step. pdfconvert sets the page format of a PDF.
imagesize
├─ upscale (when width is less than 2400) → output (jpg) → store
└─ output (jpg, when width is greater than or equal to 2400) → store
pdfconvert (page format a4) → store
Our walkthrough on how to convert uploaded images to JPEG for printing builds the format step in full.
Document intake for insurance, HR, finance and learning platforms
Scan the file first. Then find the page in the photo and read its text. The same scan gate fits any upload form, such as claim photos, resumes or course assignments.
virus_detection → doc_detection (when infected equals false) → ocr → storedoc_detection finds and straightens the page in a photo. ocr returns the text, so your app can index the document or fill in a form.
Community and user content, moderation at upload
sfw checks whether an image is safe for work. Two store tasks with opposite conditions send each image to a public path or to a review path. The store panel has a Path field for this.
sfw
├─ store (path /public/, when sfw equals true)
└─ store (path /review/, when sfw equals false)
Add tags in a branch next to the store tasks, and the job also returns labels that your search can use.
Why use a workflow instead of building your own pipeline?
A workflow gives you the pipeline without the servers. You can build the same chain yourself. An AI assistant can write the worker code for you. The rest stays with you: the queue, the image library, a face detection model, a virus scanner, an OCR service, storage writes, retries and scaling.
| Your own pipeline | A Filestack workflow | |
|---|---|---|
| Infrastructure | Queue, workers and storage that you run | None to run |
| A change to the pipeline | Code change, review and deploy | Edit the task on the canvas and save |
| Face detection, virus scan, OCR | A separate model or service for each | Tasks in the same catalog |
| Upload sources | Each source calls your pipeline | The File Picker, SDKs and API attach the same workflow ID |
| Results | Your own job store | workflow_status or a Workflow webhook |
| Control | Full control of every step and model | Tasks and parameters from the catalog |
Two other places fit some files. A resize in the browser keeps the upload small, for uploads from your own client. A processing URL resizes a file on delivery, and suits images you serve at many sizes.
Your own pipeline makes sense when you need a custom model or a processing step that no catalog task covers. You can also combine the two. Let a workflow do the standard steps, and send its webhook to your own code for the custom step.
Frequently asked questions
Can I run a workflow on a stored file?
Yes. run_workflow starts a job on a stored file by its handle. Its signed policy grants runWorkflow and convert, plus store when the workflow has a store task, and the response has a jobid that you pass to workflow_status. For a whole list of handles, follow our guide to running a workflow on stored files.
How long does Filestack keep a job’s results?
The Workflow TTL field sets how long the job result and its related file are kept, in seconds. The default is 172800, which is 48 hours. Read the results with workflow_status or a webhook within that time.
Can a workflow process video and PDF files?
Yes. The Transform tab has video_convert, video_info and video_status for video, and pdfconvert, pdfinfo and doc_to_images for PDF files. The Intelligence tab adds video_sfw and video_tags.
Can a workflow save files to my own storage?
Yes. The store task panel has Location, Container, Path, Region and Access fields. It writes to the storage that you connect on the Storage tab of Configuration.
What to build next
In your app, use the file that your upload route receives instead of lake.jpg. Save the stored handle on your own record, and replace the status script with a workflow webhook receiver. If your images also need your logo, the guide to automate watermarking on upload adds a watermark task to the same kind of workflow.


Filestack is a dynamic team dedicated to revolutionizing file uploads and management for web and mobile applications. Our user-friendly API seamlessly integrates with major cloud services, offering developers a reliable and efficient file handling experience.
Read More →