


Any Python application that enables file selection or management requires Python file picker tools to function. File pickers simplify user workflows by allowing users to select files and directories, which reduces errors and enhances application usability.
This article demonstrates five different methods to implement file picker functionality in Python applications. The article begins with basic built-in solutions suitable for beginners before moving to Filestack as an advanced cloud-based solution that provides secure uploads, file transformations, and CDN delivery. The article will help you determine which solution best matches your project requirements and follows Python file picker best practices.
Key takeaways
- Learn the pros, cons, and use cases for five different Python file picker methods.
- Discover how to implement file pickers for desktop, web, and cloud-connected apps.
- See real-world code examples for each approach, from tkinter dialogs to Filestack’s powerful file-picking platform.
- Understand when to choose a simple local picker vs. a secure, scalable cloud solution.
1. Tkinter: the built-in, beginner-friendly option
Using tkinter is the fastest method to implement a Python file picker. Tkinter comes as a built-in standard component with the Python library, eliminating the need for additional installations. This method works well for basic desktop applications.
Pros:
- Comes pre-installed with Python.
- Extremely easy to implement.
- Works well for quick, small-scale projects.
Cons:
- Limited UI customization compared to more advanced frameworks like PyQt.
- Not ideal for applications needing a polished, modern interface.
Example: Single and multiple file selection
python tkinter_demo.py
import tkinter as tk
from tkinter import filedialog
import os
# Create the root window and hide it
root = tk.Tk()
root.withdraw()
start = os.path.abspath("assets")
# Single file selection
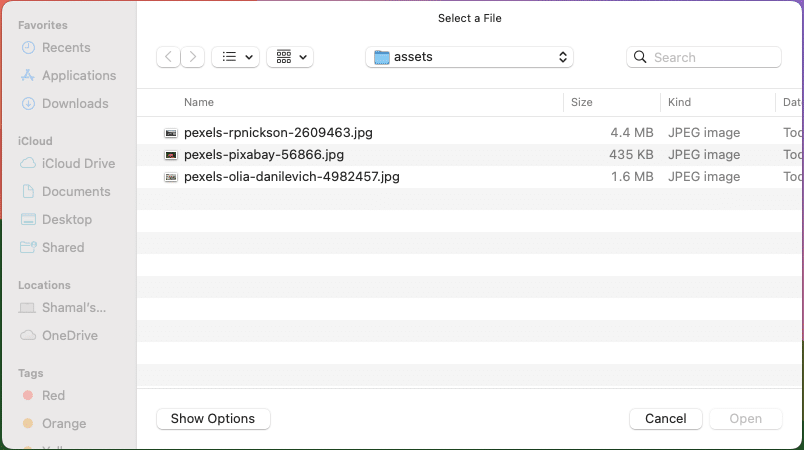
file_path = filedialog.askopenfilename(
title="Select a File",
filetypes=[("Images", "*.png *.jpg *.jpeg"), ("All Files", "*.*")]
)
print("Selected file:", file_path)
# Multiple file selection
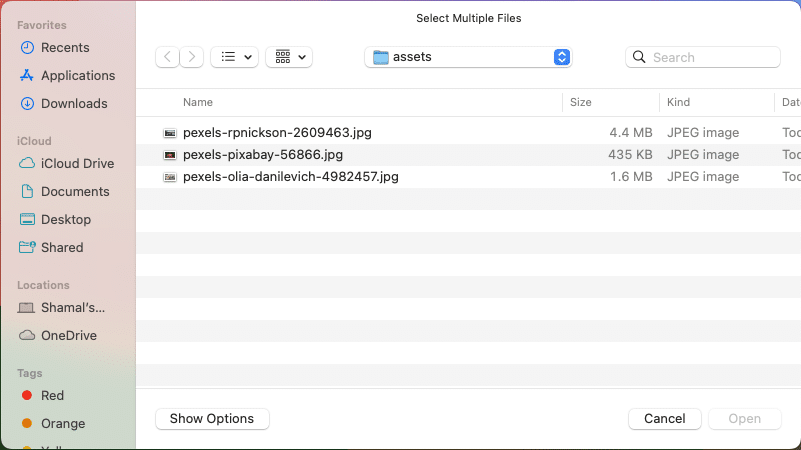
files = filedialog.askopenfilenames(
title="Select Multiple Files",
filetypes=[("Image Files", "*.jpg;*.png"), ("All Files", "*.*")]
)
print("Selected files:", files)
Running the Script
Before running the script, make sure you have activated your Python virtual environment (if you are using one) by running:
source venv/bin/activate    # Mac/Linux
venv\Scripts\activate       # Windows
New to Python? Learn more about virtual environments.
Once activated, run:
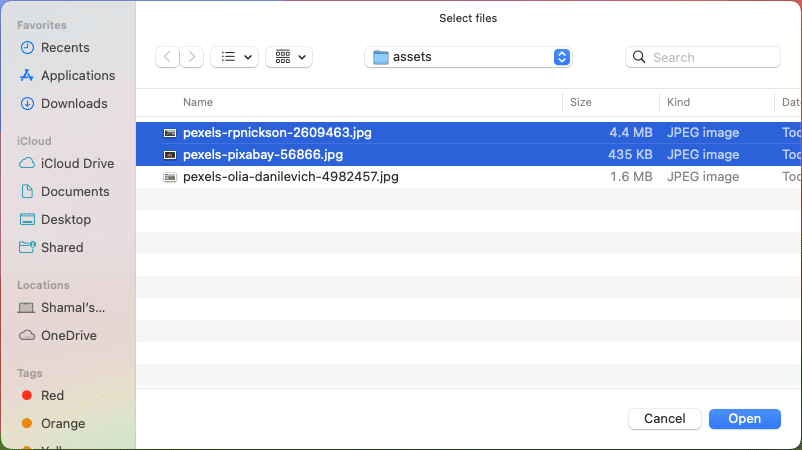
python tkinter_demo.pyThis will launch the file open dialogs shown below, guiding you through single and multiple file selection.


How It Works:
- askopenfilename() prompts the user to pick a single file.
- askopenfilenames() allows selecting multiple files at once.
- The filetypes parameter filters visible files in the dialog.
This method is ideal for quick prototypes, personal scripts, or desktop tools where simplicity is key. For more styling options or cross-platform polish, you might prefer PyQt or wxPython.
2. PyQt: professional-looking file dialogs
If you’re aiming for a polished, modern user interface, PyQt offers one of the most versatile and professional-looking file dialog solutions available in Python.
Pros
- Sleek design
- Cross-platform consistency
- Extensive customization options for both appearance and functionality
Cons
- Steeper learning curve due to its comprehensive widget system and signal-slot architecture
- Requires installing PyQt5 or PyQt6
Example – adding file type filters and selecting directories
python pyqt_demo.py
from PyQt5.QtWidgets import QApplication, QFileDialog
import sys

# Create a Qt Application
app = QApplication(sys.argv)

# File picker with filters
file_path, _ = QFileDialog.getOpenFileName(
    None,
    "Select an Image",
    "",
    "Images (*.png *.jpg *.jpeg);;All Files (*)"
)
print("Selected file:", file_path)

# Directory picker
directory = QFileDialog.getExistingDirectory(
    None,
    "Select a Folder"
)
print("Selected directory:", directory)
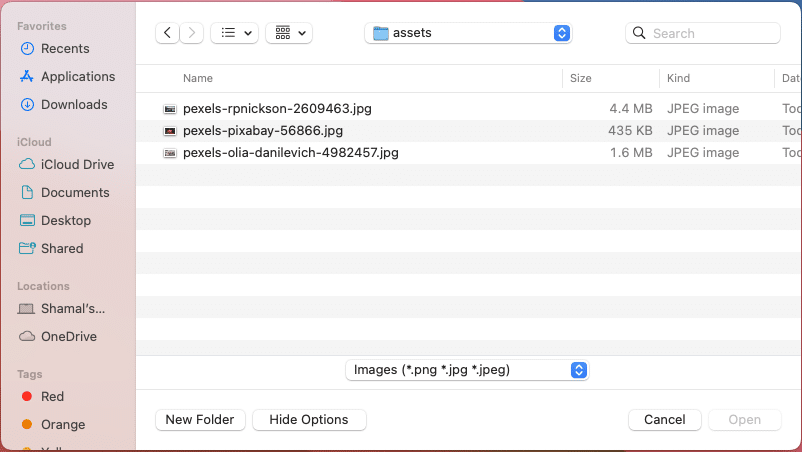
Running the script with python pyqt_demo.py will launch file and folder selection dialogs, allowing you to choose files and directories as shown below.
💡 Tip: Install PyQt5 before running this example:
pip install PyQt5

How it works:
- The QFileDialog.getOpenFileName() method launches a file picker with filter options for specific file types.
- The QFileDialog.getExistingDirectory() method lets the user select a folder instead of a file.
- The interface automatically adapts to the user’s operating system for a native look and feel.
3. wxPython: Cross-Platform Desktop Approach
wxPython is a popular GUI toolkit that wraps the native controls of your operating system, giving your applications a natural look and feel on Windows, macOS, and Linux. It’s ideal if you want file dialogs and interfaces that blend seamlessly with the user’s desktop environment.
Pros
- Native look-and-feel on Windows, macOS, and Linux.
- Well-documented and mature, with strong community support.
- Rich set of widgets for building full-featured desktop applications.
Cons
- Requires additional installation, as it’s not included with Python by default.
- Larger package size compared to Tkinter or PyQt for simple file dialog tasks.
Example: multiple file selection with filters
wxpython_demo.py
import wx
app = wx.App(False)
frame = wx.Frame(None, wx.ID_ANY, "wxPython File Picker")
# Multiple file selection with filters
with wx.FileDialog(
frame,
"Select files",
wildcard="Image files (*.png;*.jpg)|*.png;*.jpg|All files (*.*)|*.*",
style=wx.FD_OPEN | wx.FD_MULTIPLE
) as fileDialog:
if fileDialog.ShowModal() == wx.ID_CANCEL:
print("No files selected.")
else:
paths = fileDialog.GetPaths()
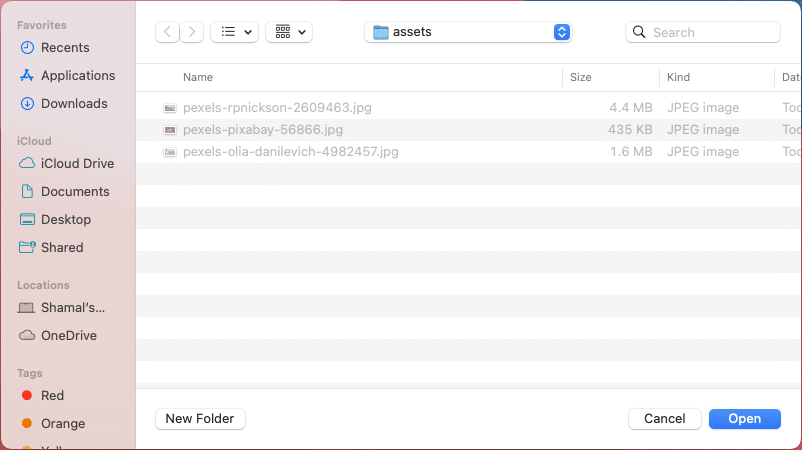
print("Selected files:", paths)Run it with:
pip install wxPython
python wxpython_demo.py
It opens the file dialog shown below, allowing you to select multiple files.
How it works:
- Create the app and frame – wx.App() initializes the wxPython application, and wx.Frame() creates a parent window (required for dialogs).
- Open the file dialog – wx.FileDialog is initialized with a title, file type filters via wildcard, and style flags like wx.FD_OPEN (open mode) and wx.FD_MULTIPLE (allow multiple selections).
- Show the dialog – ShowModal() displays the dialog and pauses execution until the user picks files or cancels.
- Get selected files – If the user confirms, GetPaths() returns a list of absolute paths to the selected files. If the user cancels, the code prints a message instead.
4. Django/Flask + HTML File Input for Web Apps
For browser-based applications, HTML file inputs combined with backend frameworks like Django or Flask provide a reliable way to handle file uploads. Users select files directly from their browsers, and the server processes and stores them. This method is ideal for web apps that need to manage uploads over the internet.
Pros
- Ideal for browser-based apps.
- Works with multiple backend frameworks like Django and Flask.
- Supports customization of the file upload UI and behavior.
Cons
- Requires server-side handling and security considerations.
Example: HTML + Flask route handling file uploads
This is my folder structure for this example:


Create the following two files in your code editor (I’m using VS Code for this example).
1. flask_demo/templates/upload.html
<!doctype html>
<html>
<head><meta charset="utf-8"><title>File Upload</title></head>
<body>
  <h1>Upload a File</h1>
  <form method="POST" action="/upload" enctype="multipart/form-data">
    <input type="file" name="file">
    <button type="submit">Upload</button>
  </form>
  {% if msg %}<p>{{ msg }}</p>{% endif %}
</body>
</html>
2. flask_demo/app.py
from flask import Flask, render_template, request
from werkzeug.utils import secure_filename
import os

BASE_DIR = os.path.dirname(os.path.abspath(__file__))
UPLOAD_DIR = os.path.abspath(os.path.join(BASE_DIR, "..", "uploads"))
os.makedirs(UPLOAD_DIR, exist_ok=True)

app = Flask(__name__)

@app.get("/")
def index():
    # Render the form
    return render_template("upload.html", msg="")

@app.post("/upload")
def upload_file():
    if "file" not in request.files:
        return render_template("upload.html", msg="No file part in request.")
    f = request.files["file"]
    if f.filename == "":
        return render_template("upload.html", msg="No file selected.")
    fname = secure_filename(f.filename)
    f.save(os.path.join(UPLOAD_DIR, fname))
    return render_template("upload.html", msg=f"Uploaded: {fname}")

if __name__ == "__main__":
    # Debug=True is fine for local screenshots; turn off for production.
    app.run(debug=True)
Then, install and select your environment.
In the terminal:
source venv/bin/activate           # ensure your venv is active
pip install flask werkzeug
Then run the app.
cd flask_demo
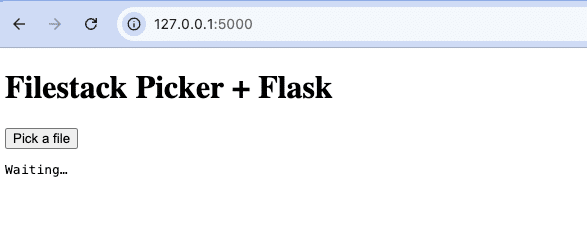
python app.pyOpen the demo and trigger the dialog.
1. Visit http://127.0.0.1:5000/ in your browser (Chrome/Safari/Edge).

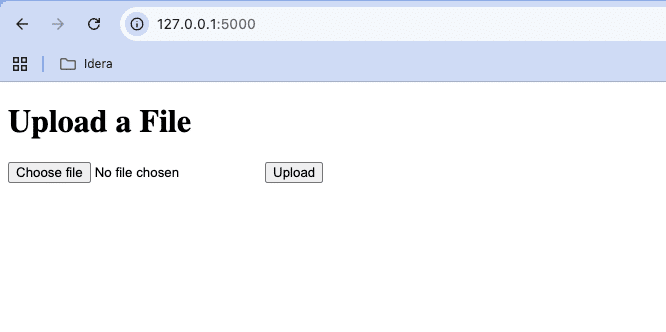
2. Click Choose File to open the OS file dialog.

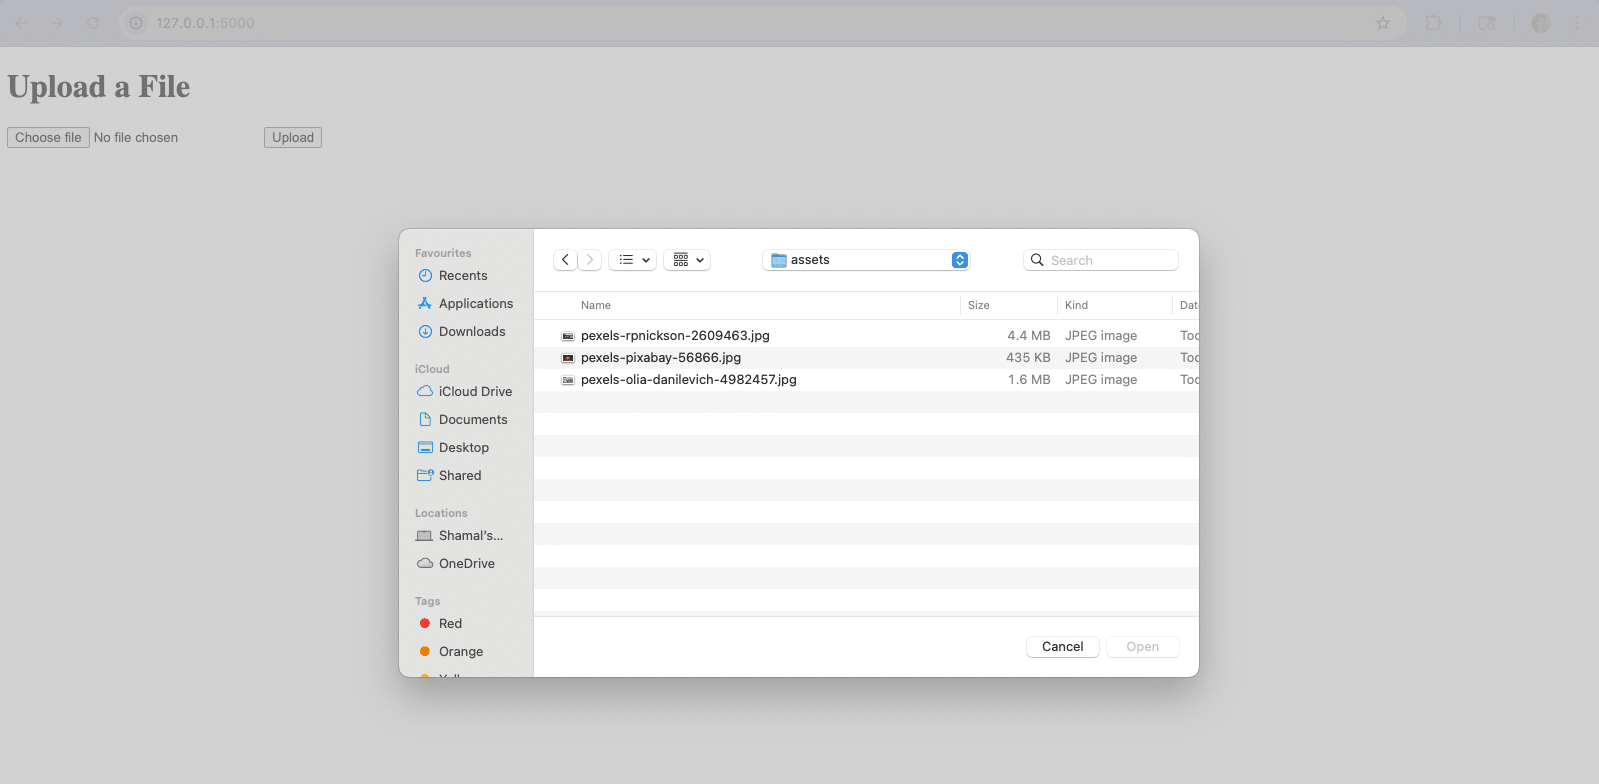
3. Pick a sample file from your assets/ folder and click Upload.


How It Works:
- HTML Form – The upload.html page contains a file input field (<input type=”file”>) inside a form that uses the multipart/form-data encoding type. This is required for file uploads.
- Flask Route (/) – Renders the HTML form when a user visits the homepage.
- Flask Route (/upload) – Handles form submissions:
- Checks if a file is included in the request.
- Verifies that a file has been selected.
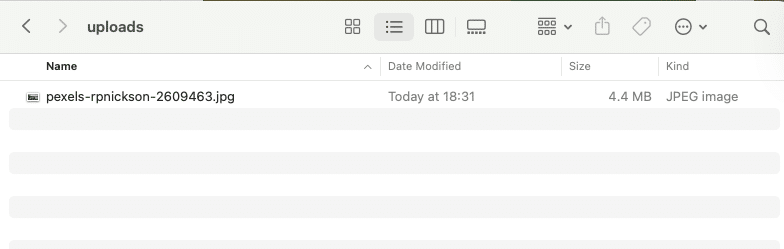
- Saves the file to the uploads/ directory using its original filename.
- File Storage – The file is stored on the server for further processing, storage, or validation.
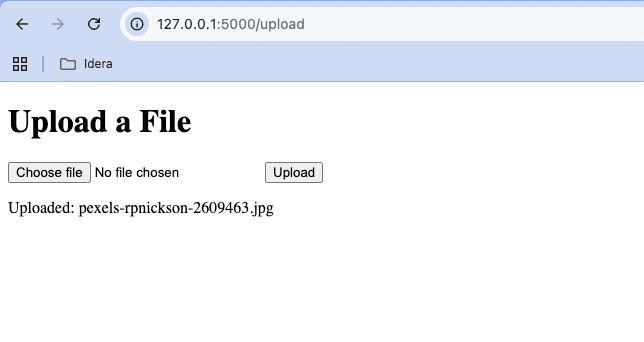
- Response – The app sends a success message after the file is uploaded successfully.
5. Filestack Python SDK: Cloud-Ready File Picking
The Filestack Python SDK offers a modern, cloud-first solution for securely uploading, storing, and processing files. While the SDK itself is focused on backend integration, it can be paired with Filestack’s JavaScript File Picker to enable drag-and-drop file selection and uploads from local storage, URLs, or cloud drives like Google Drive and Dropbox.
With the Python SDK, you can:
- Send files from your server to Filestack for storage.
- Apply real-time transformations such as image resizing, cropping, and format conversion.
- Implement secure uploads with policy/signature authentication.
- Deliver files quickly through Filestack’s global CDN.
This combination of backend control and frontend convenience means you can integrate cloud-ready file uploads into your app without managing complex server-side code.
Pros
- Supports secure and fast image upload flows
- Powerful file transformations
- Fast CDN delivery
Cons
- Requires an API key to use the SDK
Example: Integrating Filestack’s Python SDK with the JavaScript File Picker
In this example, the Filestack JavaScript File Picker handles the user-facing file selection, while the Python SDK manages the upload and processing on the backend. This setup lets you:
- Let users pick files from their device, URL, or cloud drives.
- Apply real-time transformations such as resizing or cropping.
- Store and deliver files securely via Filestack’s CDN.
Frontend (HTML + JavaScript) – File Picker
filestack_demo/templates/picker.html
<!DOCTYPE html>
<html>
<head>
  <meta charset="utf-8" />
  <title>Filestack File Picker</title>
  <script src="https://static.filestackapi.com/filestack-js/3.x.x/filestack.min.js"></script>
</head>
<body>
  <h1>Filestack Picker + Flask</h1>
  <button id="picker">Pick a file</button>

  <pre id="out">Waiting…</pre>
  <p><a id="link" href="#" target="_blank"></a></p>
  <img id="preview" style="max-width:480px; display:block;" />

  <script>
    // Replace with your real public API key
    const client = filestack.init('YOUR_FILESTACK_API_KEY');

    document.getElementById('picker').addEventListener('click', () => {
      client.picker({
        fromSources: ['local_file_system', 'url', 'googledrive', 'dropbox'],
        accept: ['image/*'],
        maxFiles: 3,
        uploadInBackground: false,

        transformations: {
          crop: { aspectRatio: 0 },            // 0 = free crop
          rotate: true,
          circle: false
        },

        onUploadDone: (result) => {
          const uploaded = result.filesUploaded?.[0];
          if (!uploaded) return;

          const handle = uploaded.handle;
          document.getElementById('out').textContent =
            JSON.stringify({ handle, filename: uploaded.filename }, null, 2);

          // Ask Flask to build a transformed delivery URL
          fetch('/process', {
            method: 'POST',
            headers: { 'Content-Type': 'application/json' },
            body: JSON.stringify({ handle })
          })
          .then(r => r.json())
          .then(data => {
            const url = data.transformed_url;
            const a = document.getElementById('link');
            a.textContent = url;
            a.href = url;
            document.getElementById('preview').src = url;
          })
          .catch(console.error);
        }
      }).open();
    });
  </script>
</body>
</html>
Backend (Python + Flask) – File Processing
filestack_demo/app.py
from flask import Flask, request, render_template, jsonify

app = Flask(__name__)

@app.route("/")
def index():
    # Renders templates/picker.html
    return render_template("picker.html")

@app.route("/process", methods=["POST"])
def process_file():
    data = request.get_json(force=True)
    handle = data.get("handle")
    if not handle:
        return jsonify({"error": "handle missing"}), 400

    # Build a Filestack Processing URL (resize to 300px wide → convert to WebP)
    transformed_url = (
        "https://cdn.filestackcontent.com/"
        "resize=width:300,fit:max/output=format:webp/"
        f"{handle}"
    )
    return jsonify({"transformed_url": transformed_url})

if __name__ == "__main__":
    app.run(debug=True)
Prerequisites
Before running the example, install the Filestack Python SDK in your environment:
pip install filestack-pythonMake sure your code editor is using the same Python environment where you installed the package.
Then run the app.
cd filestack_demo
python app.py
Visit http://127.0.0.1:5000/ in your browser (Chrome/Safari/Edge).

When you click the Pick a file button, the Filestack file picker will open.

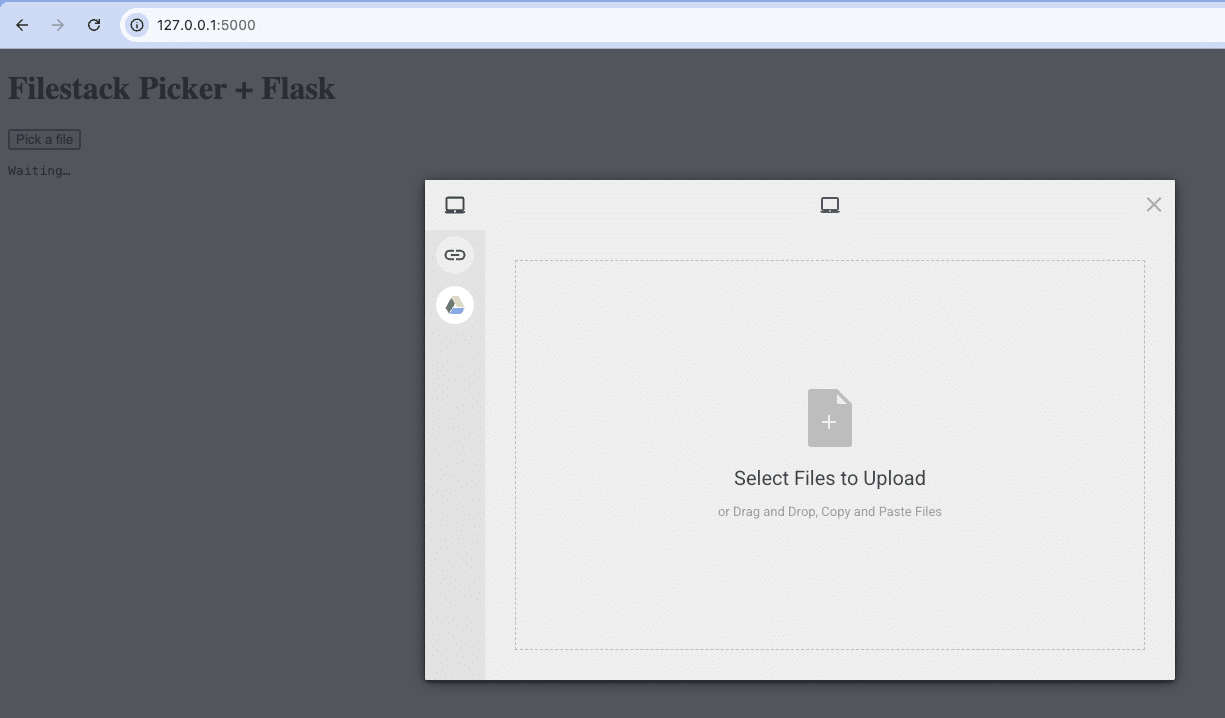
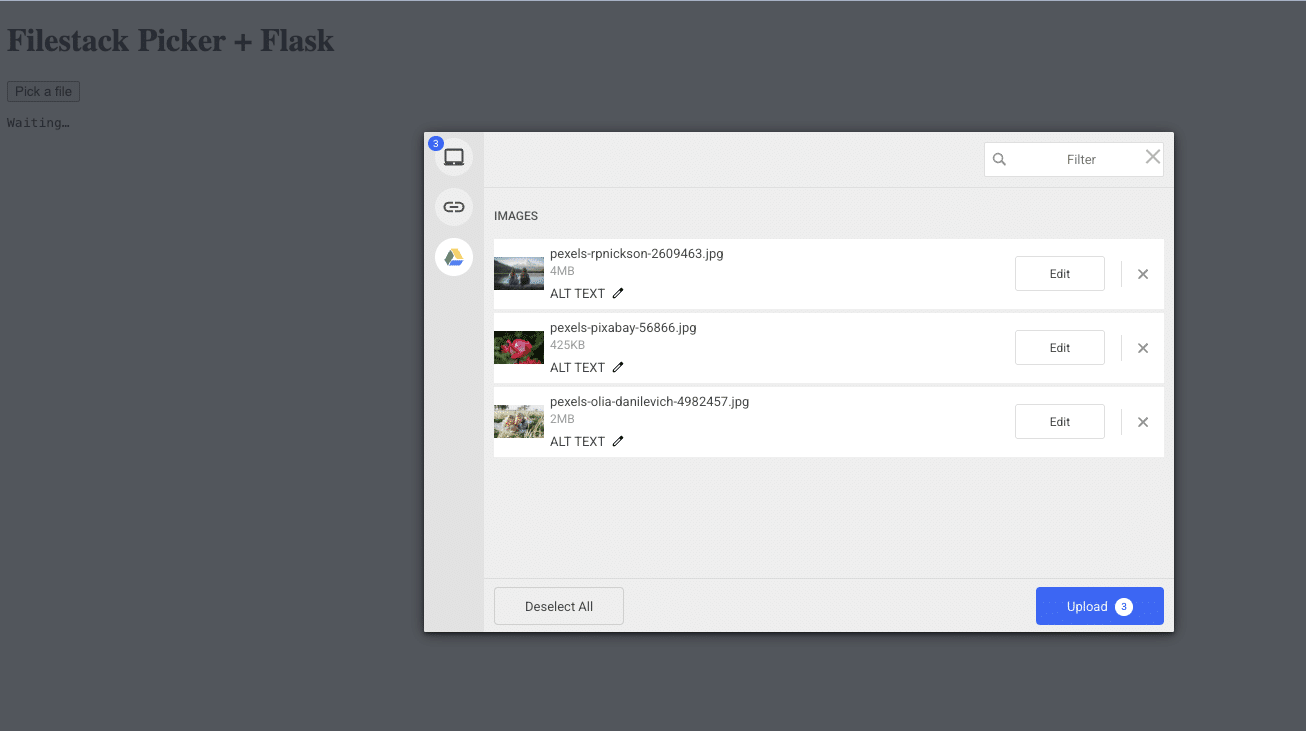
You can select files from your local device, a web URL, popular cloud storage services like Google Drive or Dropbox, and even supported social media platforms.


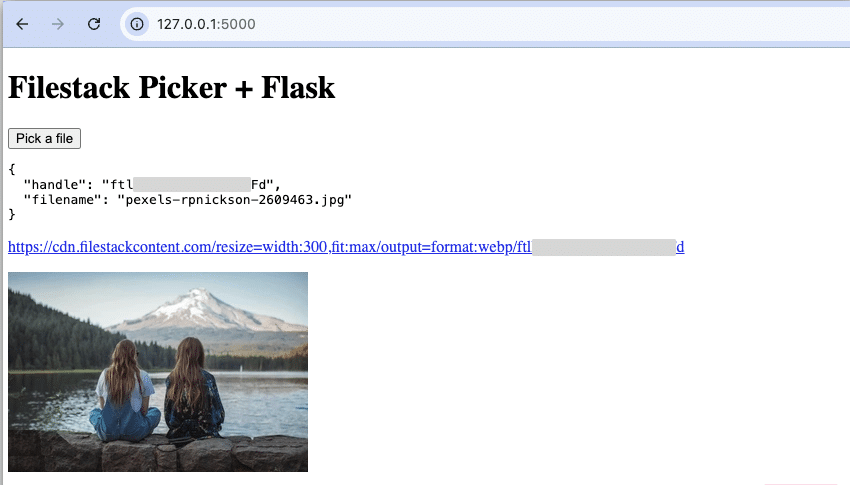
How it works:
- The JavaScript File Picker opens in the browser and allows users to select a file.
- Once uploaded to Filestack, the Picker returns a file URL.
- This URL is sent to the Python backend, where the Filestack Python SDK can apply transformations or trigger other workflows.
- The transformed file is stored and delivered via Filestack’s CDN.
Comparison Table
| Method | Best For | Difficulty | Online Support | Extra Features |
| Tkinter | Quick desktop tools | Easy | No | None |
| PyQt | Professional desktop apps | Medium | No | Styling options |
| wxPython | Cross-platform desktop | Medium | No | Native look |
| HTML + Flask | Web apps | Medium | Yes | Custom UI |
| Filestack | Cloud-connected apps | Easy | Yes | Transformations, CDN |
Conclusion
When choosing a development approach, start with the simplest method that fits your project’s needs and complexity. If your goal is to build secure, cloud-connected applications with advanced file handling, transformations, and CDN support, Filestack is an excellent choice.
With its easy integration, robust Python SDK, and powerful cloud features, Filestack can streamline your workflow while ensuring a great user experience.
Get started today:
Explore Filestack’s Python SDK Documentation | Start Your Free Trial
Check out our GitHub repository for all the example code used in this article.
FAQs
1. How do I create a file picker in Python?
You can create a file picker in Python using GUI libraries like tkinter, PyQt, or wxPython. For example, tkinter.filedialog provides a simple way to select files or directories with just a few lines of code. If you need cloud-based uploads, you can use the Filestack Python SDK to let users pick and upload files securely.
2. Which Python file picker method is best for web applications?
For web apps, HTML file input elements combined with a Python framework like Flask or Django are the most common approach. If you want to add advanced features like drag-and-drop, image transformations, or CDN delivery, you can integrate Filestack’s File Picker into your Python backend.
3. Can I filter file types in a Python file picker?
Yes. Most Python GUI libraries let you define file type filters to limit which files a user can select. For example, in tkinter, you can set filetypes=[(“Image files”, “*.jpg;*.png”)] to only allow image selection. Filestack also supports file type restrictions and can enforce them both on the client and server sides.


Shamal is a seasoned Software Consultant, Digital Marketing & SEO Strategist, and educator with extensive hands-on experience in the latest web technologies and development. He is also an accomplished blog orchestrator, author, and editor. Shamal holds an MBA from London Metropolitan University, a Graduate Diploma in IT from the British Computer Society, and a professional certification from the Australian Computer Society.