WYSIWYG editors provide an easy-to-use interface for creating and editing content on apps and websites. The term WYSIWYG, or What You See Is What You Get, refers to a software or JavaScript tool that lets users format their content using buttons rather than writing HTML code. As soon as you choose a format, it is immediately applied to the content and your users can see how their content will look.
A file uploading system is essential for WYSIWYG editors. Therefore, users can upload files while creating a blog post, an email, or a message. The WYSIWYG editor uses a basic file uploader system to perform file uploads, but integrating a fast and reliable file upload solution will supercharge your editor with hundreds of features.
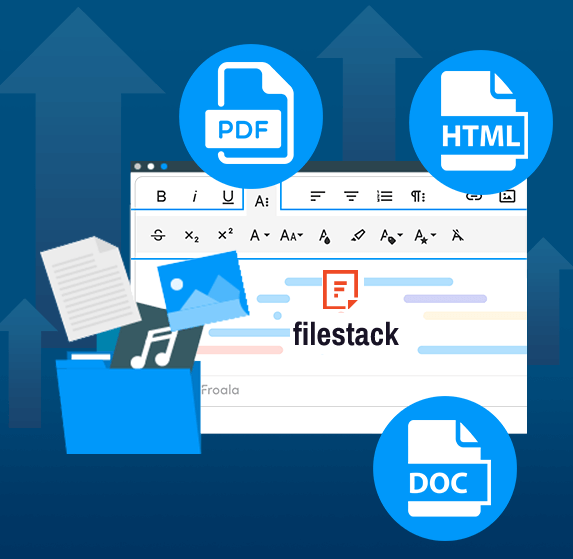
In this post, you will learn how to integrate Froala, the leading WYSIWYG editor, with Filestack.
Why Froala?
Froala WYSIWYG editor is a perfect editor choice if you are looking for a fast, responsive, and sleek editor with a wide range of functionalities, comprehensive documentation, and reliable support. Furthermore, it comes with over 30 out-of-the-box plugins.
In addition to that, the modular architecture of Froala and its powerful API made it clear that the Froala editor was the right choice for us over other WYSIWYG editors. Both features make the integration between Froala and Filestack flawless.
How popular is Froala?
Froala is a very popular HTML editor among developers. Froala has been rated as the top WYSIWYG editor on the G2 for more than two years.

Where can I use Froala?
Froala can help you edit content in any web or mobile application. Whether you are building a Learning Management System (LMS), CRM, CMS, emailing system, or any other SaaS or internal application, Froala makes editing easy with its flexible features.
Is Froala a SEO-friendly editor?
Write with no worries. The Froala editor produces very clean output, waiting to be crawled by search engines.
Why do I need to integrate Filestack With Froala? Isn’t Froala’s default uploading system enough?
Integrating Filestack with Froala enhances the file uploading experience of your editor. The Filestack uploading system is more reliable and faster than any WYSIWYG editor’s default uploading system. Moreover, Filestack allows you to easily incorporate virus scanning & detection in your file upload process. It can also be used to detect whether the uploaded image is copyrighted or not, and it can be used to return information about objects in your files.
Furthermore, you can resize, flip, rotate, and perform many processing operations on your image before uploading it to your server. And it doesn’t end there. Filestack offers hundreds of features for your WYSIWYG editor.
Why don’t I use a free WYSIWYG editor instead?
Filestack can be integrated with any WYSIWYG editor, but we recommend Froala due to the features we mentioned above that make integration straightforward. You will also receive professional support whenever you run into a problem. Free WYSIWYG editors often lack these features and will get you into trouble because you will have to fix issues yourself instead of focusing on your product.
And Much More..
Froala has hundreds of features that you will definitely find useful in your application. We can’t cover all of them in a single blog post, but you can take some time to view all of Froala’s features here.
How do I integrate Filestack with Froala?
The modular architecture of the Froala editor makes it easy to extend its functionality through plugins. Follow the steps below to create a custom plugin that uses Filestack’s file picker to insert images into the Froala WYSIWYG editor:
- Download Froala Editor
- Use the custom plugin guide to create a new Froala plugin called “filestack”
- Add plugin options to allow users to enter their Filestack API and their desired Filestack options.
<script> // Add options for your plugin. FroalaEditor.DEFAULTS = Object.assign(FroalaEditor.DEFAULTS, { //Allow users to set their Filestack options filestackOptions: { displayMode: 'overlay', uploadInBackground: false, //accept images only since we are using Filestack for inserting images to the editor. accept: ["image/*"], }, //Allow users to enter their Filestack API filestackAPI: '', }); <script> - Inside the plugin initialization method, verify that the user entered the Filestack API correctly
//Verify that the user entered the Filestack API credentials if(editor.opts.filestackAPI === 0){ alert("The Filestack plugin is not active! You should set the filestackAPI option correctly."); return false; } - We need to create a button that will open the Filestack file picker. Create a custom button using this guide:
/*First, create icon for the button. The icon will be the Filestack logo */ FroalaEditor.DefineIcon('filestackIcon', {SRC: 'https://blog.filestack.com/wp-content/uploads/2017/11/Filestack-Logo.png', ALT: 'Open Filestack file picker', template: 'image'}); /*Create a button with the name 'openFilePicker' */ FroalaEditor.RegisterCommand('openFilePicker', { type: 'button', icon: 'filestackIcon', title: 'Open Filestack File Picker', //Set a function to be called when the button clicked callback: function callback() { /* This button will be used to insert new images or to replace an existing image ** in case of doing a replace action, save the selected image so we can replace it later. */ var selectedImage = this.image.get(); //Init Filestack var client = filestack.init(this.opts.filestackAPI); /* ** Extend the filestack options to trigger the filestack plugin onUploadDone callback once the image is uploaded ** We will define the onUploadDone method on the custom filestack plugin in the next step. */ Object.assign(this.opts.filestackOptions, { //Set displayMode to 'overlay' to open the file picker with the minimum setup. Other modes require more steps to get the file picker visible when the openFilePicker button is clicked. displayMode: 'overlay', onUploadDone: (res) => { //Save the caret position, to be able to insert images in the caret position this.selection.save(); //Trigger the filestack plugin onUploadDone function this.filestack.onUploadDone(res, selectedImage); }, }); // Open file picker client.picker(this.opts.filestackOptions).open(); } plugin: 'filestack' }); - On the Filestack plugin, add the
onUploadDonemethod to be executed when the image is uploaded successfully through Filestackfunction onUploadDone(res, selectedImage){ //If an image was selected beforehand, remove it first. if( typeof selectedImage !== "undefined" ){ editor.image.remove(selectedImage); } //Insert the new images into the editor if( typeof res.filesUploaded !== "undefined" ){ for (const file of res.filesUploaded) { //Restore the caret position editor.selection.restore(); //Insert the uploaded image in the editor editor.image.insert(file.url, false); } } } - Don’t forget to make the
onUploadDonemethod publicly accessiblereturn { _init: _init, onUploadDone: onUploadDone, } - In the HTML page:
- Include Froala stylesheet and script
- Include Filestack script
- Include the new Froala
filestackplugin script
<head> <meta charset="UTF-8"> <meta http-equiv="X-UA-Compatible" content="IE=edge"> <meta name="viewport" content="width=device-width, initial-scale=1.0"> <title>Froala-Filestack integration demo</title> <!-- Froala Editor Stylesheet--> <link href='https://cdn.jsdelivr.net/npm/froala-editor@latest/css/froala_editor.pkgd.min.css' rel='stylesheet' type='text/css' /> </head> <body> <!--Editor element--> <div id="editor"></div> <!-- Froala Editor JS--> <script type='text/javascript' src='https://cdn.jsdelivr.net/npm/froala-editor@latest/js/froala_editor.pkgd.min.js'></script> <!-- Filestack JS--> <script src="https://static.filestackapi.com/filestack-js/3.x.x/filestack.min.js" crossorigin="anonymous"></script> <!-- Froala filestack plugin JS--> <script type='text/javascript' src='froala-filestack-plugin.js'></script> </body> - Initialize Froala editor considering the following:
- Include Froala’s Filestack plugin in the
pluginsEnabledoption - Include the new
openFilePickerbutton in thetoolbarButtonsoption and theimageEditButtonsoption - Set
filestackAPIoption to your Filestack API. To get your Filestack API, create a free Filestack account. - (optional) Set
filestackOptionsoption based on your preferences
- Include Froala’s Filestack plugin in the
By doing this, you will be able to upload images through Filestack and insert them in the Froala editor. Moreover, you can use advanced Filestack features by changing filestackOptions in the code. For example, you can detect a related caption for the uploaded image using Filestack and then use Froala API to insert the detected caption below the image automatically.
By integrating Filestack with Froala, you will add a powerful uploading system to your editor. Make your editor even more robust with features ranging from advanced image processing to artificial intelligence-based processing. We assure you that with this integration, you can attend to every possible in-editor uploading need of your users.
Sign up now to integrate Filestack with your editor
Senior web developer with a profound knowledge of the Javascript and PHP ecosystem. Familiar with several JS tools, frameworks, and libraries. Experienced in developing interactive websites and applications.
Read More →