Table of Contents
hide
What You Need
- A Filestack account. You can sign up for free if you don’t have one.
- Somewhere to receive webhooks. In production that’s a route on your own server. For this guide we used a free Beeceptor endpoint so we could watch the requests arrive.
- A page with the File Picker on it. A blank HTML file served locally works fine.
How the Scan Works
Virus detection only runs inside a workflow. Other tasks can run straight from a CDN URL (resize is one). Virus detection can’t. Here’s the order things happen in. A file is uploaded and stored. Then the workflow starts and the scan reads the file’s contents. Since it reads the bytes, renaming a file or changing its extension doesn’t hide it. The scan runs after the upload has finished, so your users don’t wait for it. When it’s done, Filestack sends the result to your webhook. (You can also poll the workflow status endpoint for it.) The result has two fields: infected, which is true or false, and infections_list, which names anything it found. The full details are in the virus detection docs.Creating the Workflow
In the portal, open Workflows from the sidebar. At the top there are templates (Web-Ready Images, Blur Faces, Square Thumbnail). None of them scans for viruses, so click Create New.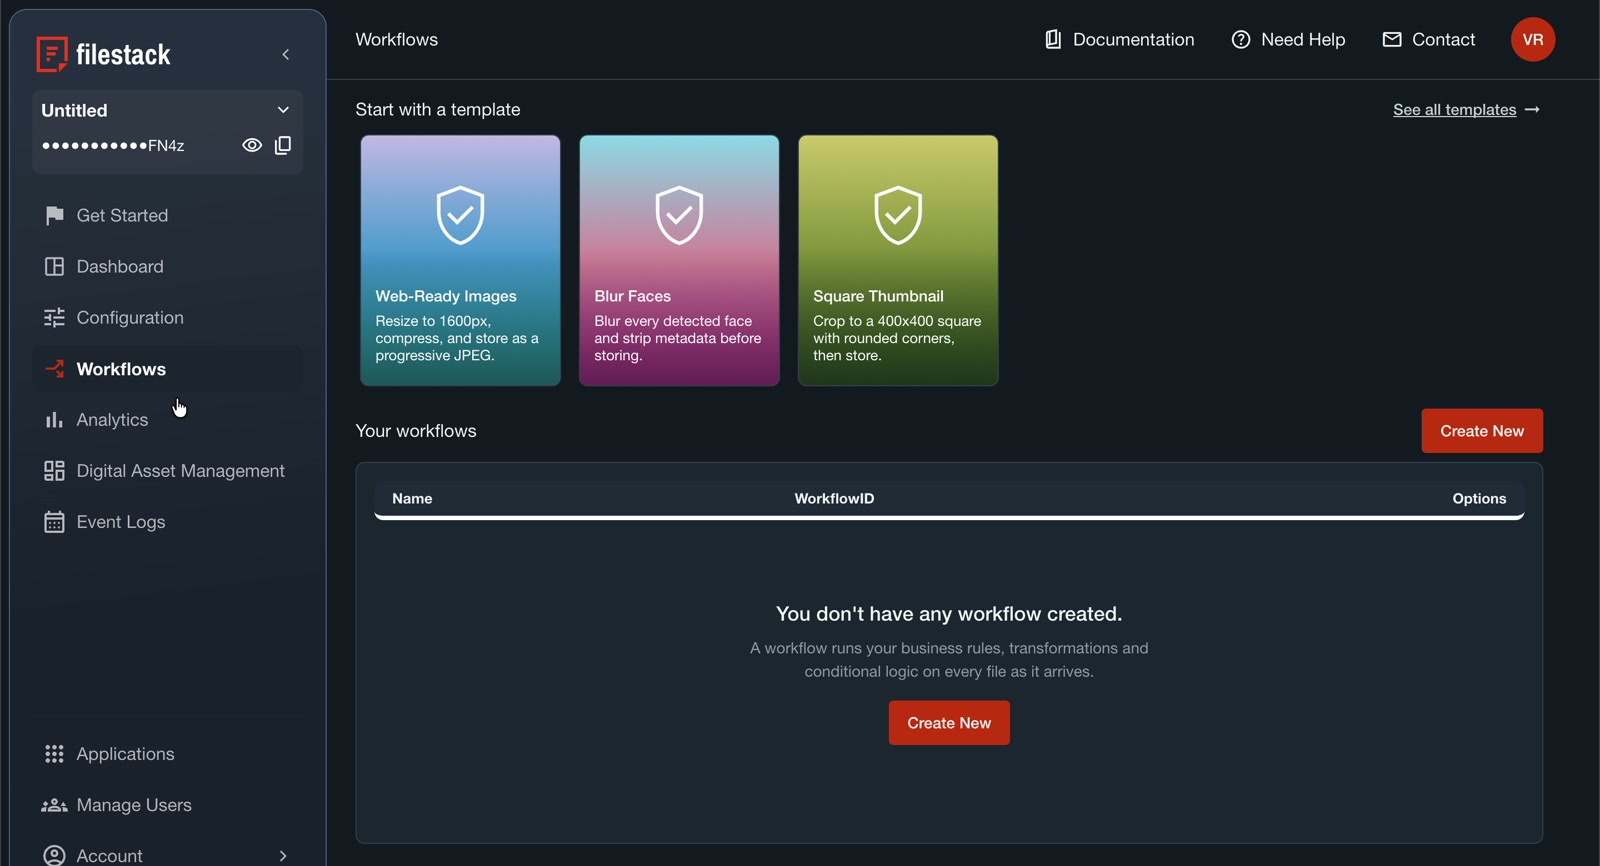 A new account has no workflows yet. The templates cover image processing only.
Give the workflow a name. We called ours VirusScan. The TTL defaults to 172800 seconds, which is 48 hours, and we left it there. You won’t get a Workflow Id until you save.
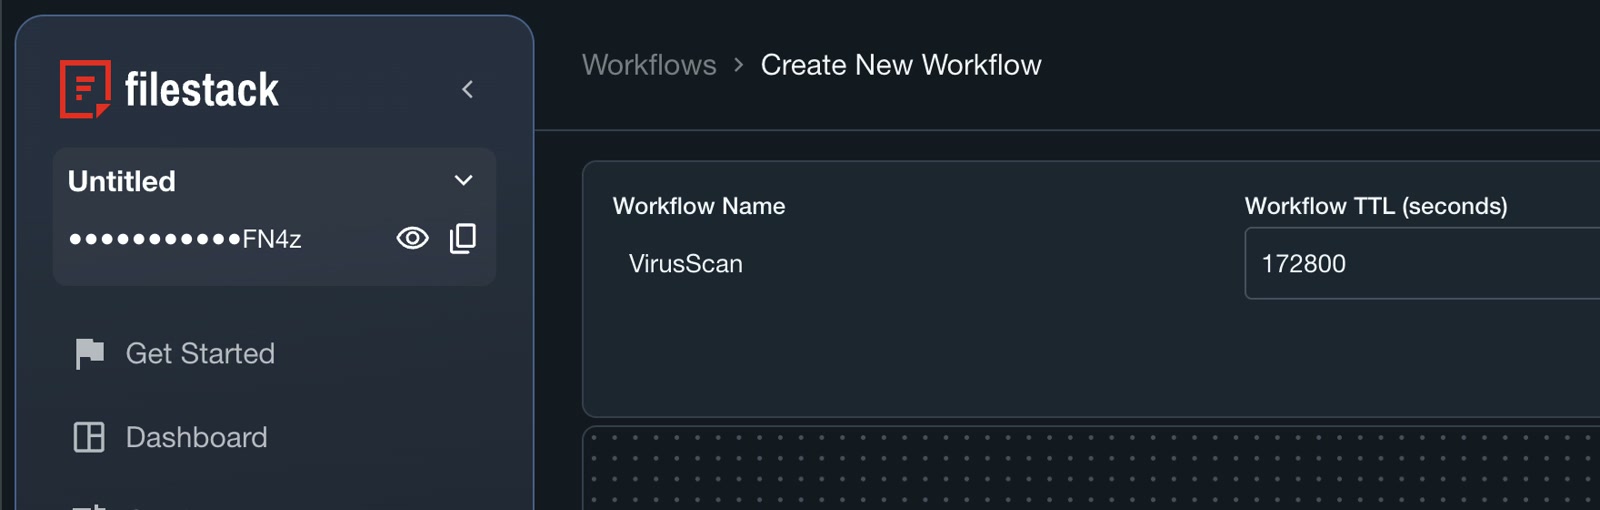 The Workflow Id field says “Assigned when you save”. Each workflow can hold up to 20 tasks.
Click Select the first task on the canvas. The task panel has four tabs: Transform (46 tasks), Intelligence (14), Advanced (3) and Recent. The Transform tab covers image processing. Virus detection is under Intelligence, next to OCR, doc_detection and phishing_detection.
Pick virus_detection and give the task a name. We used virus_detection_1.
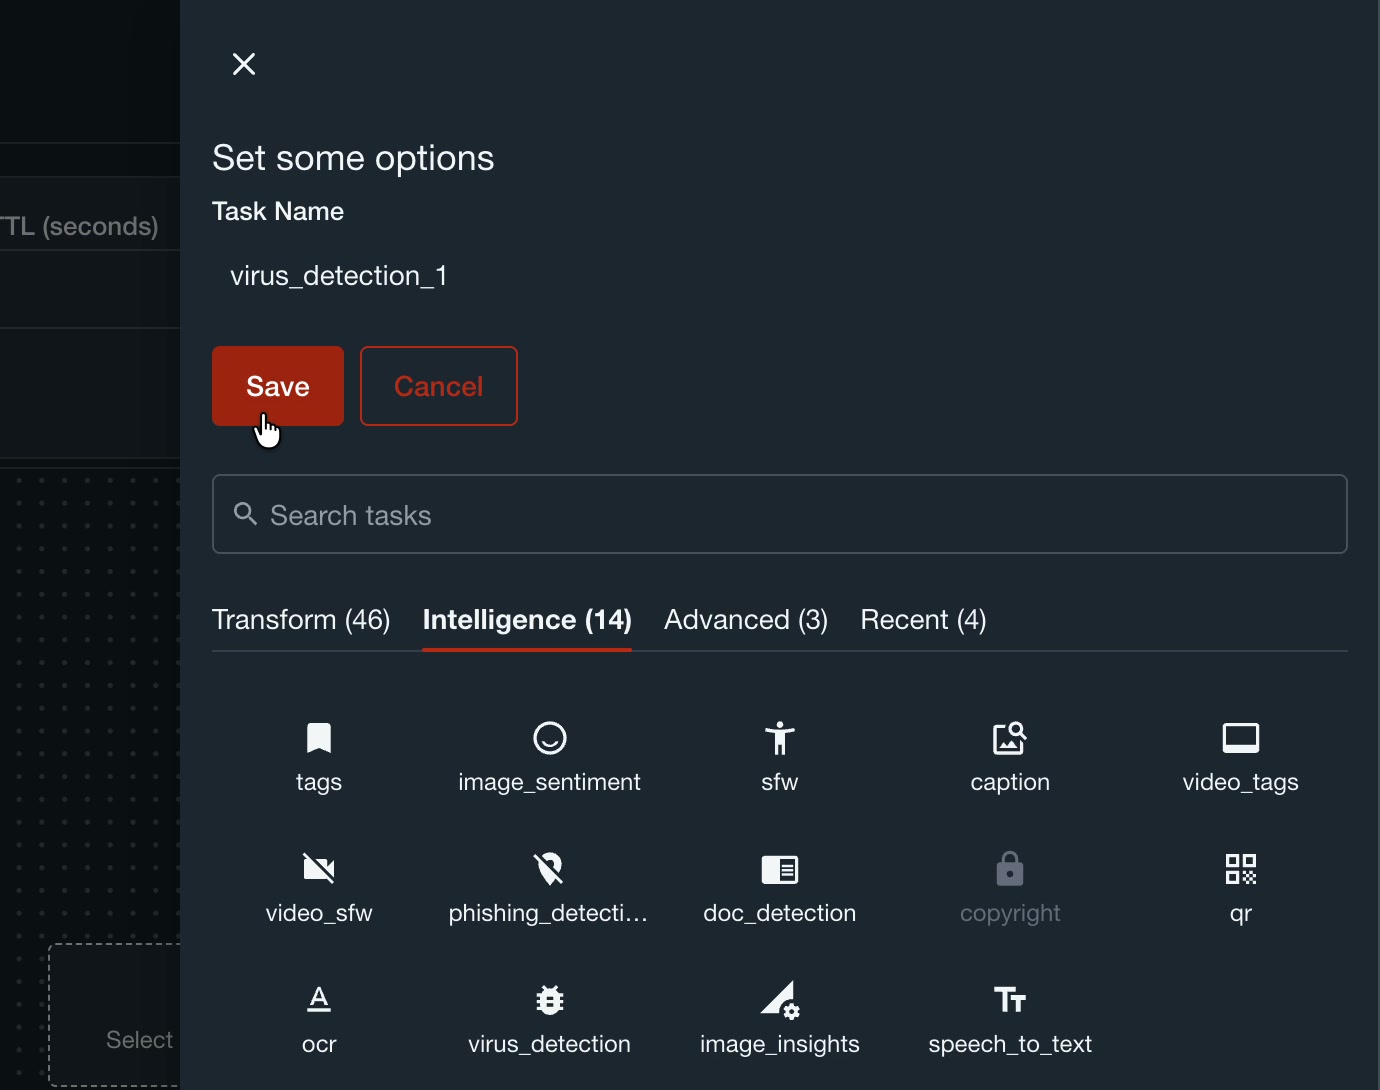 Your code reads the result under this task name, so pick a name you’ll remember.
That name is how you’ll find the verdict in the webhook payload later. If you rename the task, your code needs to change too.
Click Save. A “Workflow created” toast appears, the Workflow Id fills in, and the canvas shows the virus_detection node.
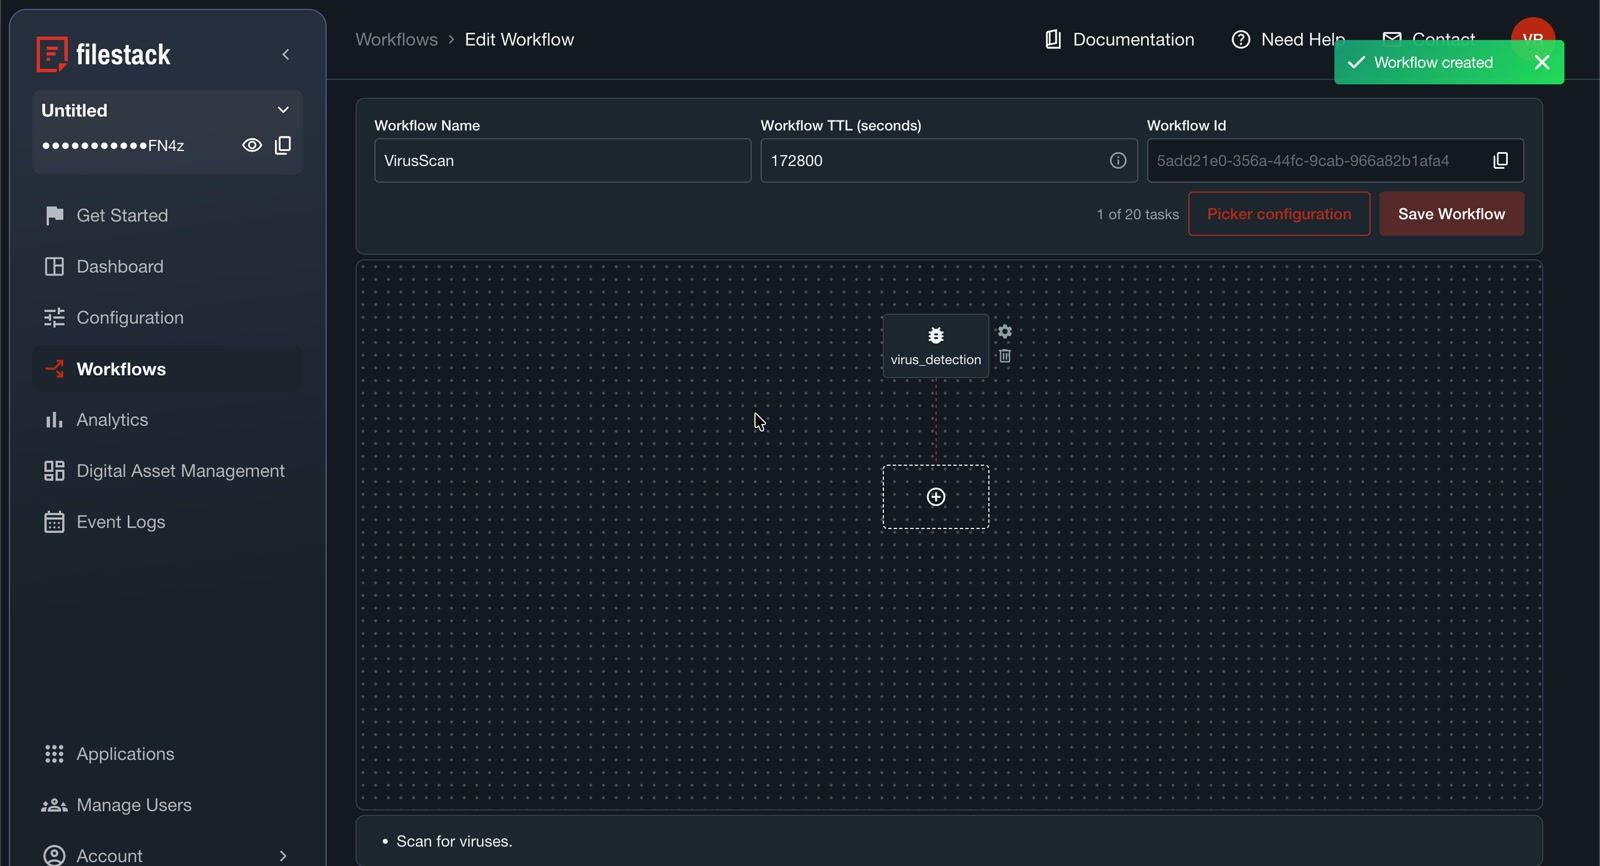 Saved. The Picker configuration button is now active, and you’ll need it soon.
Pointing the Webhook at Beeceptor
Before uploading anything, you need somewhere for the results to land. For this guide we opened Beeceptor, which gives you a free public URL and shows each request it receives.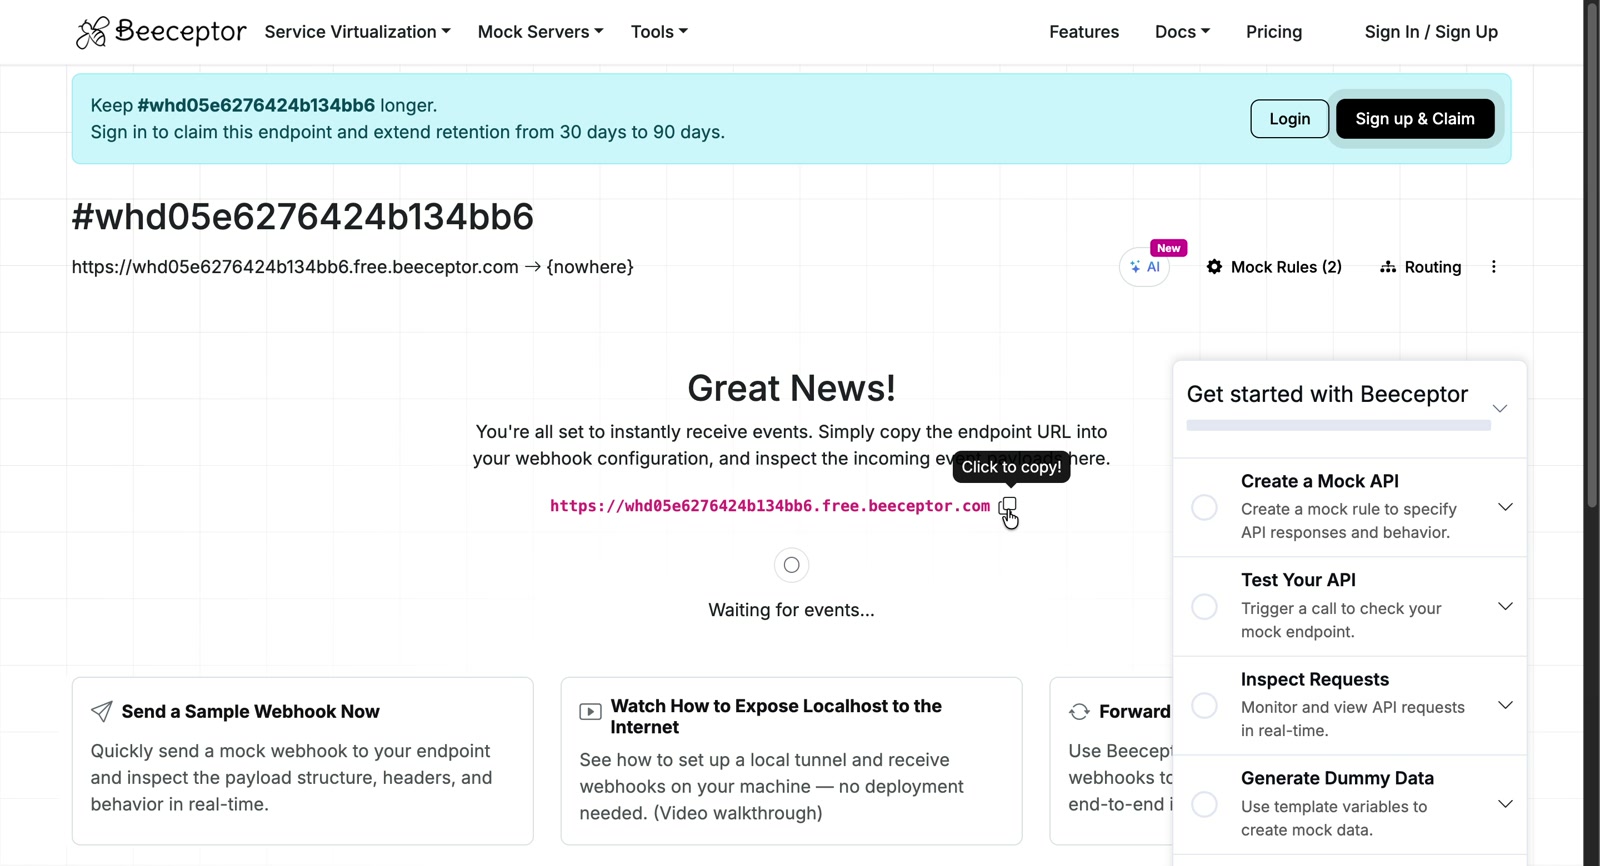 A free Beeceptor endpoint. It keeps requests for 30 days unless you sign in.
In the portal, go to Configuration, then Webhooks. Paste the URL and change the Event type to Workflow. It defaults to All. Workflow is the event that fires when a workflow finishes, and the scan result comes with it.
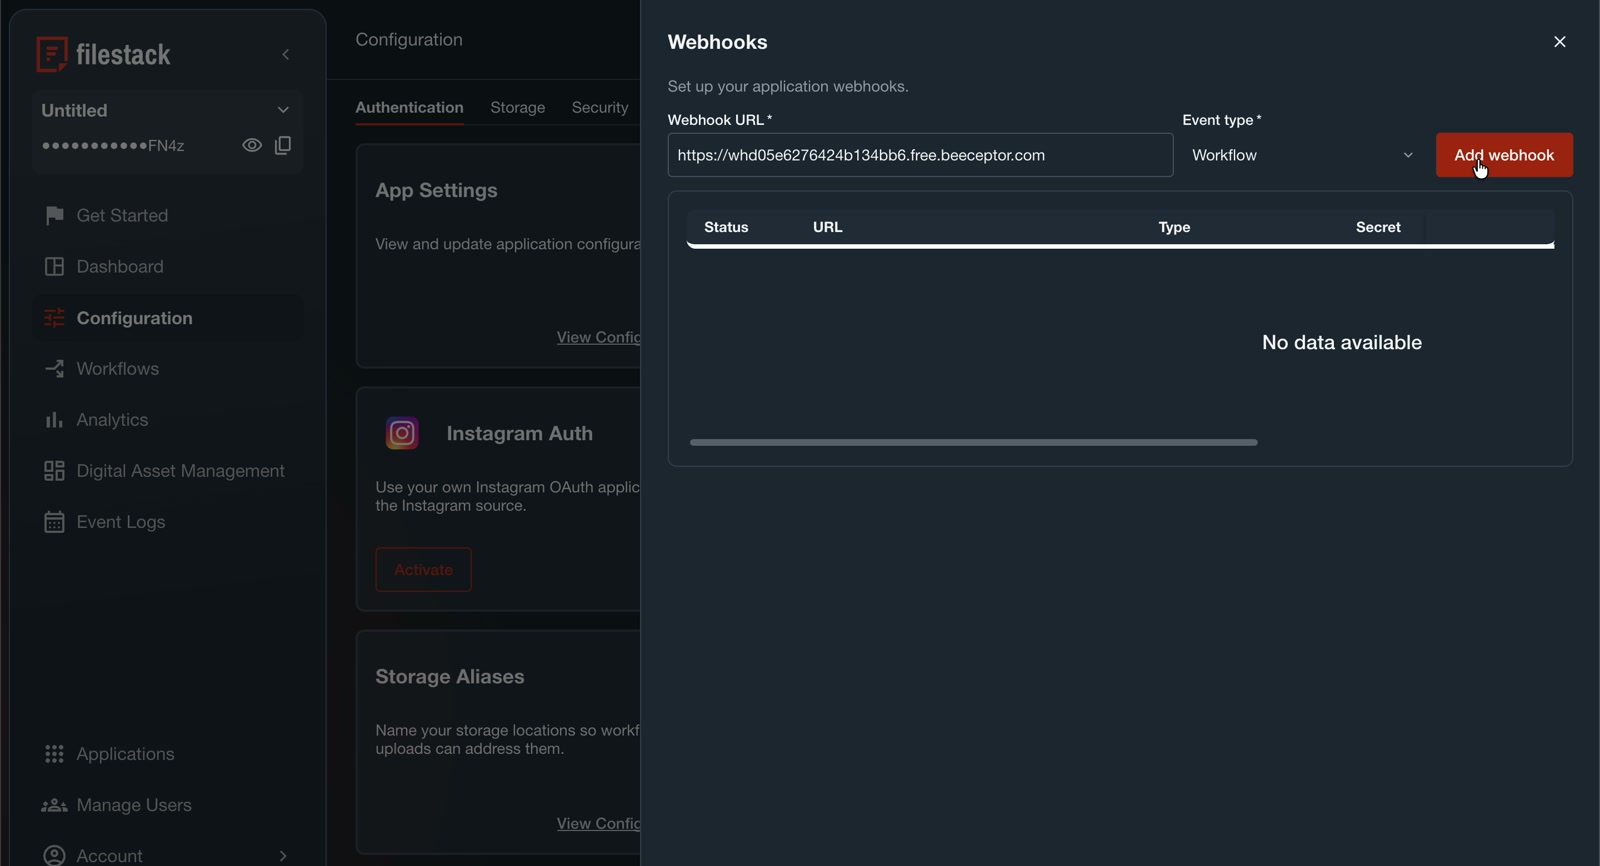 Set the event type to Workflow and click Add webhook.
Click Add webhook and it shows up as active. The table has a Secret column too. You’ll need that secret later to verify the requests are really from Filestack.
Adding the Workflow to the Picker
Go back to the workflow and click Picker configuration. You’ll get picker code with your API key and this workflow’s ID already in it.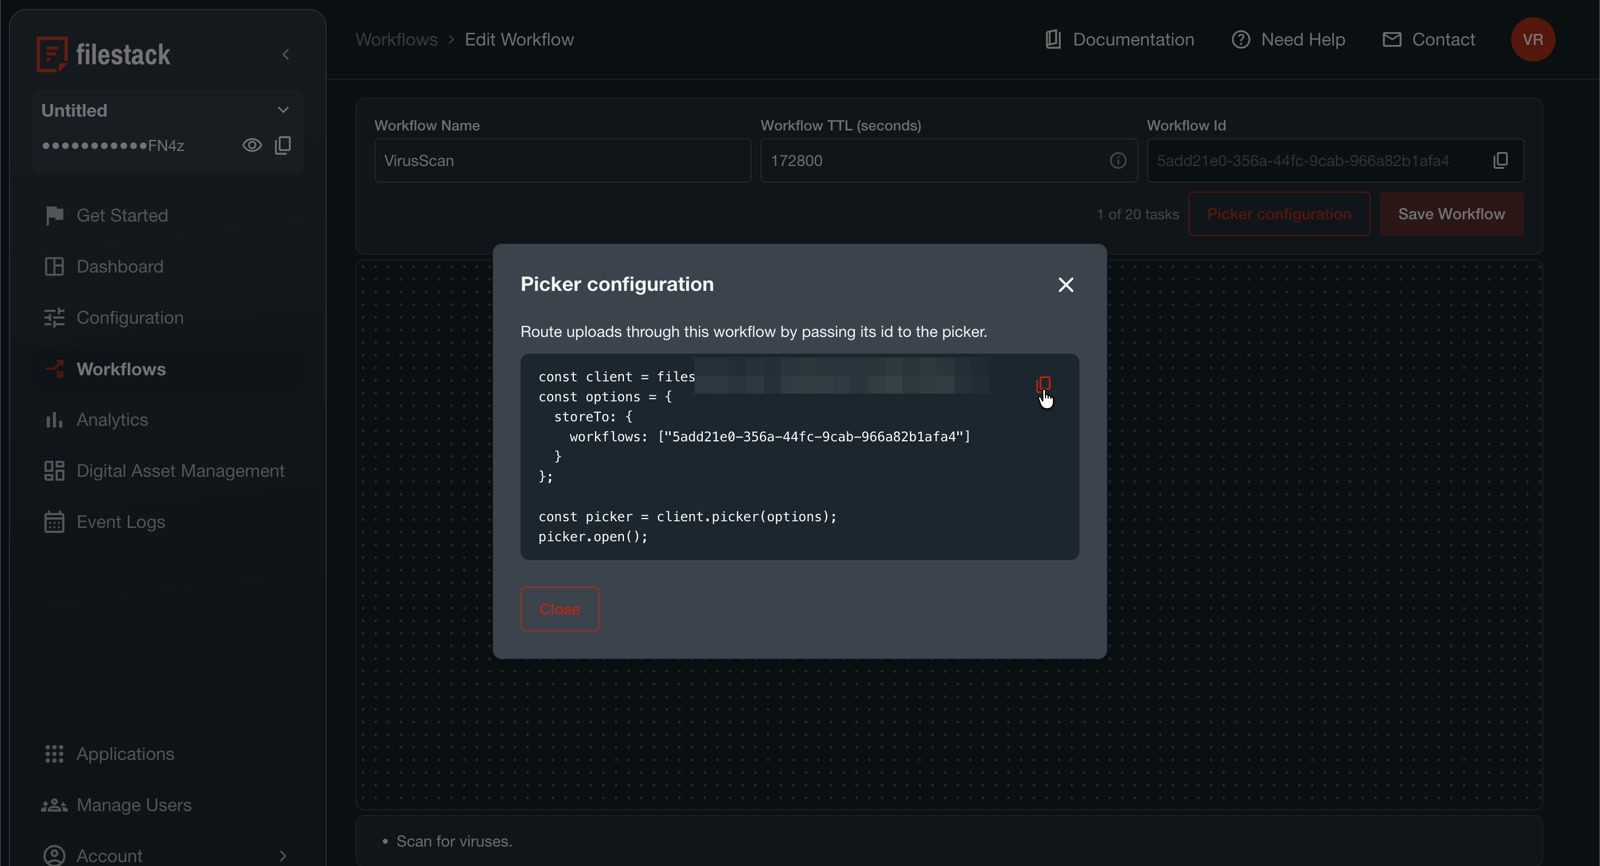 The portal fills in your key and the workflow ID. (We’ve blurred our key.)
Here’s the code with placeholders:
<script src=”https://static.filestackapi.com/filestack-js/4.x.x/filestack.min.js”></script>
<script>
const client = filestack.init(“YOUR_API_KEY”);
const options = {
storeTo: {
workflows: [“YOUR_WORKFLOW_ID”]
}
};
const picker = client.picker(options);
picker.open();
</script>
The workflows line inside storeTo is what turns on scanning. Without it, the picker uploads exactly as before. With it, every file uploaded through this picker is stored and then goes through the VirusScan workflow.
We pasted it into a blank index.html and served it with npx serve:
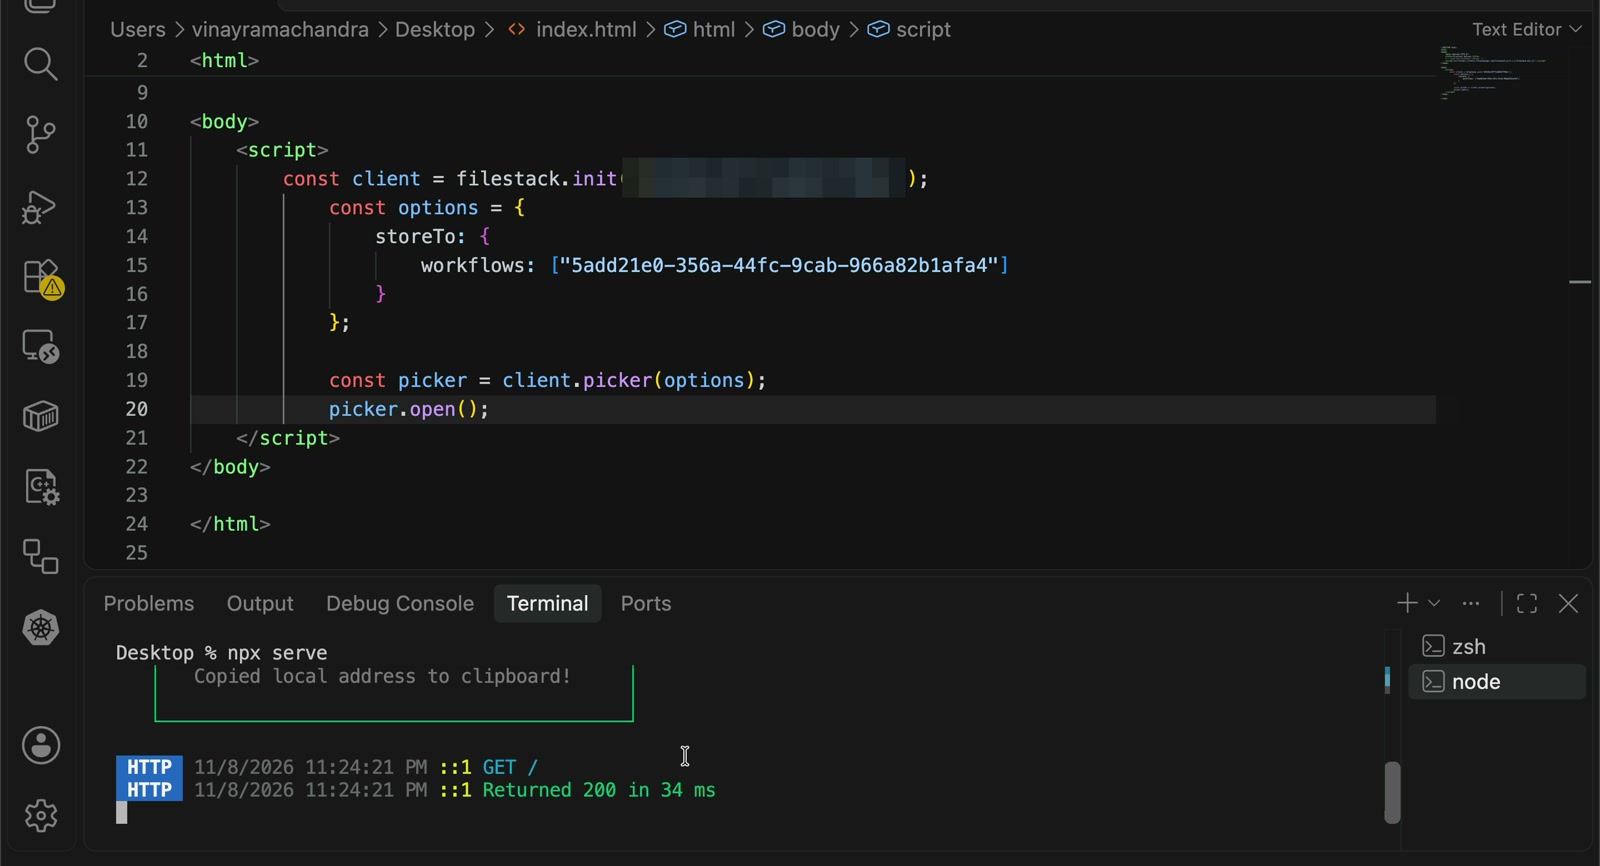 The whole test page fits on one screen.
Testing With a Clean Photo
First we uploaded something harmless, a 2 MB photo of a puppy called pup.jpg.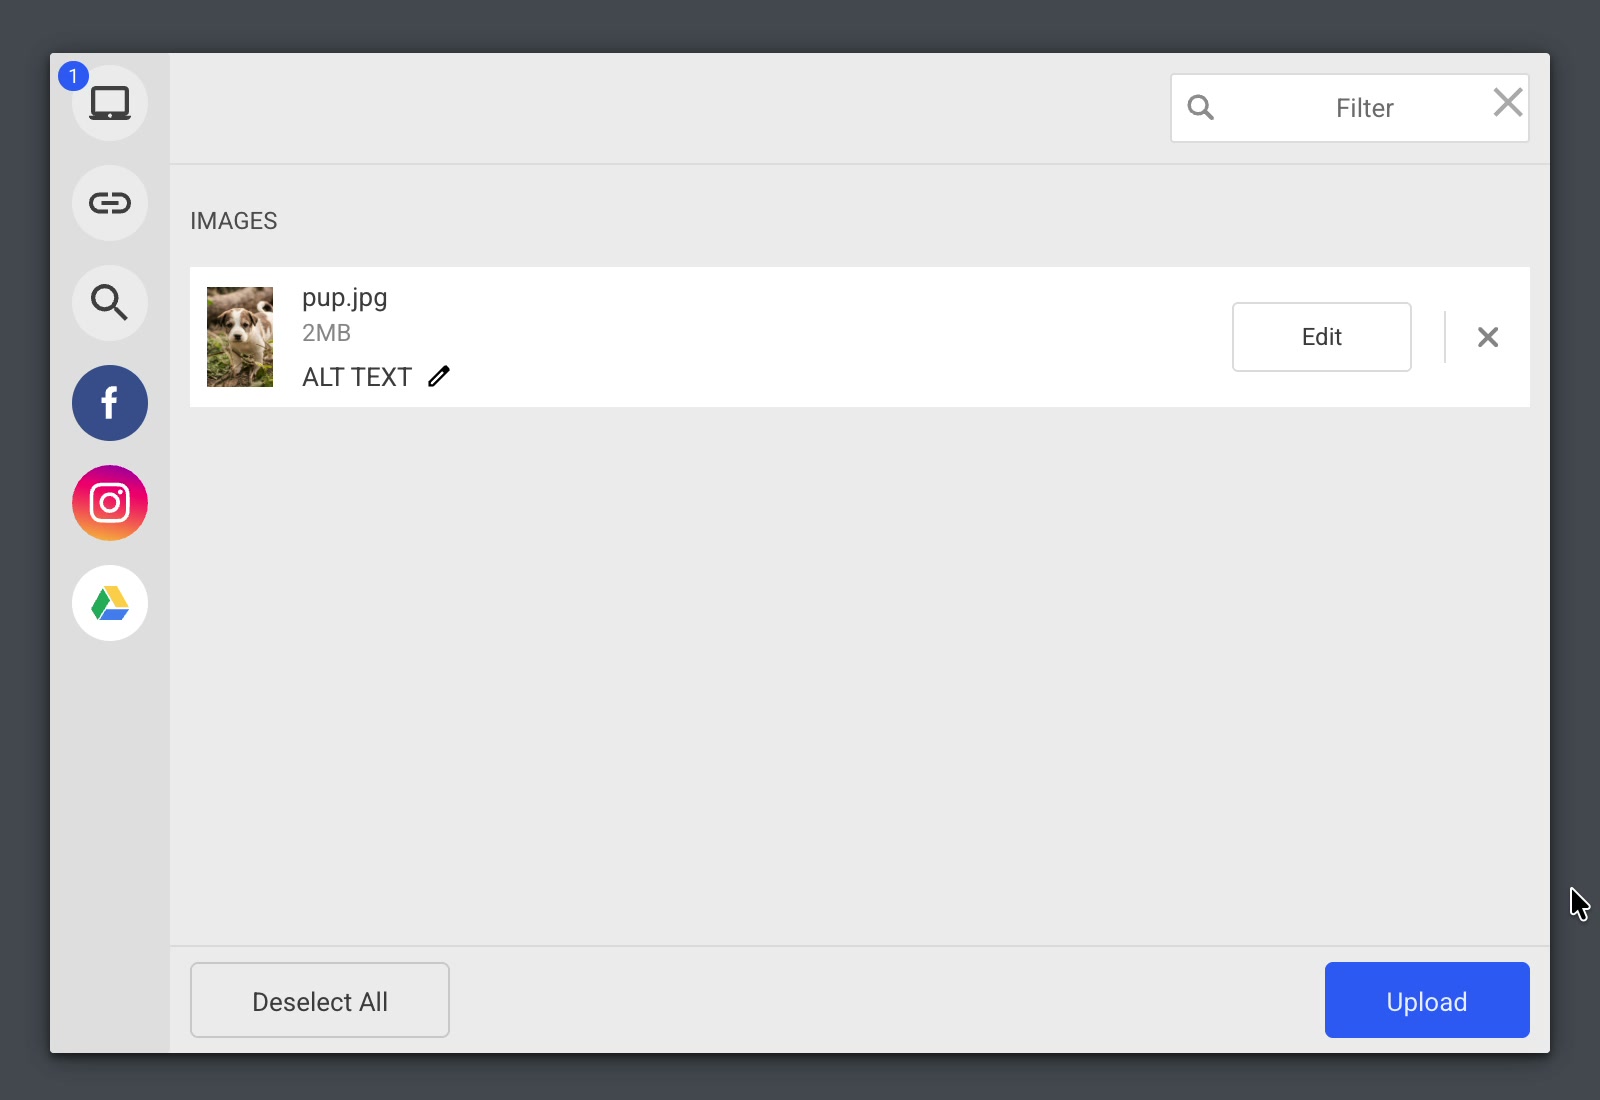 The picker as it appears for anyone uploading through your app.
A few seconds later, a POST arrived in Beeceptor. Its action is fs.workflow, which means the workflow has finished.
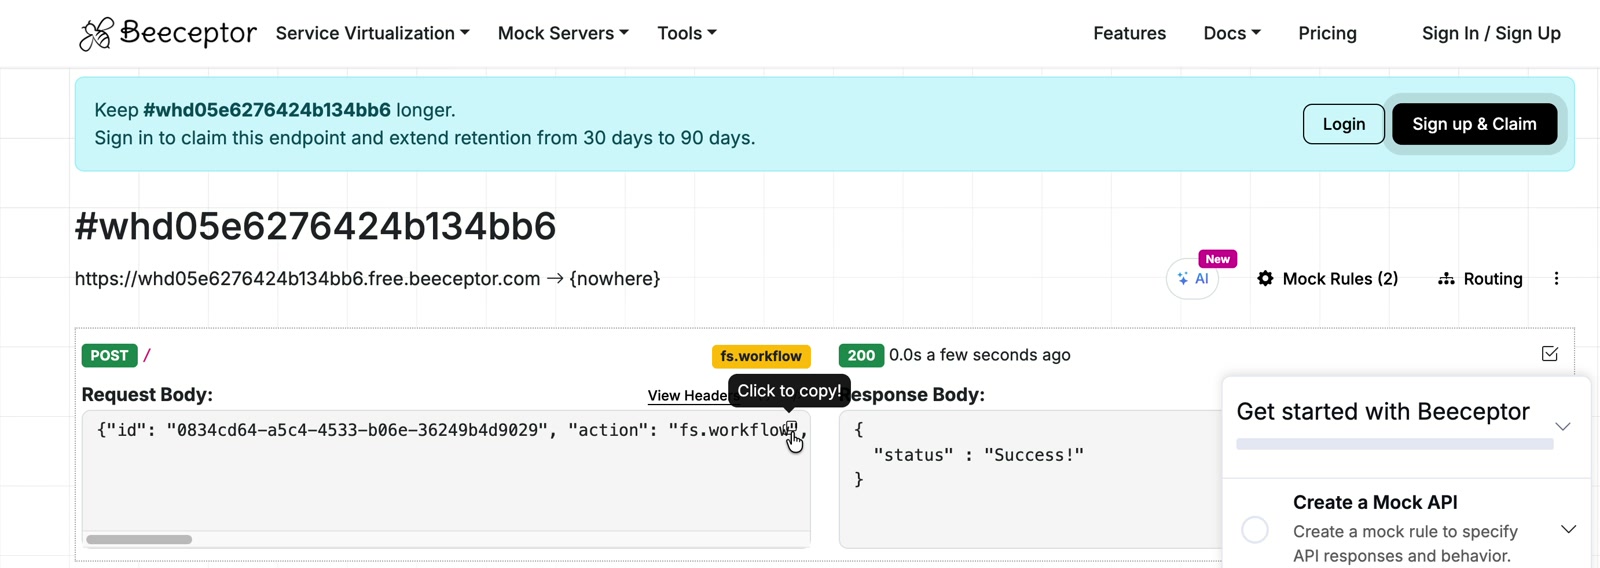 The first webhook. The fs.workflow tag means it came from the workflow.
We pasted the body into a JSON formatter to read it. The verdict is under results, then the task name from earlier:
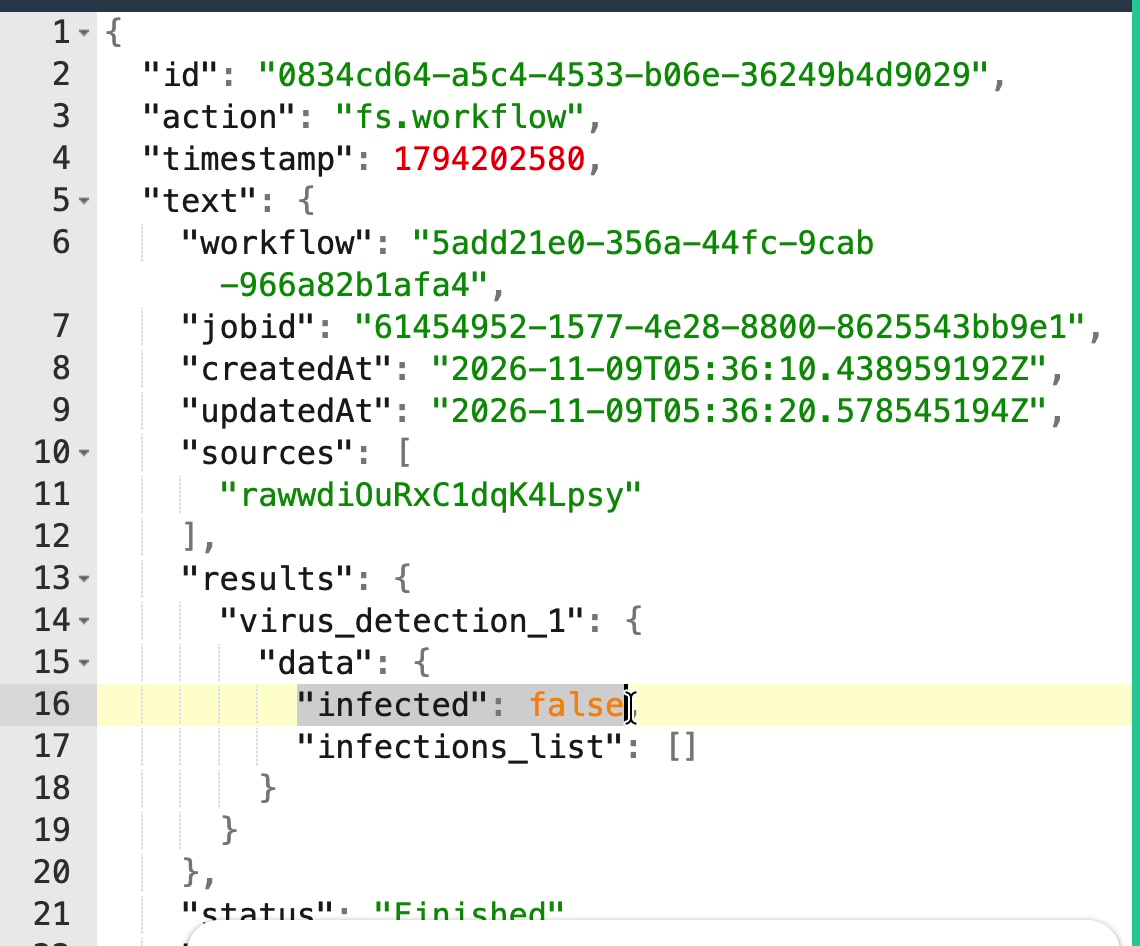 infected: false and an empty list, so the file is clean.
The createdAt and updatedAt timestamps in that payload were about 10 seconds apart. Your timings will vary with file size and load. Still, it’s a useful number for designing your UI: assume the verdict takes seconds, not milliseconds.
Testing With the EICAR File
You don’t want real malware on your laptop just to test a scanner, and you don’t need it. The EICAR test file exists for exactly this. It was created by EICAR (the European Institute for Computer Antivirus Research) together with CARO (the Computer Antivirus Research Organization). It’s a 68-byte text file containing a single line: X5O!P%@AP[4\PZX54(P^)7CC)7}$EICAR-STANDARD-ANTIVIRUS-TEST-FILE!$H+H* It doesn’t do anything. Antivirus engines flag it on purpose so you can check that scanning works.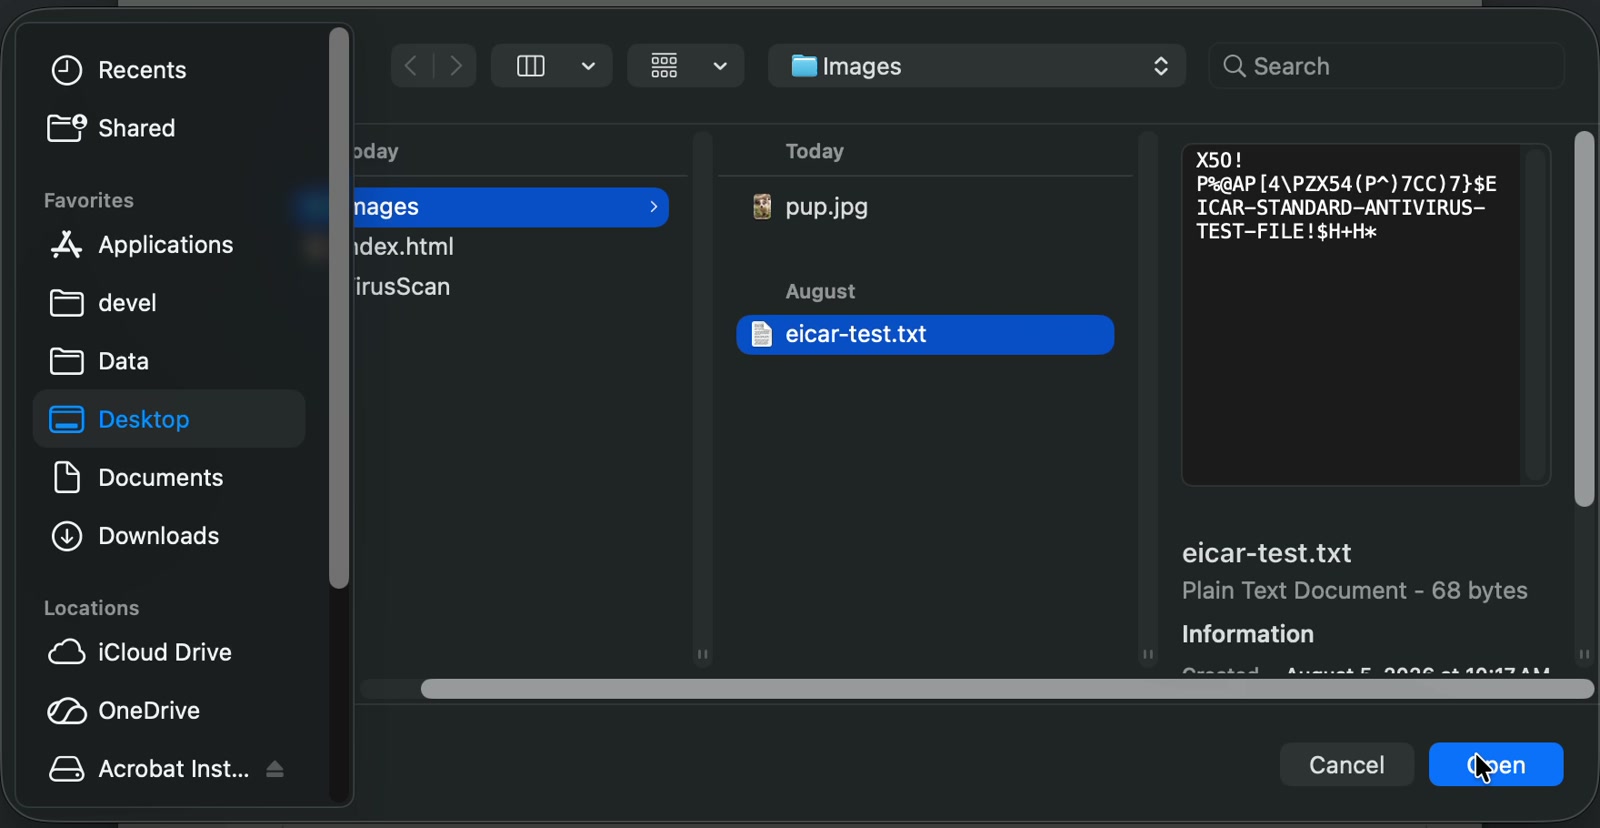 The preview shows the EICAR string, 68 bytes. That’s the whole “virus”.
We uploaded it through the same picker. A second webhook arrived in Beeceptor, and this time the result was different:
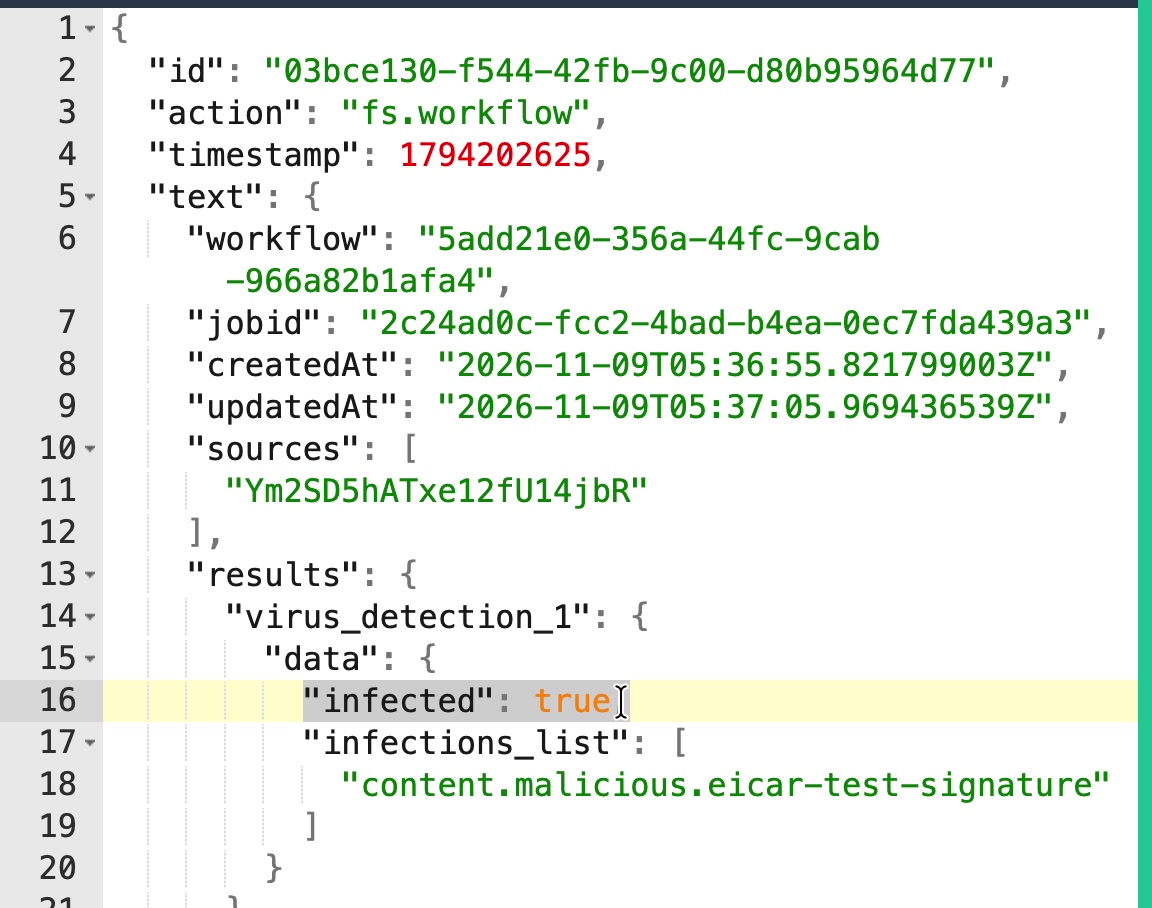 infected: true, and the list names the signature it matched.
Here’s the full payload, unchanged apart from the formatting:
{
“id”: “03bce130-f544-42fb-9c00-d80b95964d77”,
“action”: “fs.workflow”,
“timestamp”: 1794202625,
“text”: {
“workflow”: “5add21e0-356a-44fc-9cab-966a82b1afa4”,
“jobid”: “2c24ad0c-fcc2-4bad-b4ea-0ec7fda439a3”,
“createdAt”: “2026-11-09T05:36:55.821799003Z”,
“updatedAt”: “2026-11-09T05:37:05.969436539Z”,
“sources”: [“Ym2SD5hATxe12fU14jbR”],
“results”: {
“virus_detection_1”: {
“data”: {
“infected”: true,
“infections_list”: [“content.malicious.eicar-test-signature”]
}
}
},
“status”: “Finished”,
“ttl”: 172800
}
}
A few fields worth knowing about:
- text.sources holds the file handle. That’s how you tie a verdict to a file in your database.
- text.results.virus_detection_1.data holds the verdict. The key is the task name you picked, so if you rename the task, update your code.
- text.status is Finished once every task in the workflow has run.
Things to Sort Out Before Production
The scan doesn’t stop the upload. Look at sources in the infected payload: the EICAR file got a handle, so it’s sitting in storage. Virus detection tells you what’s in a file, and what happens next is up to you. One approach is to keep each upload in a “pending” state in your app until its webhook arrives, and only show or serve files with infected: false. Another is to add a second task to the same workflow that only runs when the scan comes back clean, so your app only ever serves the clean copy. You can also add steps for flagged files, like removing them or alerting someone on your team. Verify the webhook signature. Your webhook URL is public. Without a check, anyone who finds it can POST a payload saying a file is clean. Give the webhook a secret in the portal. Then, on your server, build the string [FS-Timestamp].[Content] from the FS-Timestamp request header and the raw request body, sign it with HMAC-SHA256 using that secret, and compare the result with the signature Filestack sent. The webhooks docs cover this, with Node.js and PHP examples. Do this before your code trusts a verdict. Decide what users see while the scan runs. The verdict took about 10 seconds in our tests. Plan for a state where the file is uploaded but not yet cleared, and for a scan that takes longer than usual. A slow scan shouldn’t count as a clean one.Key takeaways
- Virus detection only runs in a workflow. Unlike
resizeand other URL tasks,virus_detectioncan’t be called from a CDN URL. It runs after the file is stored and reads the actual bytes, so renaming a file or changing its extension won’t hide it. - The setup is three pieces. You need a workflow with one
virus_detectiontask, a webhook with the event type set to Workflow, and the workflow ID in the picker’sstoreTo.workflowsoption. - One picker line turns scanning on. Without
storeTo.workflows, the picker uploads exactly as before. With it, every upload through that picker goes through the scan. - The task name is part of your contract. The verdict arrives under
text.results.<task name>.data, so renaming the task in the portal means updating your code. - The verdict is small and easy to act on. It has
infected(true or false) andinfections_list, whiletext.sourcesgives you the handle to tie it back to a file. - Test with EICAR, not real malware. The 68-byte EICAR test file is flagged on purpose and comes back as
content.malicious.eicar-test-signature. - Scanning doesn’t block the upload. An infected file still gets a handle and sits in storage. Keep uploads pending until a clean verdict arrives, or chain a second task that only runs on clean files.
- Verify every webhook. Sign
[FS-Timestamp].[Content]with HMAC-SHA256 using your webhook secret and compare it with Filestack’s signature before trusting any verdict. - Design for seconds, not milliseconds. The verdict took about 10 seconds in testing, so plan a “still scanning” state, and never treat a slow scan as a clean one.
Further reading
| Topic | Link |
|---|---|
| Virus detection task, logic and payloads | Virus detection docs |
| Creating workflows and attaching them to uploads | Workflows docs |
| Webhook events and signature verification | Webhooks docs |
| Starting from an empty account | Get a free Filestack API key |
Wrapping Up
The whole setup was a workflow with one virus_detection task, a webhook with the Workflow event type, and the workflow ID in the picker’s storeTo options. Most of the remaining work is deciding what your app does when a file comes back flagged. Happy coding.
Favour is a Developer Relations engineer with 4+ years of experience helping developers adopt and succeed with technical products. Combining a strong software engineering background with a passion for community building, content creation, and developer education, he specializes in translating complex technologies into clear, engaging experiences for developer audiences.
Read More →