
As a web developer, you know file uploads are often required as a core feature of many web apps. They enable users to upload files, such as documents and image files. For example, cloud storage platforms have file uploaders, enabling users to upload pictures and documents to the cloud.
Job portals like Indeed also provide a file uploader to upload resumes and cover letters. Creating a high-performance, user-friendly file uploader can be quick and easy with JavaScript and HTML thanks to features like HTML’s <input type=”file”> element, JavaScript’s event handling, and APIs like FileReader and FormData.
In this HTML file upload example JavaScript tutorial, we’ll show you how to create a user-friendly uploader with HTML and JavaScript.
Key takeaways
- HTML <input type=”file”> element allows us to create file upload functionality that enables users to select and upload files.
- We can use the ‘multiple attribute’ to enable multiple file uploads.
- JavaScript’s event handling capabilities allow us to detect changes, such as when a user selects files.
- JavaScript also helps with client-side validations. We can validate file type and size for security purposes.
- With XMLHttpRequest, we can send files to the server asynchronously.
Understanding the basics
Here are the key terms you must understand before creating a file upload functionality:
- File upload: File upload means uploading files to a web server or cloud storage through a file uploader. This is commonly used for profile pictures, resumes, documents, and multimedia files in web apps.
- HTML: HTML or HyperText Markup Language is the standard language used to structure web pages. It essentially determines how web pages are displayed in a web browser. For file uploads, HTML provides elements like <input type=”file”>.
- JavaScript: JavaScript is the most used scripting language for creating interactive web pages. Almost all modern websites use JavaScript to enhance interactivity. With JavaScript’s event handling capabilities and APIs, we can efficiently handle events and validate files. JavaScript also allows us to display previews and send files to a server asynchronously.
HTML and JavaScript work together to create a high-performance, user-friendly file picker or uploader. HTML basically creates the upload interface. The <input type=”file”> element is used to allow users to select a file. The <form> element enables us to submit the file input to the server.
JavaScript handles events. It listens for file selection events. It also validates file types and sizes before uploading. We can also add image previews using JavaScript. Moreover, with JavaScript, we can implement AJAX-based uploads using FormData and fetch() or XMLHttpRequest. It enables users to upload files without reloading.
Setting up your HTML file upload form
First, we’ll create an HTML form that will allow users to select and upload files. Here are the key points:
- We’ll use the <input type=”file”> element. This element with a file type attribute is what will allow users to select and upload files.
- The input element simply allows users to select files from their devices and upload them. To send them to the server, we need to make an HTTP request. For this purpose, we’ll use the <form> tag to define the form. We’ll set the action attribute to the server endpoint that will handle the file upload and use the POST method.
- To specify that the form will be used to upload files, we’ll define the enctype=”multipart/form-data” attribute.
- We’ll add the ‘multiple attribute’ to the file input element to enable users to select multiple files simultaneously.
- We’ll also include a submit button (<input type=”submit”>). This button will allow users to submit files after selecting them.
Here is the complete code (index.html):
<form action="/upload" method="post" enctype="multipart/form-data">
    <input type="file" name="files" multiple>
    <input type="submit" value="Upload">
</form>
Incorporating JavaScript for file handling
Next, we’ll use JavaScript to enhance the file upload functionality. JavaScript event handling capabilities allow us to define functions (event handlers) that respond to specific user interactions or browser events. It also helps with client-side validations before the form is submitted.
In our file uploader, we’ll attach an event listener to the file input element. It will detect changes, such as when a user selects files. This listener will then retrieve the selected files and provide immediate feedback by displaying file previews or names.
Here is an example code to access files selected by users (JavaScript code):
<script>
    document.getElementById('fileInput').addEventListener('change', function(event) {
        const files = event.target.files;
        const preview = document.getElementById('preview');
        const message = document.getElementById('message');

        preview.innerHTML = '';
        message.textContent = '';

        if (files.length === 0) {
            message.textContent = 'No files selected.';
            message.className = 'message error';
            return;
        }

        for (const file of files) {
            const fileItem = document.createElement('p');
            fileItem.textContent = file.name;
            preview.appendChild(fileItem);
        }
    });
</script>
Validating file input with JavaScript
JavaScript also helps with client-side validations. These validations allow us to ensure that the selected files meet certain criteria before they are uploaded. This enhances security and user experience.
For file type validation, we can check the MIME type of each selected file and see if it matches the allowed types, such as images or PDFs. To validate file size, we can set a maximum file size limit and verify that each selected file does not exceed this limit.
Here is an example code for these validations:
const allowedTypes = ['image/jpeg', 'image/png', 'application/pdf'];
 const maxSize = 5 * 1024 * 1024; // 5 MB
Here is the complete code:
const maxSize = 5 * 1024 * 1024; // 5MB
const allowedTypes = ['image/jpeg', 'image/png', 'image/gif', 'application/pdf'];

const message = document.getElementById('message'); // already added in the previous section
message.textContent = '';
message.className = '';

Array.from(files).forEach(file => {
    if (file.size > maxSize) {
        message.textContent = `File size of ${file.name} exceeds 5MB.`;
        message.className = 'message error';
        return;
    }

    if (!allowedTypes.includes(file.type)) {
        message.textContent = `Invalid file type for ${file.name}.`;
        message.className = 'message error';
        return;
    }

    // File is valid — continue with preview or upload
});
The above code checks the file type and size of each selected file. It’ll display error messages if any file doesn’t meet the specified criteria.
Enhancing User Experience
We can enhance the user experience by providing feedback during the upload process. For example, we can implement progress bars or indicators. They show real-time upload status and assure users that their upload is in progress. Displaying clear messages based on upload results also helps improve the user experience.
Here is an example code to show real-time upload status with progress bars and display success/error messages:
<input type="file" id="fileInput">
<progress id="progressBar" value="0" max="100"></progress>
<p id="message"></p>

<script>
    document.getElementById('fileInput').addEventListener('change', function(event) {
        const file = event.target.files[0];
        if (!file) return;

        const formData = new FormData();
        formData.append('file', file);

        const xhr = new XMLHttpRequest();
        xhr.open('POST', '/upload', true);

        xhr.upload.onprogress = function(event) {
            if (event.lengthComputable) {
                const percent = (event.loaded / event.total) * 100;
                document.getElementById('progressBar').value = percent;
            }
        };

        xhr.onload = function() {
            const message = document.getElementById('message');
            if (xhr.status === 200) {
                message.textContent = 'Upload successful!';
            } else {
                message.textContent = 'Upload failed.';
            }
        };

        xhr.send(formData);
    });
</script>
You can also add drag and drop functionality to enhance the user experience.
Using XMLHttpRequest to Send Files
The XMLHttpRequest object allows us to send files to the server asynchronously. This provides a better user experience as it eliminates the need for full-page reloads.
To set up XMLHttpRequest for file uploads, we’ll first create a FormData object and append files. Next, we’ll specify the HTTP method and the server endpoint. We’ll also track upload progress to provide real-time feedback and define a callback function to handle the server’s response after the upload is complete
Here is an example code:
const formData = new FormData();
Array.from(files).forEach(file => {
    formData.append('files', file);
});

const xhr = new XMLHttpRequest();
xhr.open('POST', '/upload', true);

xhr.upload.onprogress = function(event) {
    if (event.lengthComputable) {
        const percentComplete = (event.loaded / event.total) * 100;
        message.textContent = `Upload progress: ${percentComplete.toFixed(2)}%`;
    }
};

xhr.onload = function() {
    if (xhr.status === 200) {
        message.textContent = 'Files uploaded successfully!';
        message.className = 'message success';
    } else {
        message.textContent = 'Upload failed.';
        message.className = 'message error';
    }
};

xhr.send(formData);
In the above code, the ‘xhr.upload.onprogress’ event allows tracking upload progress. When the upload is complete, ‘xhr.onload’ is triggered. ‘xhr.send(formData)’ sends the formData containing the selected files to the server.
You can get the complete code from this GitHub repository.
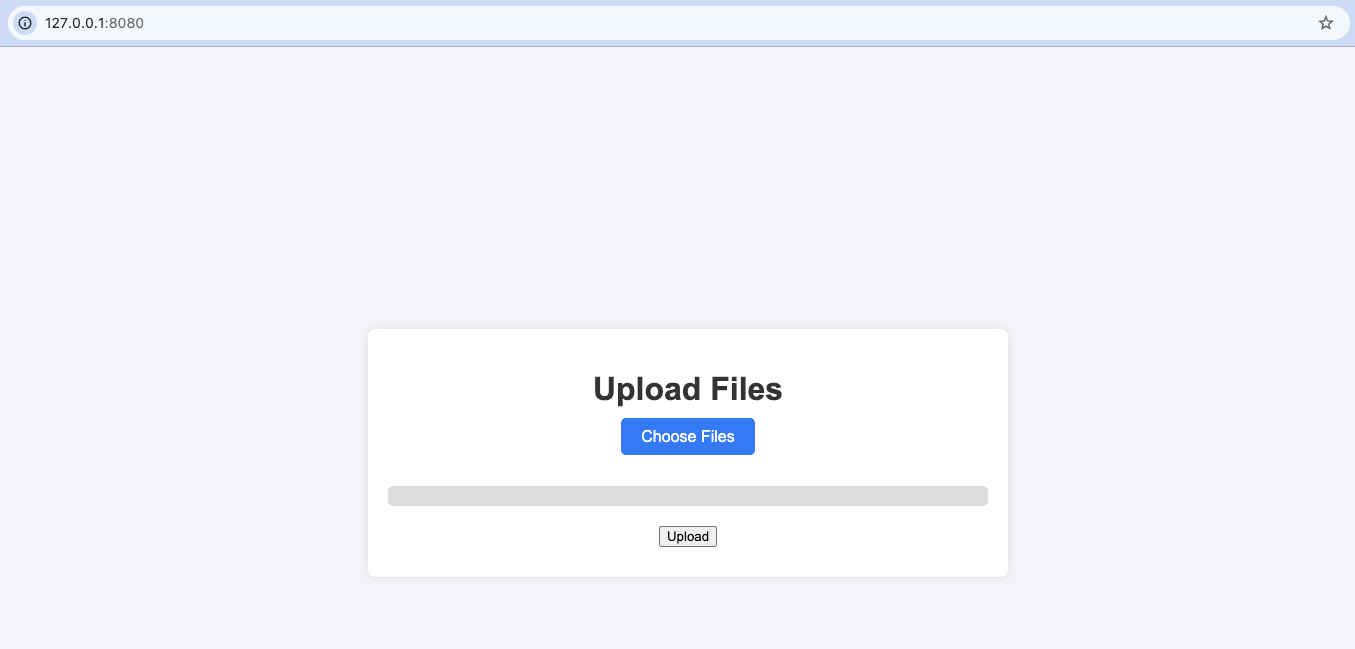
The above code will display the following screen:
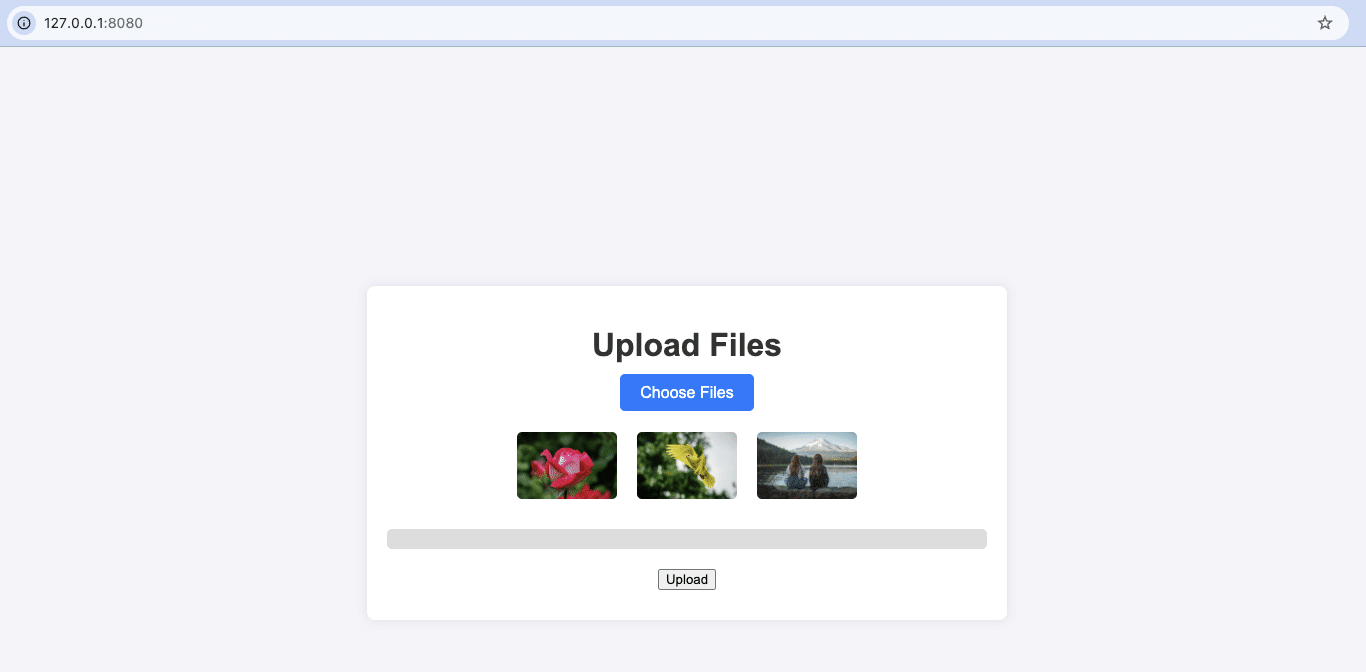
When you click the ‘Choose File’ button, it’ll allow you to select files from your local device:
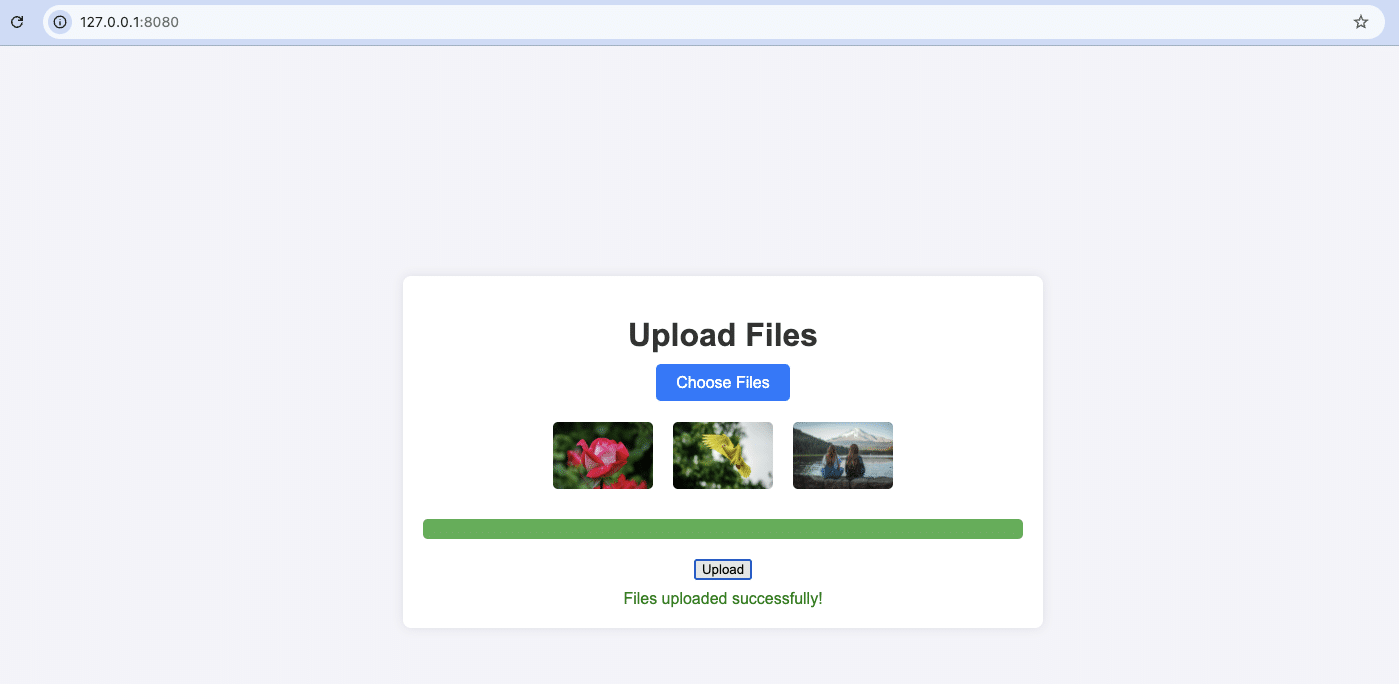
When you click the ‘upload’ button, it’ll display the message “File uploaded successfully”
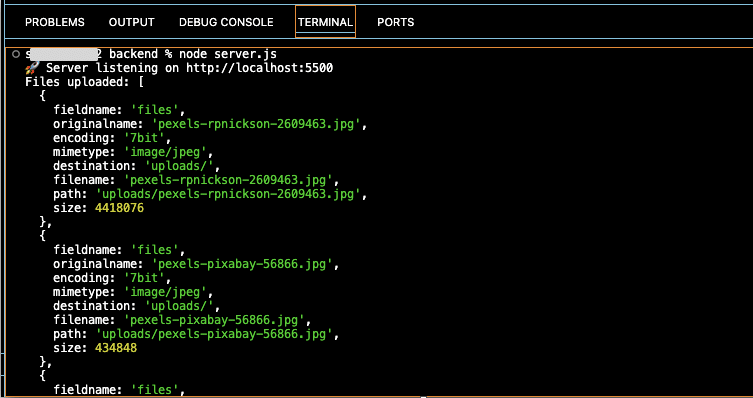
The terminal displays detailed metadata for each uploaded file, confirming successful uploads via the Express backend running on http://localhost:5500.
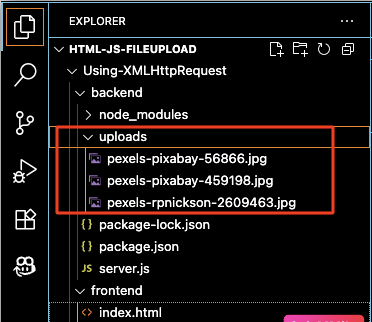
Uploaded image files are successfully saved to the uploads directory within the backend folder structure, as shown in the VS Code Explorer.
Using the Fetch API for file uploads
While XMLHttpRequest works well for asynchronous file uploads, the modern Fetch API offers a cleaner, promise-based approach. It’s widely supported and easier to read, especially when working with async/await.
How it works
- Create a FormData object
- Append selected files
- Use fetch() to POST the data
- Handle the response with promises or async/await
Example Code
const uploadFilesWithFetch = async (files) => {
  const message = document.getElementById('message');
  const progressBar = document.getElementById('progressBar');

  const formData = new FormData();
  Array.from(files).forEach(file => {
    formData.append('files', file);
  });

  try {
    const response = await fetch('http://localhost:5500/upload', {
      method: 'POST',
      body: formData,
    });

    if (response.ok) {
      message.textContent = 'Files uploaded successfully!';
      message.className = 'message success';
      progressBar.style.width = '100%';
    } else {
      message.textContent = 'Upload failed.';
      message.className = 'message error';
    }
  } catch (error) {
    message.textContent = 'An error occurred while uploading.';
    message.className = 'message error';
  }
};
How to use it
You can call uploadFilesWithFetch(files) inside your form’s submit event like this:
document.getElementById('uploadForm').addEventListener('submit', function(event) {
  event.preventDefault();
  const files = document.getElementById('fileInput').files;
  if (files.length > 0) {
    uploadFilesWithFetch(files);
  }
});
Security Considerations
Implementing security features is crucial when creating file upload functionality to protect user-uploaded files and data. If your upload functionality is not secure, cyber attackers can upload executable files, such as .php, .exe.
They can exploit the server in several dangerous ways through these files. Moreover, if a user downloads a .exe file, it could infect their device with malware, ransomware, or spyware.
For secure file uploads, restrict file extensions. In other words, allow only specific file formats, such as web-compatible image formats (.jpg, .png). Also, check file types, sizes, and content.
Moreover, using HTTPS to encrypt data transfer will prevent interception. Using secure storage locations is also crucial to protect uploaded files from data breaches.
Common Issues and Troubleshooting
Here are common problems developers might face while implementing HTML file uploads with JavaScript:
- Upload functionality is not working
- Slow upload speeds
- User-uploaded files are too large
- CORS errors
Check the server response logs to identify the issues with the upload functionality and fix them accordingly. For slow upload speeds, compress the files before uploading them.
To handle large files efficiently, use chunked uploads. Also, implement retry mechanisms for network failures and ensure the backend handles multipart form data correctly.
Refer to the browser compatibility information for the features discussed in this article in this GitHub repository README file.
Want a faster, more reliable file upload experience?
While building file uploaders with HTML and JavaScript gives you full control, it can be time-consuming to manage scaling, security, and performance. That’s where Filestack comes in.
Filestack is a powerful file upload API that lets you:
- Easily add file uploads, drag & drop, and progress tracking
- Handle large file uploads with built-in chunking and CDN delivery
- Integrate secure virus scanning and intelligent image transformations
- Support mobile optimization and cloud storage integrations
If you’re looking to implement file uploads at scale with minimal code, Filestack is a developer-friendly solution that takes care of the heavy lifting—so you can focus on building your app.
Conclusion
HTML and JavaScript together allow us to create user-friendly file upload functionality. By using HTML’s <input type=”file”> element and JavaScript’s event handling and APIs like FormData, we can create a file uploader with features like file preview, validation, and asynchronous uploads. In this guide, we’ve provided a step-by-step tutorial for creating file upload functionality with HTML and JavaScript.
FAQs
How do I upload files using only HTML and JavaScript?
You can use the <input type=”file”> element in HTML and JavaScript’s XMLHttpRequest or Fetch API to send files to a server. This allows you to handle uploads without relying on external libraries.
What’s the difference between XMLHttpRequest and Fetch API for file uploads?
XMLHttpRequest is an older but widely supported method that includes built-in progress tracking. Fetch API is modern and promise-based, but doesn’t support upload progress events yet in all browsers.
How can I improve the user experience of my file upload form?
Add features like drag-and-drop, real-time progress bars, upload success/error messages, and file size/type validation to make uploads smoother and more user-friendly.

Shamal is a seasoned Software Consultant, Digital Marketing & SEO Strategist, and educator with extensive hands-on experience in the latest web technologies and development. He is also an accomplished blog orchestrator, author, and editor. Shamal holds an MBA from London Metropolitan University, a Graduate Diploma in IT from the British Computer Society, and a professional certification from the Australian Computer Society.
Read More →