


In e-commerce, every second counts. Studies show that 53% of mobile users abandon a site if it takes longer than three seconds to load. Slow images can cost you sales, while fast-loading visuals keep shoppers engaged and drive conversions.
That’s where a fast image hosting API comes in. By leveraging Content Delivery Networks (CDNs), smart compression, and AI-powered optimization, these APIs deliver images quickly, securely, and at scale. The result: better SEO, improved user experience, and higher sales.
Key takeaways
- Fast image hosting APIs improve site speed, reduce bounce rates, and increase conversions.
- Image CDN APIs deliver visuals globally with low latency for consistent performance.
- AI-powered image processing optimizes formats, compression, and responsiveness.
- Secure image hosting APIs protect data and maintain compliance at scale.
- Cloud-based hosting reduces infrastructure costs and supports e-commerce growth.
Why speed matters in e-commerce image hosting
Speed is everything in e-commerce. Shoppers expect product visuals to load instantly, and even short delays can lead to frustration or cart abandonment. Fast-loading images:
- Keep customers engaged longer
- Build trust in your brand
- Reduce bounce rates
- Increase conversion rates
Simply put, the faster your images load, the more likely you are to keep — and convert — visitors.
How a fast image hosting API optimizes performance
A reliable image hosting API does more than just store files — it actively improves site performance with built-in optimizations:
- Content Delivery Networks (CDNs): CDNs deliver images from servers nearest to users, reducing latency and ensuring global consistency.
- Compression Algorithms: Use lossless and lossy techniques to shrink image sizes while preserving quality.
- Lazy Loading: Load images only when they enter the user’s viewport, cutting initial load times.
- Responsive Resizing: Serve images tailored for each device and screen size automatically.
- Next-Gen Formats: Support formats like WebP and AVIF that deliver higher quality at smaller sizes.
Together, these features ensure smooth, fast, and secure image delivery — even during peak traffic.
Enhancing user experience with a fast image hosting API
A smooth shopping journey depends on visuals that appear instantly. For e-commerce stores:
- Product images must load immediately to show fabric textures, colors, or product details.
- Lifestyle visuals should display seamlessly to highlight products in real-world settings.
A fast image hosting API guarantees this experience. By delivering optimized visuals at speed, it:
- Boosts overall site performance
- Reduces bounce rates
- Keeps customers engaged longer
- Increases satisfaction and conversions
Also read: A Comprehensive Guide to Enhancing E-Commerce Experiences with Image Hosting APIs
Real-world example:
Zoey, a leading e-commerce platform, integrated a fast image hosting API and saw immediate results. Their customers experienced up to 10x faster image delivery, which significantly improved store performance and user experience. Faster load times helped Zoey merchants reduce bounce rates and keep shoppers engaged throughout the buying journey.
Read more about the Zoey case study.
Improving SEO with faster image loading
Your SEO performance depends on image loading time. Google considers page speed in its ranking. If images load slowly, Google ranks your site lower. As a result, you get fewer visitors and less organic traffic.
Fast-loading images improve user experience. Users stay longer when images load quickly. This change boosts engagement and enhances SEO.
To improve speed and SEO, start by compressing images. Compression reduces load time while keeping quality intact. Use responsive images for both mobile and desktop. This adjustment enhances load time and accessibility.
Switch to newer formats like WebP. These formats have smaller file sizes but maintain high quality. Add relevant alt text so search engines understand your content. This improves accessibility and search visibility.
Prioritizing image loading speed boosts search rankings. It also enhances user experience.
Scalability and reliability of fast image hosting APIs
Scalability is crucial for e-commerce success in sharing images. Websites must handle traffic growth. High demand should not affect performance. Downtime leads to frustrated customers and lost sales.
Fast image hosting APIs prevent these issues. They ensure smooth operations even during peak traffic.
Filestack simplifies scalability. It uses a CDN to serve images from the nearest servers. This automatically reduces load times.
Technology now enables automatic failover. If one server fails, another takes its place. This ensures maximum uptime and smooth performance.
Filestack guarantees secure and scalable image hosting. Businesses can handle traffic spikes without sacrificing speed. Fast and reliable image delivery improves customer experience.
Also read: Guide to Secure and Fast Image Uploads with Filestack
Cost efficiency of using a fast image hosting API
Managing image hosting in-house is costly. Businesses must invest in storage, servers, high-speed bandwidth, and ongoing system supervision — all of which add significant overhead.
A fast image hosting API eliminates much of this burden. By handling storage, processing, and delivery in the cloud, it reduces infrastructure costs and minimizes the need for dedicated IT resources. Instead of worrying about servers and bandwidth, businesses can focus on growth and improving customer experiences.
With pay-as-you-go models and scalable pricing, image hosting APIs also provide flexibility. Companies pay only for what they use, making it a cost-efficient alternative to maintaining expensive in-house systems. Over time, businesses save further by avoiding maintenance costs and reducing the risk of performance issues that could lead to lost sales.
How does Filestack optimize the process of image hosting?
Filestack file uploader features image hosting, fast and easy. It delivers images through a global CDN. This reduces load times. It automatically compresses and optimizes images. You can resize, crop, and enhance images in real time. AI moderates content for safety. Secure storage keeps files protected. Its API simplifies uploads and retrieval.
Let’s give an example.
Get your Filestack API Key by creating an account at Filestack.
Next, create index.html and build it out using the following steps:
Step-by-step example: custom shirt design with Filestack
1. Basic HTML structure
We start by creating a standard HTML document with language, character set, and viewport defined.
<!DOCTYPE html>
<html lang="en">
<head>
  <meta charset="UTF-8">
  <meta name="viewport" content="width=device-width, initial-scale=1.0">
  <title>Custom Shirt Design</title>

  <!-- Import the Filestack JS SDK -->
  <script src="https://static.filestackapi.com/filestack-js/3.x.x/filestack.min.js"></script>
This loads Filestack’s JavaScript library, allowing us to use it for file uploads.
2. Styling the page
We add some CSS to make the form look nice. The key parts:
- Gradient background
- A white container card
- Buttons with different colors (upload = blue, submit = green, reset = red)
- Hidden class to toggle visibility
<style>
  body {
    font-family: 'Poppins', sans-serif;
    text-align: center;
    margin: 0;
    height: 100vh;
    background: linear-gradient(135deg, #f06, #3cf);
    display: flex;
    align-items: center;
    justify-content: center;
  }

  .container {
    max-width: 600px;
    padding: 20px;
    background: rgba(255,255,255,0.9);
    border-radius: 10px;
    box-shadow: 0 4px 10px rgba(0,0,0,0.2);
  }

  button {
    width: 100%;
    padding: 10px;
    margin-top: 10px;
    border: none;
    border-radius: 5px;
    font-size: 16px;
    cursor: pointer;
    transition: 0.3s;
  }

  .upload-btn { background: #007bff; color: white; }
  .submit-btn { background: #28a745; color: white; }
  .reset-btn { background: #dc3545; color: white; }

  .shirt-preview {
    max-width: 250px;
    margin: 10px auto;
    display: block;
  }

  .hidden { display: none; }
</style>
</head>
3. Page content (HTML body)
We create:
- A heading
- Upload button
- Preview image (hidden initially)
- A customization form (quantity, color, size — hidden until image is uploaded)
- A confirmation section (hidden until the form is submitted)
<body>
<div class="container">
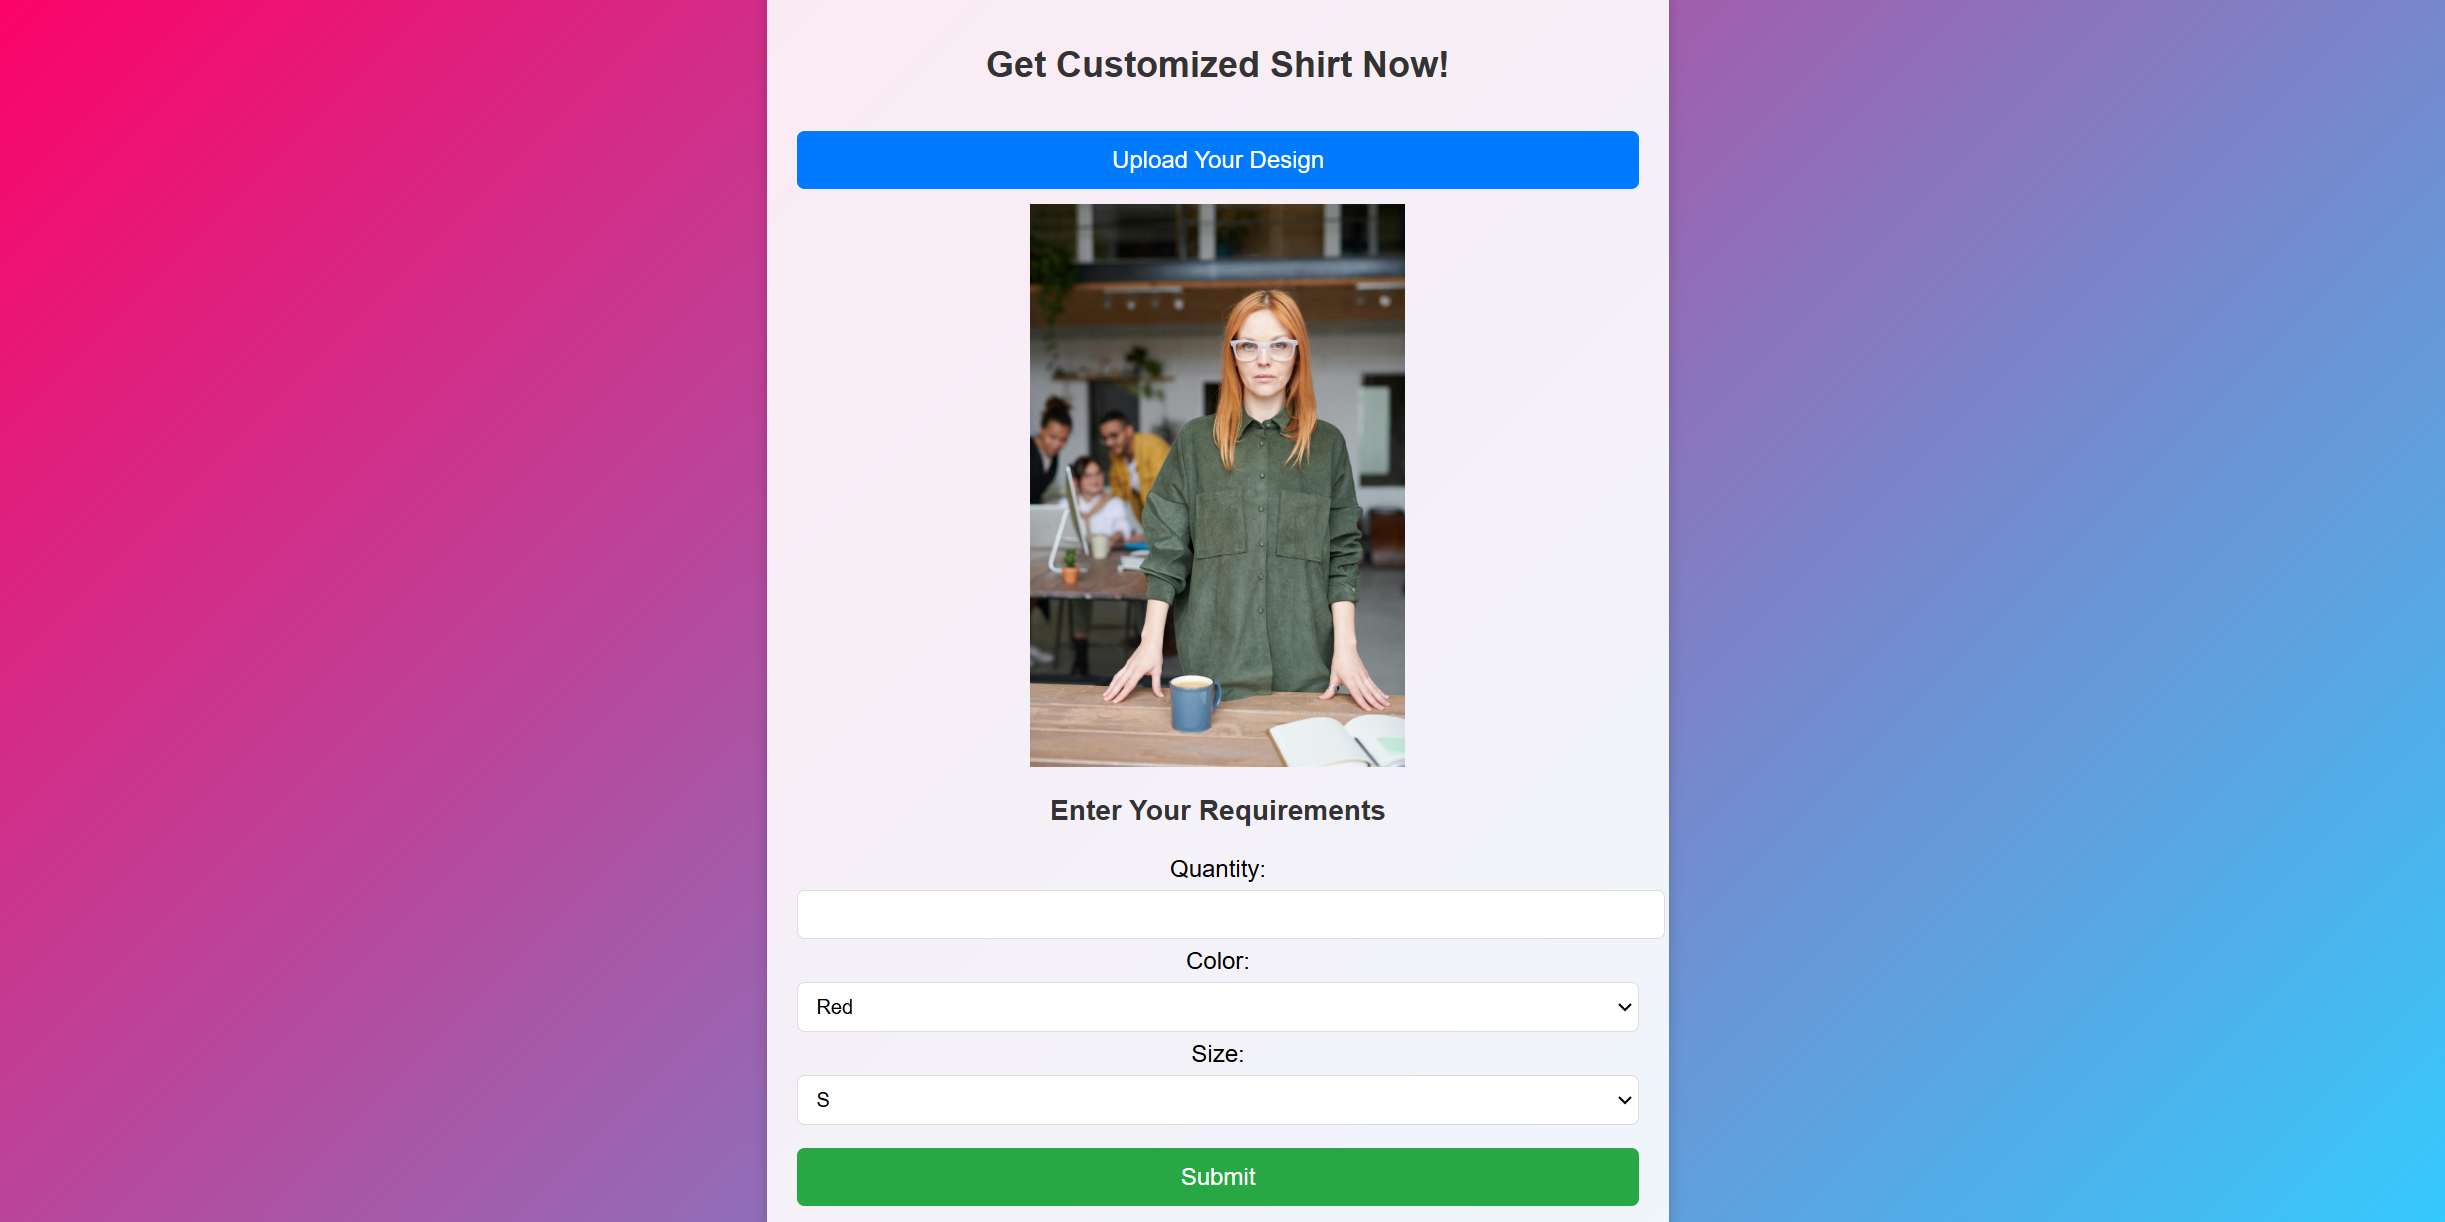
<h2>Get Customized Shirt Now!</h2>
<!-- Upload button -->
<button class="upload-btn" id="uploadBtn">Upload Your Design</button>
<!-- Preview image -->
<img id="previewImage" class="shirt-preview hidden" alt="Uploaded Design">
<!-- Customization form -->
<div id="customizationForm" class="hidden">
<h3>Enter Your Requirements</h3>
<label>Quantity:</label>
<input type="number" id="quantity" min="1" required>
<label>Color:</label>
<select id="color">
<option>Red</option>
<option>Blue</option>
<option>Black</option>
<option>White</option>
<option>Green</option>
<option>Yellow</option>
</select>
<label>Size:</label>
<select id="size">
<option>S</option>
<option>M</option>
<option>L</option>
<option>XL</option>
<option>XXL</option>
</select>
<button class="submit-btn" id="submitBtn">Submit</button>
<button class="reset-btn hidden" id="resetBtn">Reset</button>
</div>
<!-- Confirmation message -->
<div id="confirmationMessage" class="hidden">
<h3>Your Design Has Been Received!</h3>
<p>Our team will reach out to you shortly.</p>
<p id="finalDetails"></p>
</div>
</div>4. Adding JavaScript functionality
Now, we connect everything with JavaScript.
a) Initialize Filestack client
<script>
  const client = filestack.init('YOUR_API_KEY'); // replace with your Filestack key
b) Handle image upload
- When you click “Upload Your Design,” Filestack’s picker opens.
- After selecting an image, it displays a preview and shows the customization form.
document.getElementById('uploadBtn').addEventListener('click', () => {
    client.picker({
      onUploadDone: (result) => {
        const fileUrl = result.filesUploaded[0].url;
        document.getElementById('previewImage').src = fileUrl;
        document.getElementById('previewImage').classList.remove('hidden');
        document.getElementById('customizationForm').classList.remove('hidden');
      }
    }).open();
  });
c) Handle form submission
- Validate quantity.
- Show confirmation message with details.
document.getElementById('submitBtn').addEventListener('click', () => {
    const quantity = document.getElementById('quantity').value;
    const color = document.getElementById('color').value;
    const size = document.getElementById('size').value;

    if (!quantity || quantity < 1) {
      alert("Please enter a valid quantity.");
      return;
    }

    document.getElementById('finalDetails').innerText =
      `Quantity: ${quantity}, Color: ${color}, Size: ${size}`;

    document.getElementById('customizationForm').classList.add('hidden');
    document.getElementById('confirmationMessage').classList.remove('hidden');
    document.getElementById('resetBtn').classList.remove('hidden');
  });
d) Handle reset
- Clears preview, hides form, and resets everything.
document.getElementById('resetBtn').addEventListener('click', () => {
    document.getElementById('previewImage').src = '';
    document.getElementById('previewImage').classList.add('hidden');
    document.getElementById('customizationForm').classList.add('hidden');
    document.getElementById('confirmationMessage').classList.add('hidden');
    document.getElementById('resetBtn').classList.add('hidden');
  });
</script>
</body>
</html>
How it works at a glance:
- User clicks Upload Your Design → Filestack picker opens.
- Image is uploaded → preview + form show up.
- User fills details → clicks Submit → confirmation appears.
- User clicks Reset → app returns to initial state.
Check out the full code in our GitHub repository.
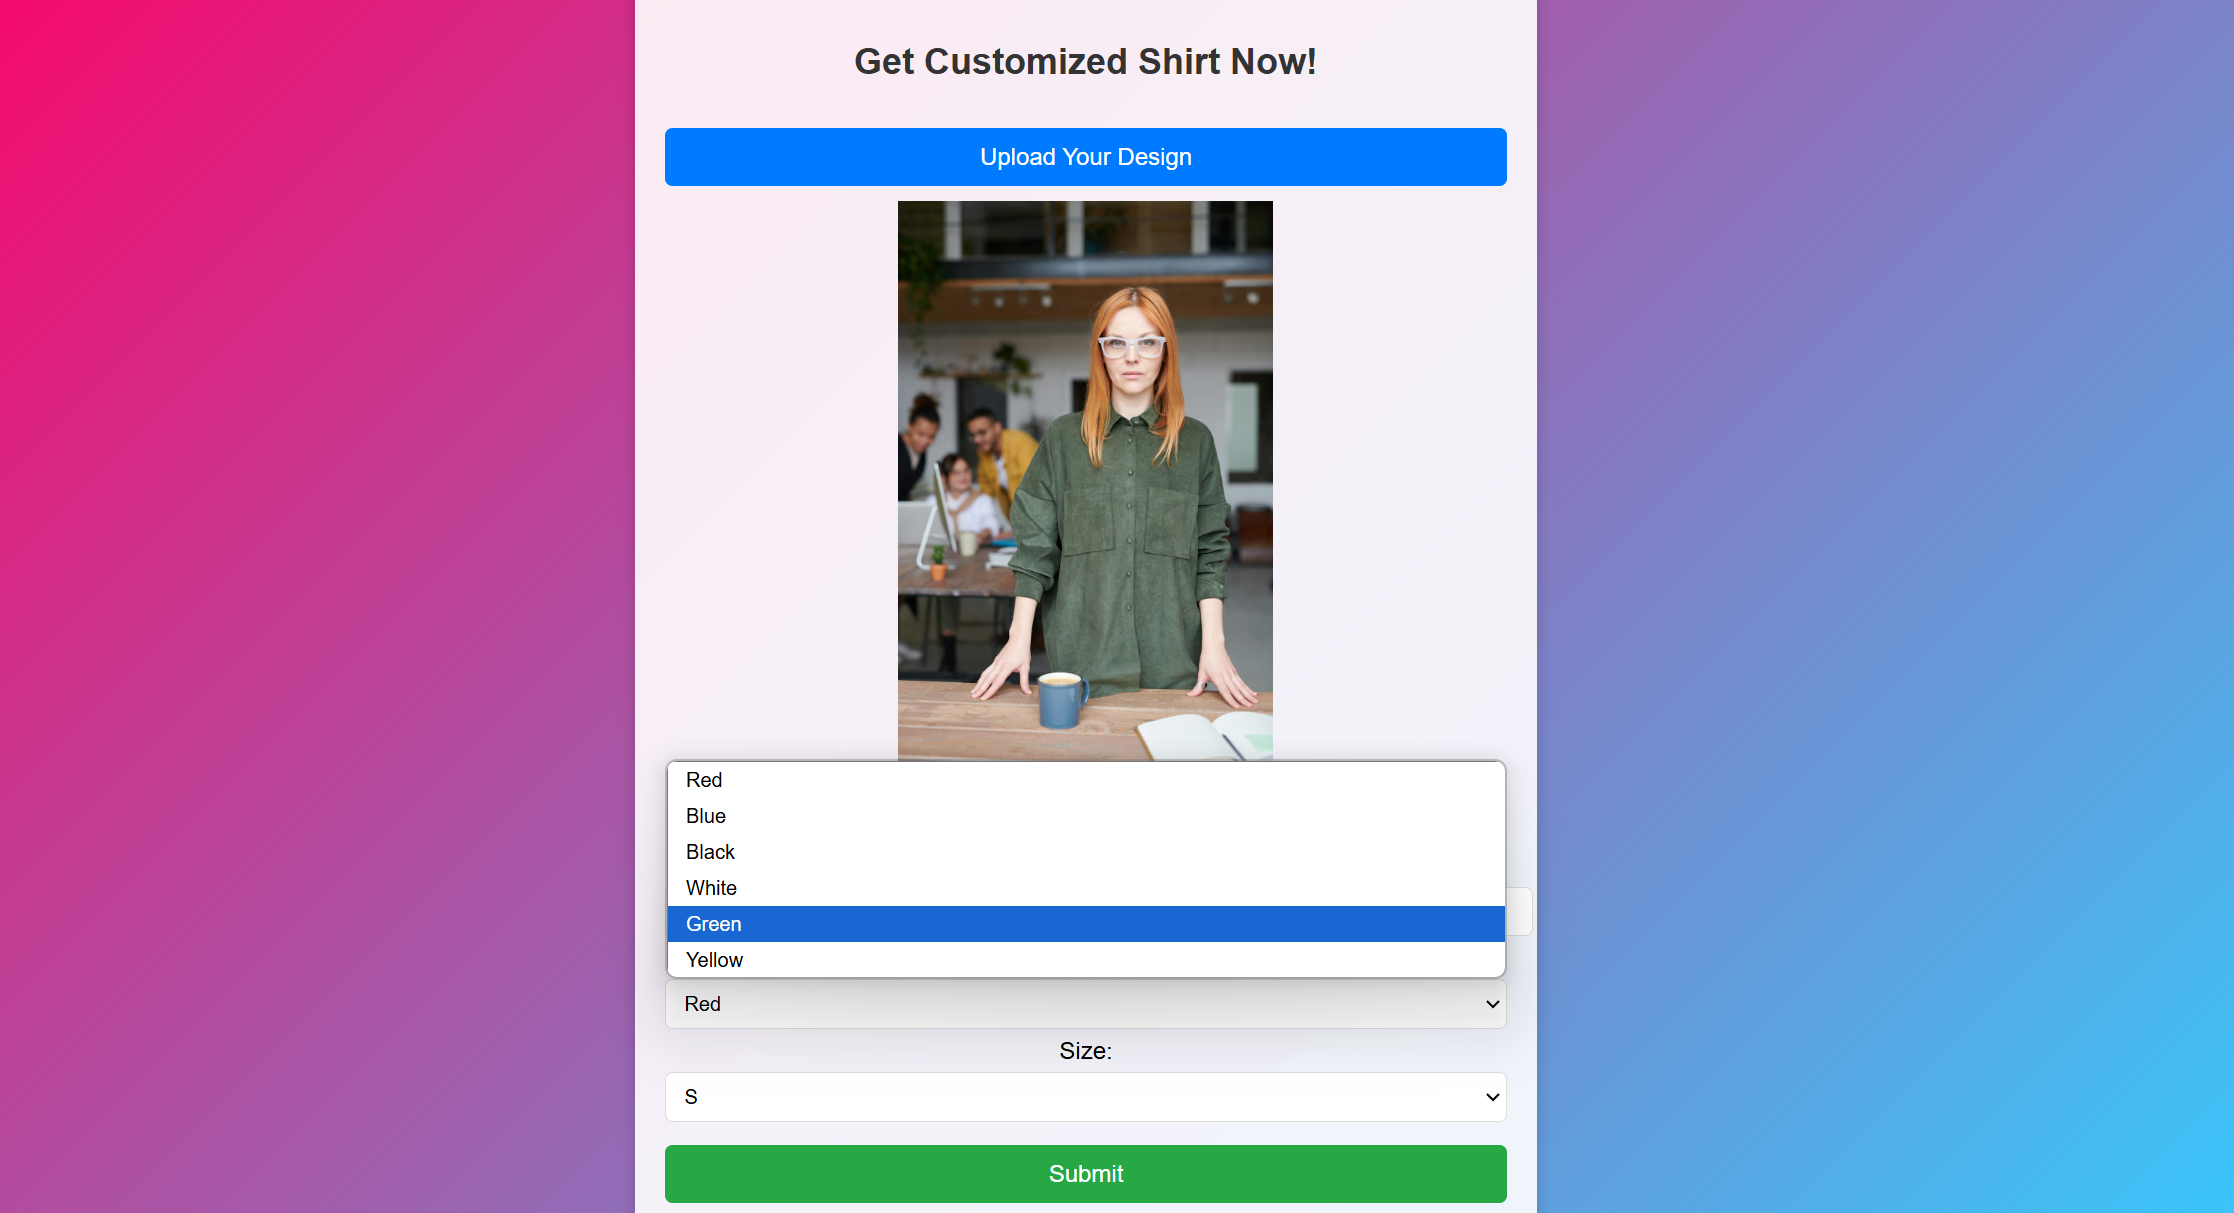
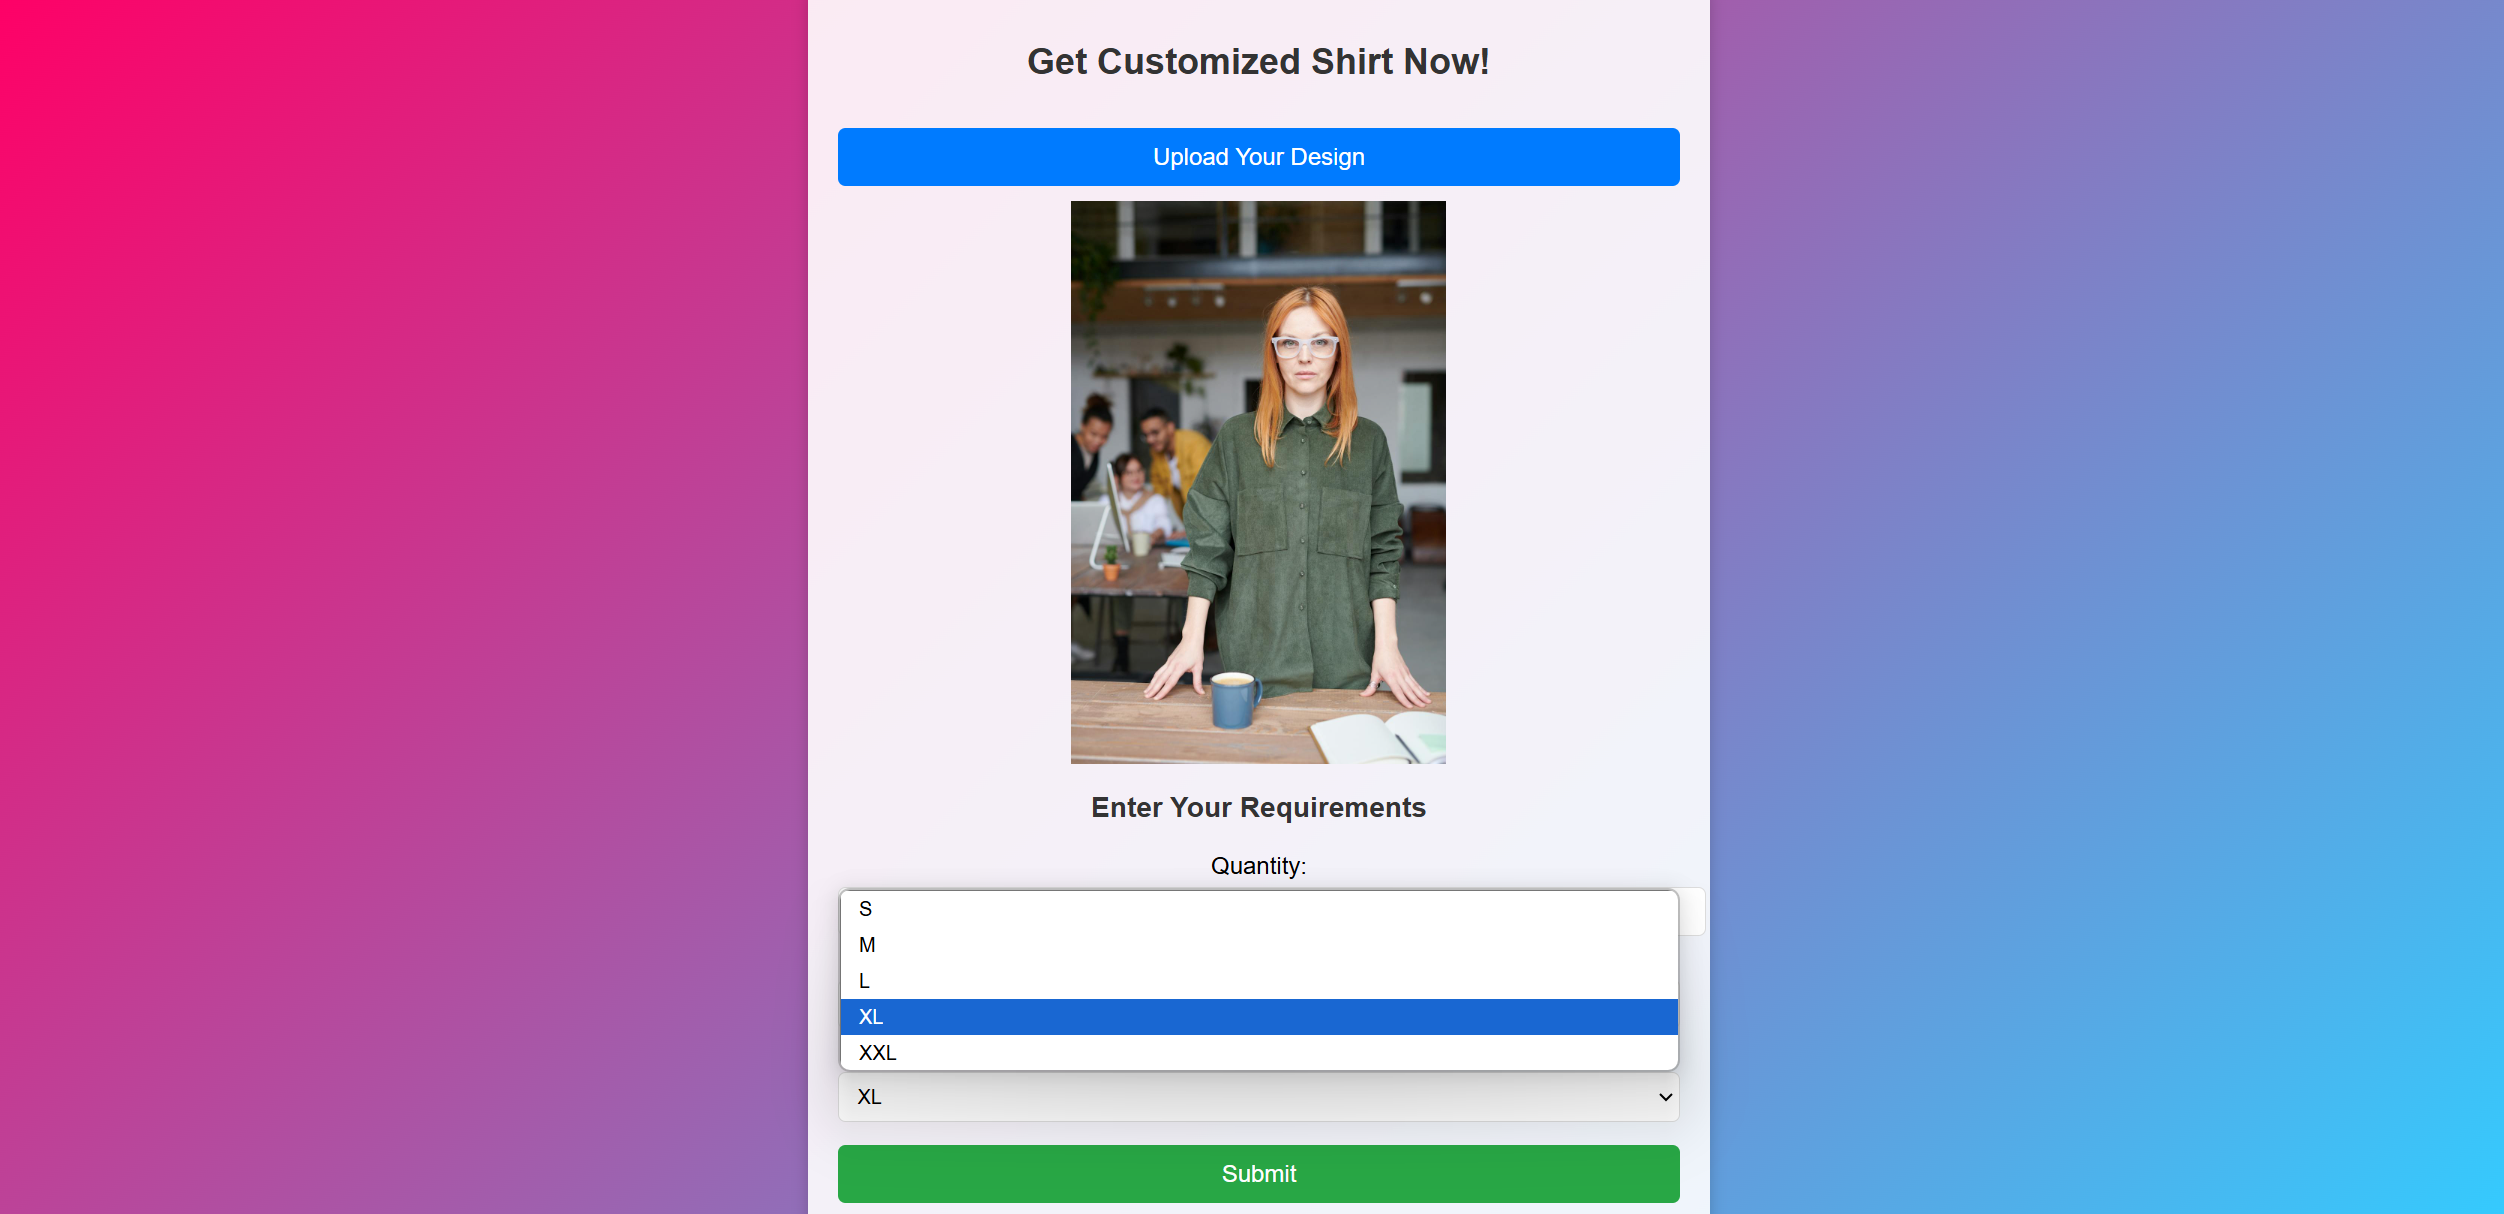
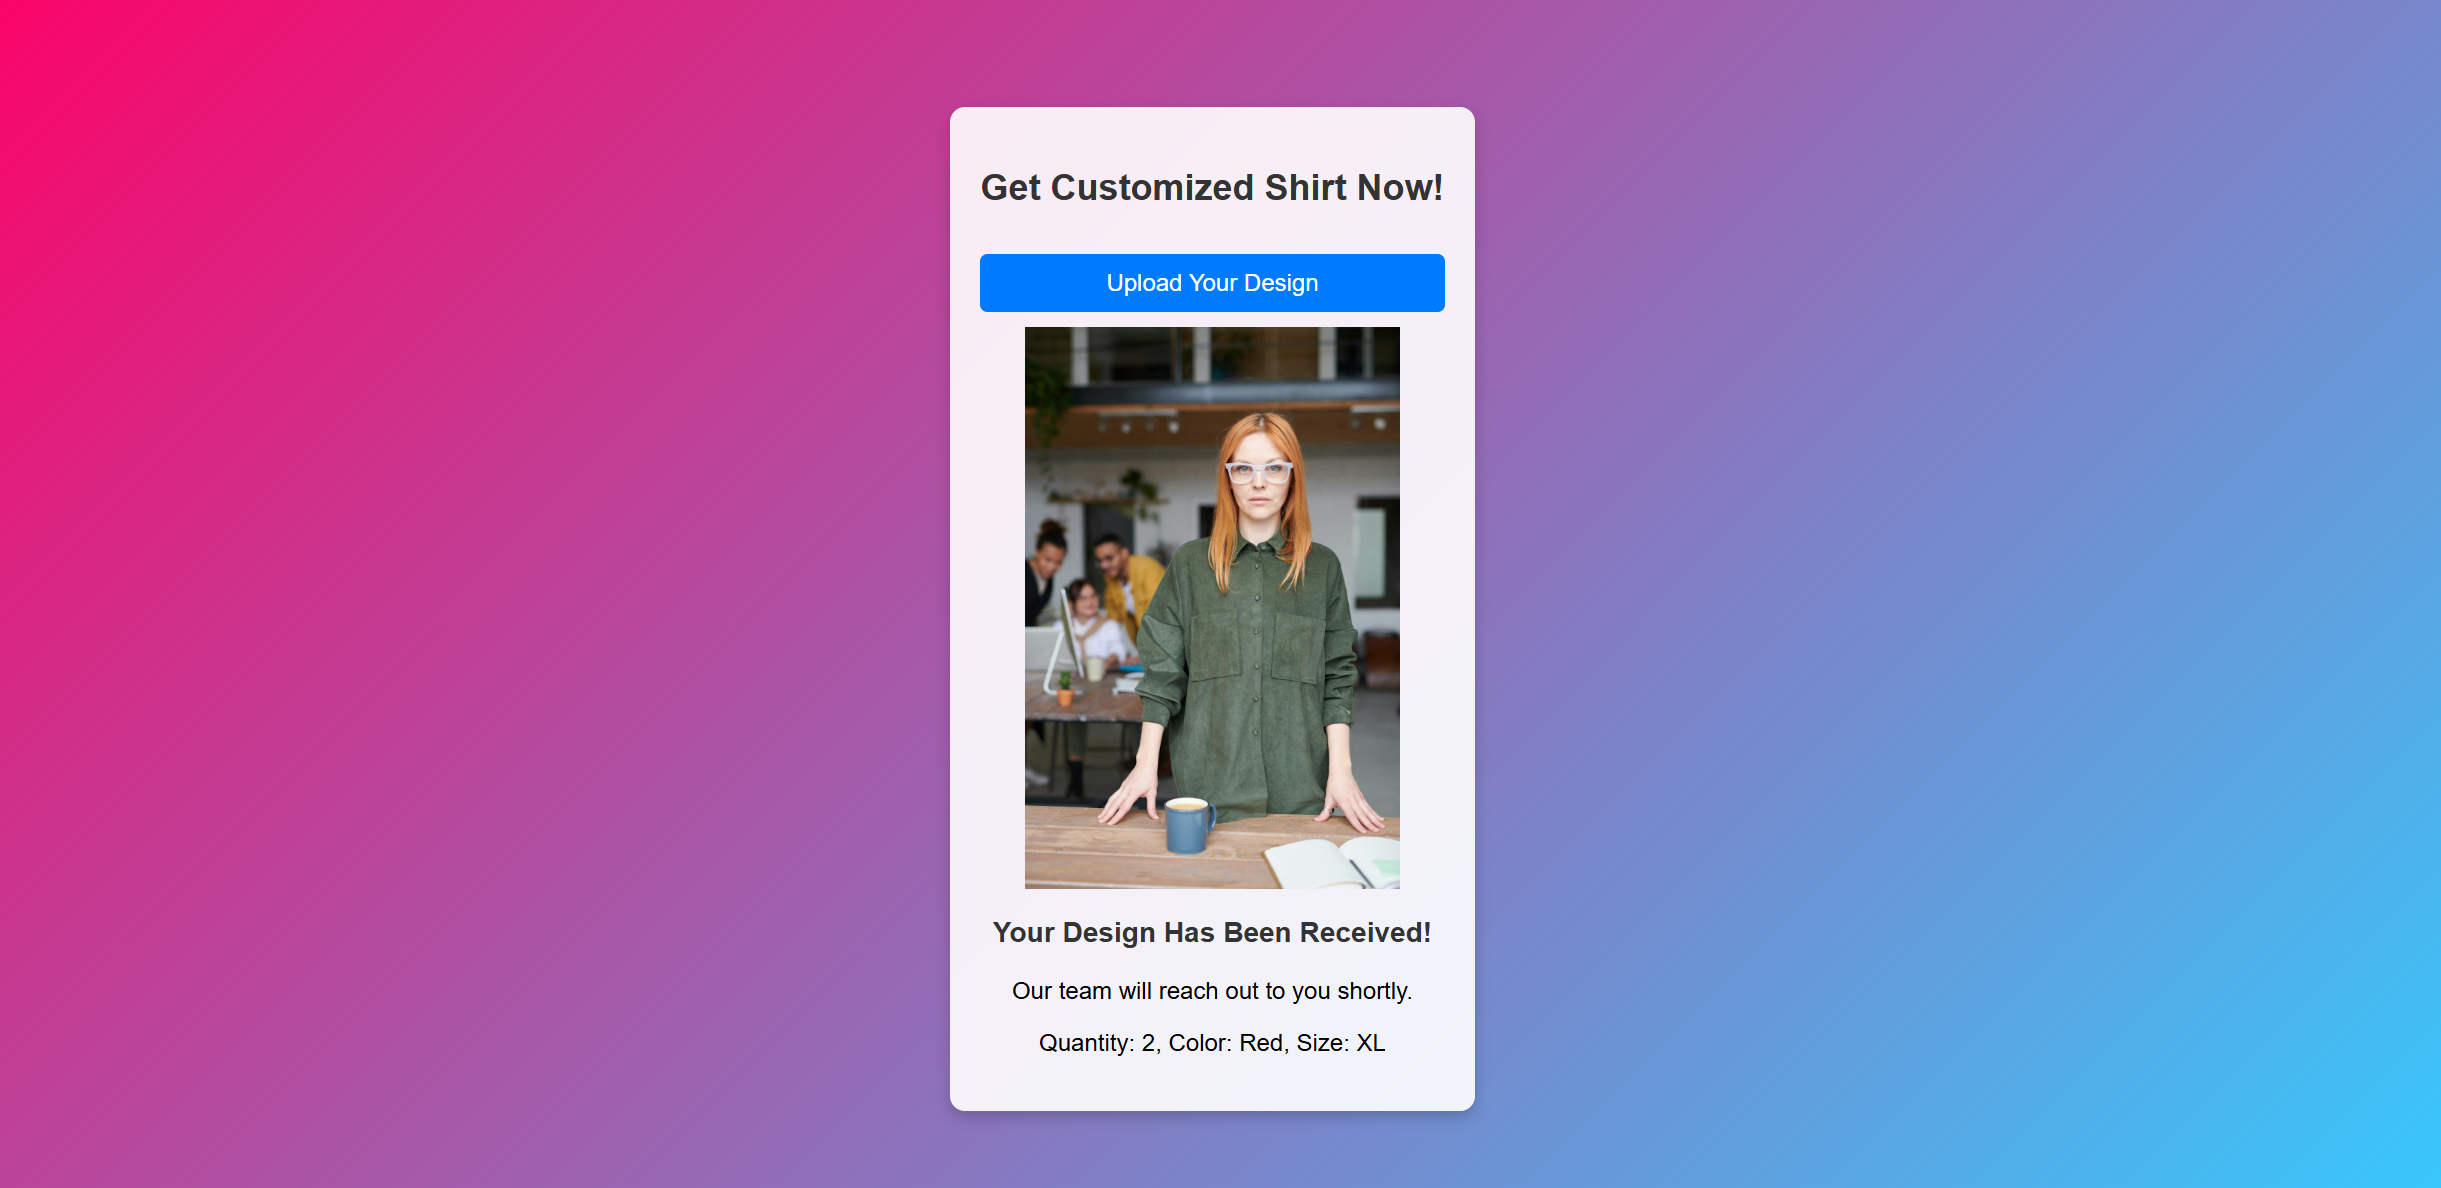
Output
When you run the above code, you will get an output as shown below:
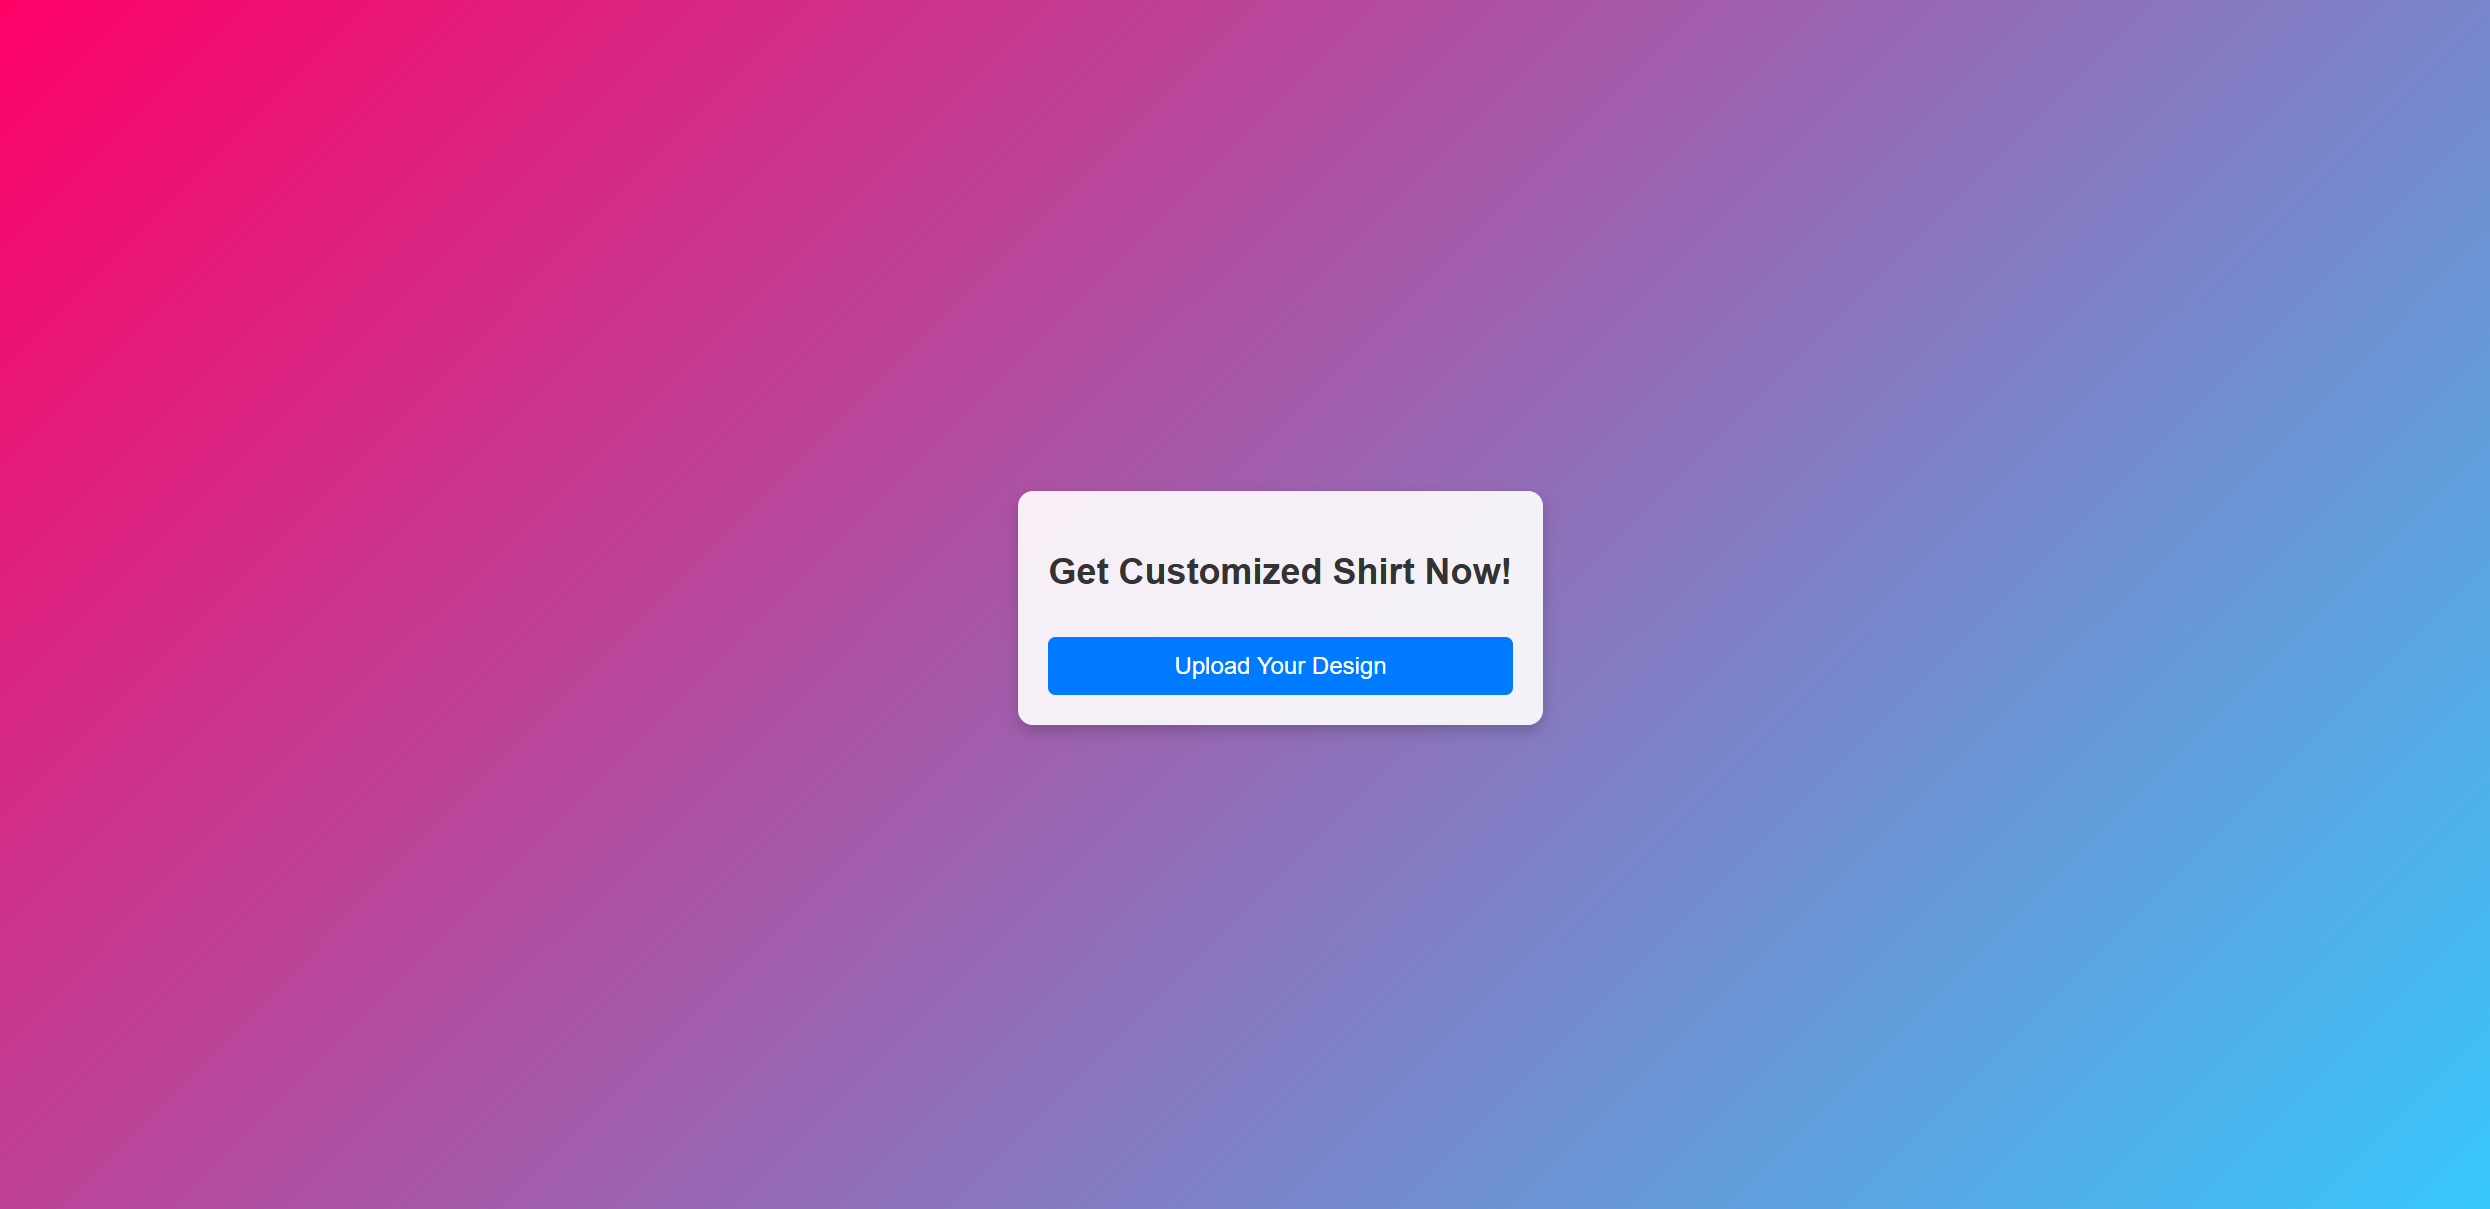

The file picker appears when you click Upload Your Design.
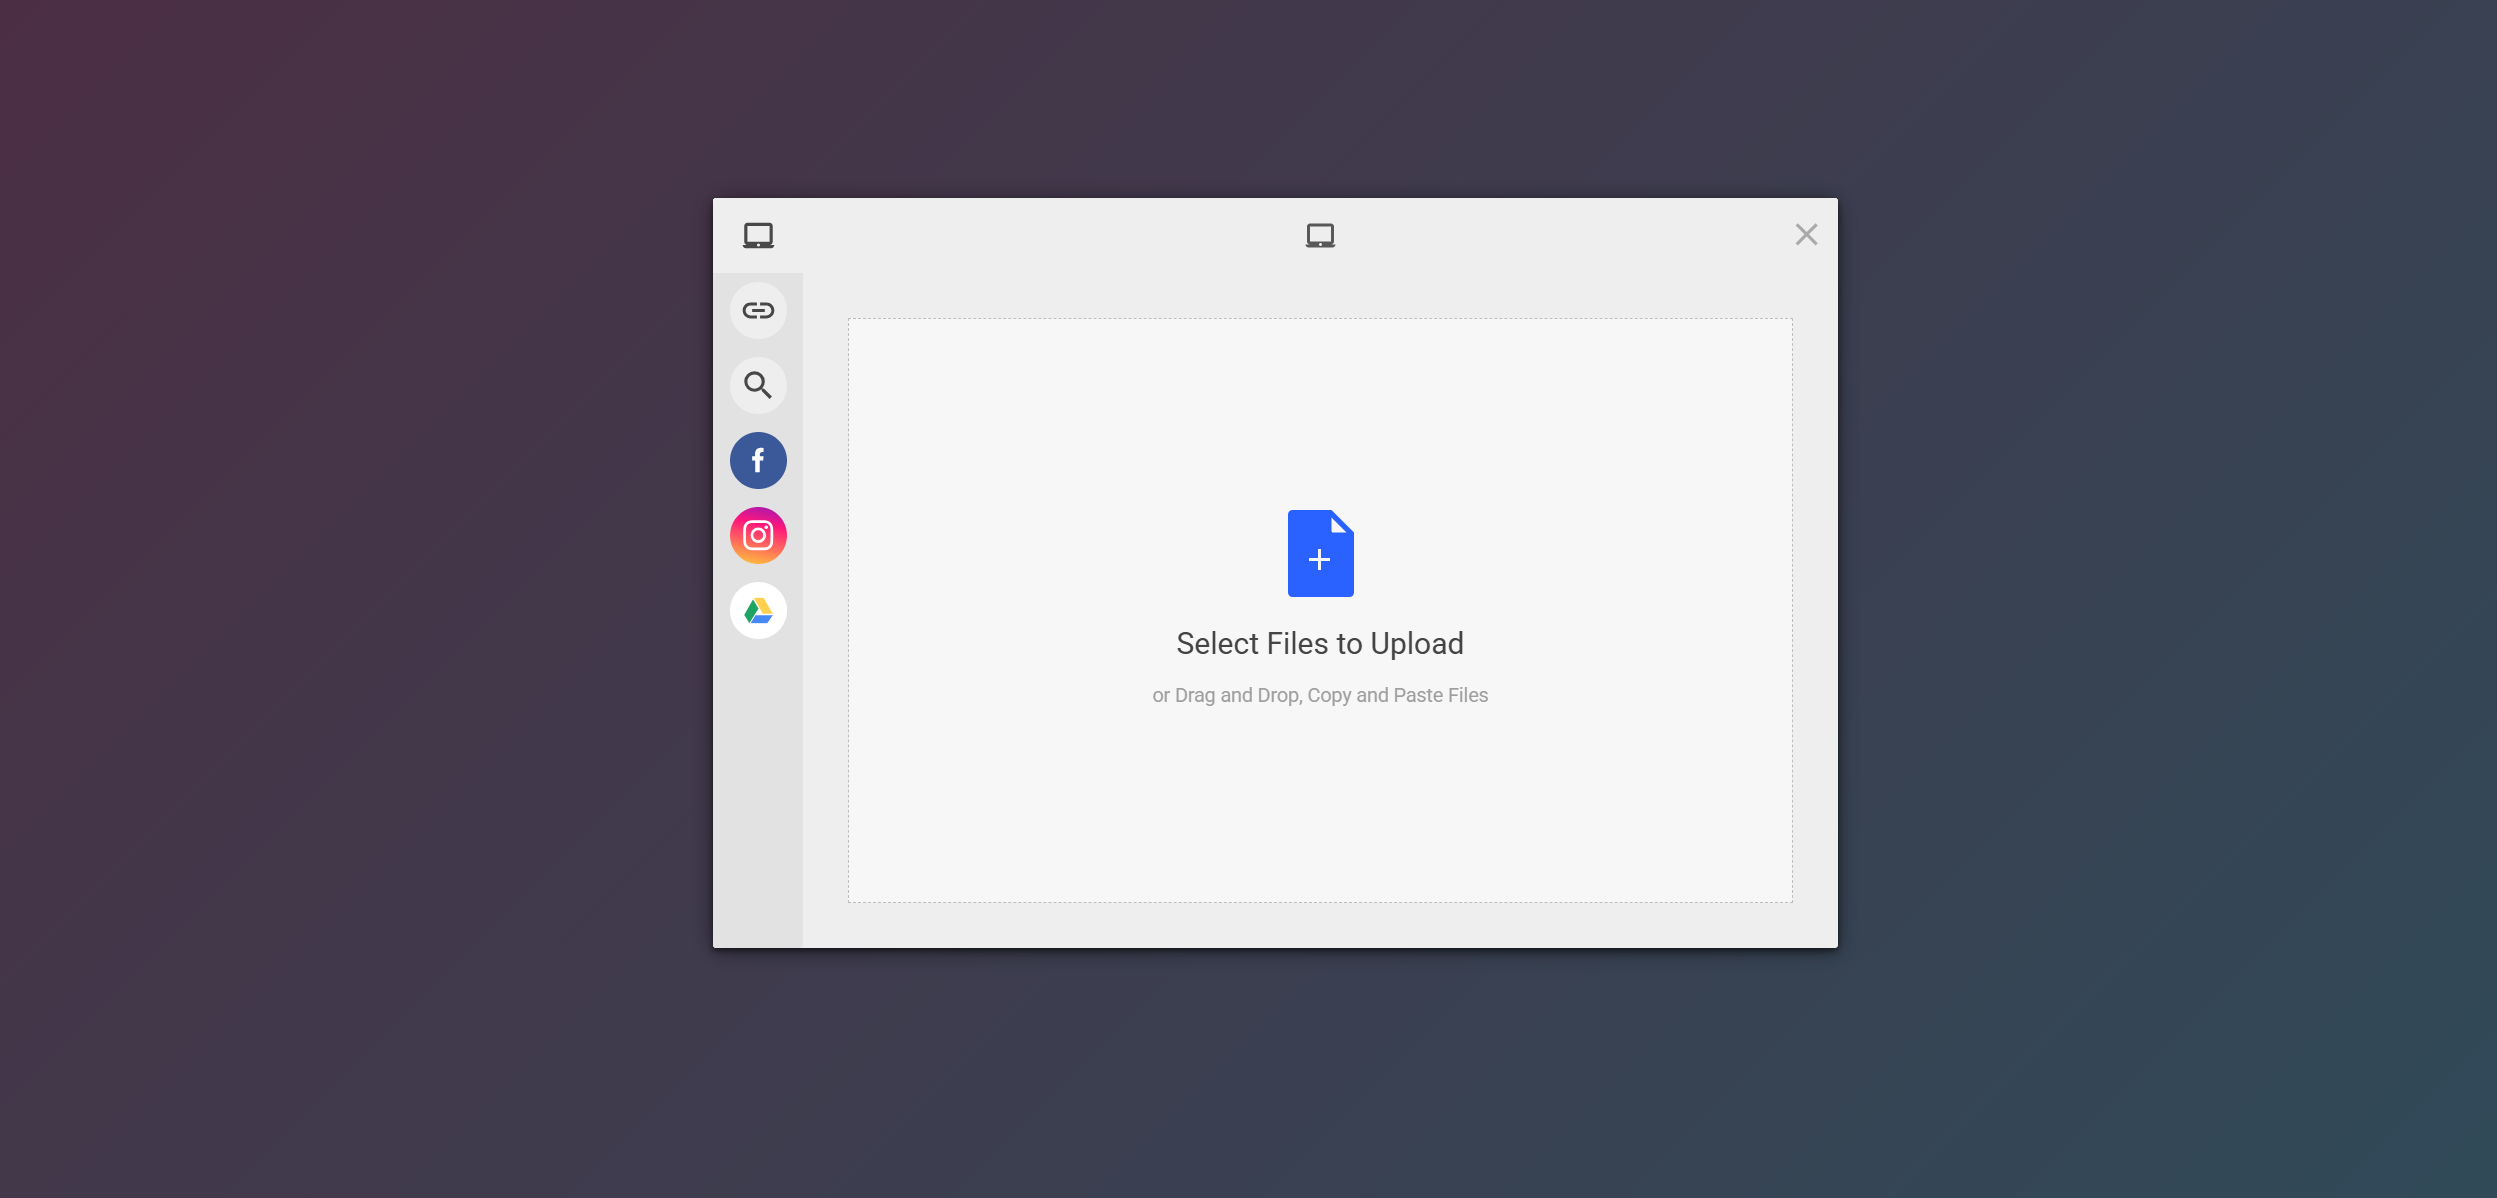

I will select the customized design below as an example.


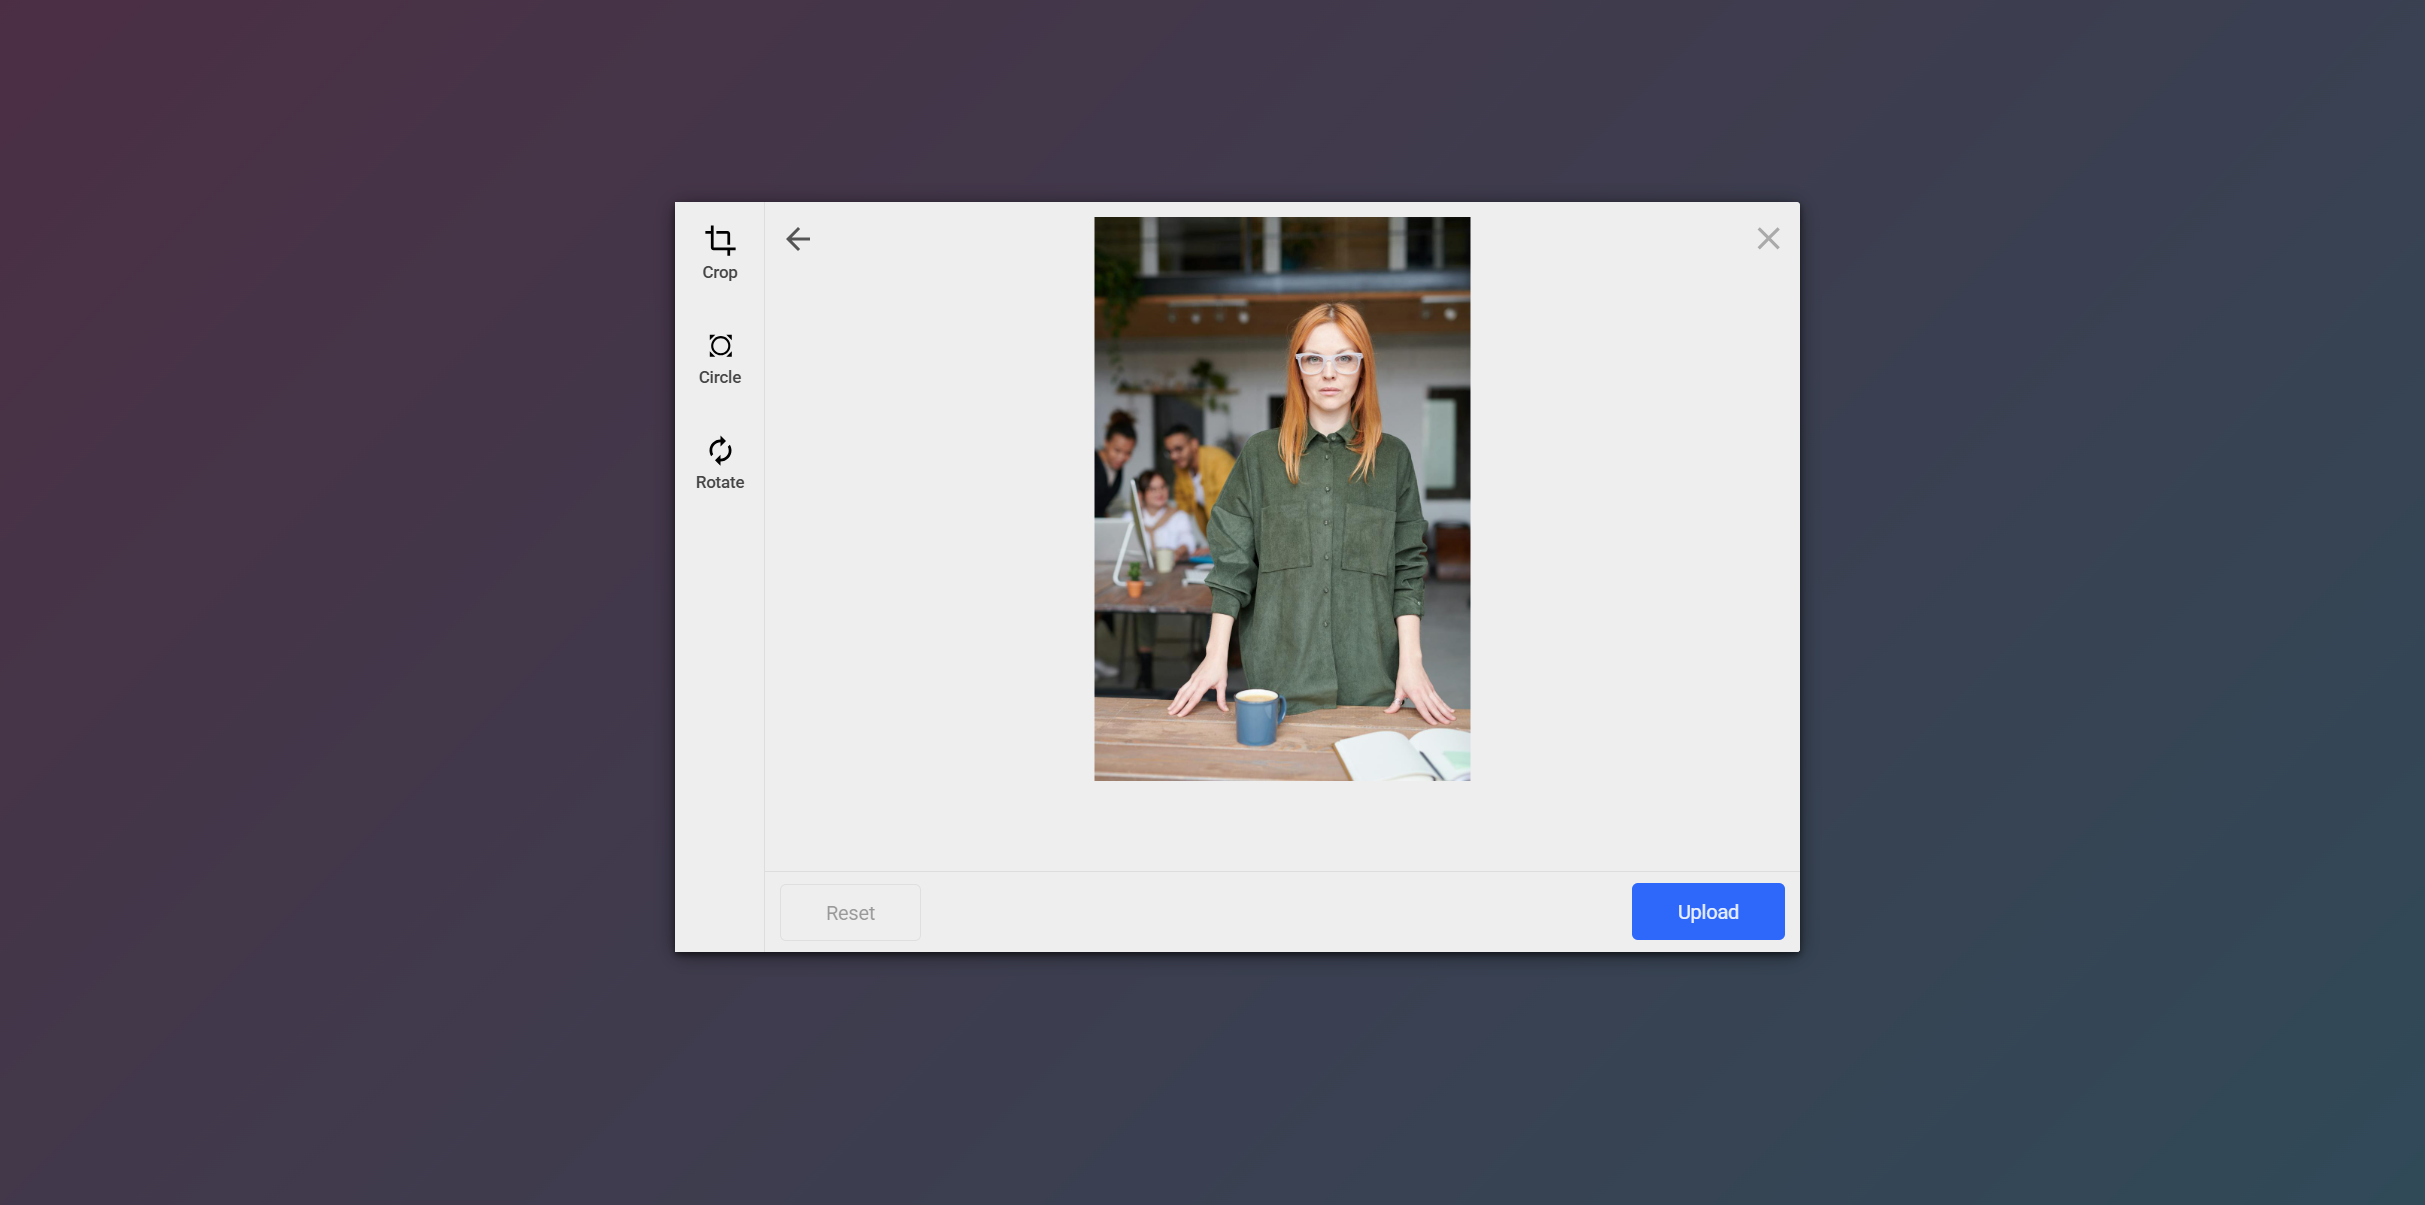
File picker will preview the selected image before uploading.

When you click Upload, it will prompt you to add order details.


The confirmation screen will appear when you submit the details.

Conclusion
In today’s competitive e-commerce environment, speed and visual quality can make or break a sale. A fast image hosting API combines CDNs, compression, and AI-driven optimization to deliver images instantly, improving SEO, user experience, and customer trust. Beyond performance, these APIs also provide scalability, reliability, and cost efficiency, helping businesses handle traffic spikes without added infrastructure burdens.
As the shift toward cloud image hosting for e-commerce accelerates, adopting an API-based solution is no longer optional — it’s essential. Whether you’re streamlining product galleries, optimizing checkout experiences, or scaling globally, fast and secure image hosting APIs ensure your store runs smoothly and efficiently.
FAQs
Can we send an image through API?
You can send images through an API by uploading them via HTTP requests.
How do I host my image online?
You can host images online by using an image hosting service or API, like Filestack.
How to create an image URL?
To create an image URL, upload the image to a hosting service and use the provided link.
How does Filestack help with fast image hosting API?
Filestack optimizes image delivery with a fast API, offering compression, CDN integration, and scalability.
Sign up now or learn more about how we can help your business grow!


Shamal is a seasoned Software Consultant, Digital Marketing & SEO Strategist, and educator with extensive hands-on experience in the latest web technologies and development. He is also an accomplished blog orchestrator, author, and editor. Shamal holds an MBA from London Metropolitan University, a Graduate Diploma in IT from the British Computer Society, and a professional certification from the Australian Computer Society.